
Pepper Chat
A Conversational UX Humanoid Robot Platform
"""""""""""""""""""""""""""""""""""""""""""""""""""""""""""""""""""""
DialogFlow (previously API.AI) is a popular chatbot platform. It's
also Google's entry into the conversational agency space. Before
Google acquired API.AI (and subsequently renamed it to Dialogflow),
it was used primarily to allow developers to create voice interfaces
for applications. Choose Dialogflow as an interface for Pepper to
unlock your robot's latent conversational abilities.
To see a working example:
(1) Download the example .zip file here:
https://github.com/SoftBankRoboticsTraining/pepper-dialogflow-chatbot-faq
(2) Create a free account at www.dialogflow.com;
(3) Create a new agent;
(4) Click the gear icon to access the agent's settings;
(5) Select the 'Export and Import' tab;
(5) Upload the .zip file from Step 1.
For a quick tutorial:
→ www.youtube.com/watch?v=B8PrcwENCJg
For the full eLearning course:
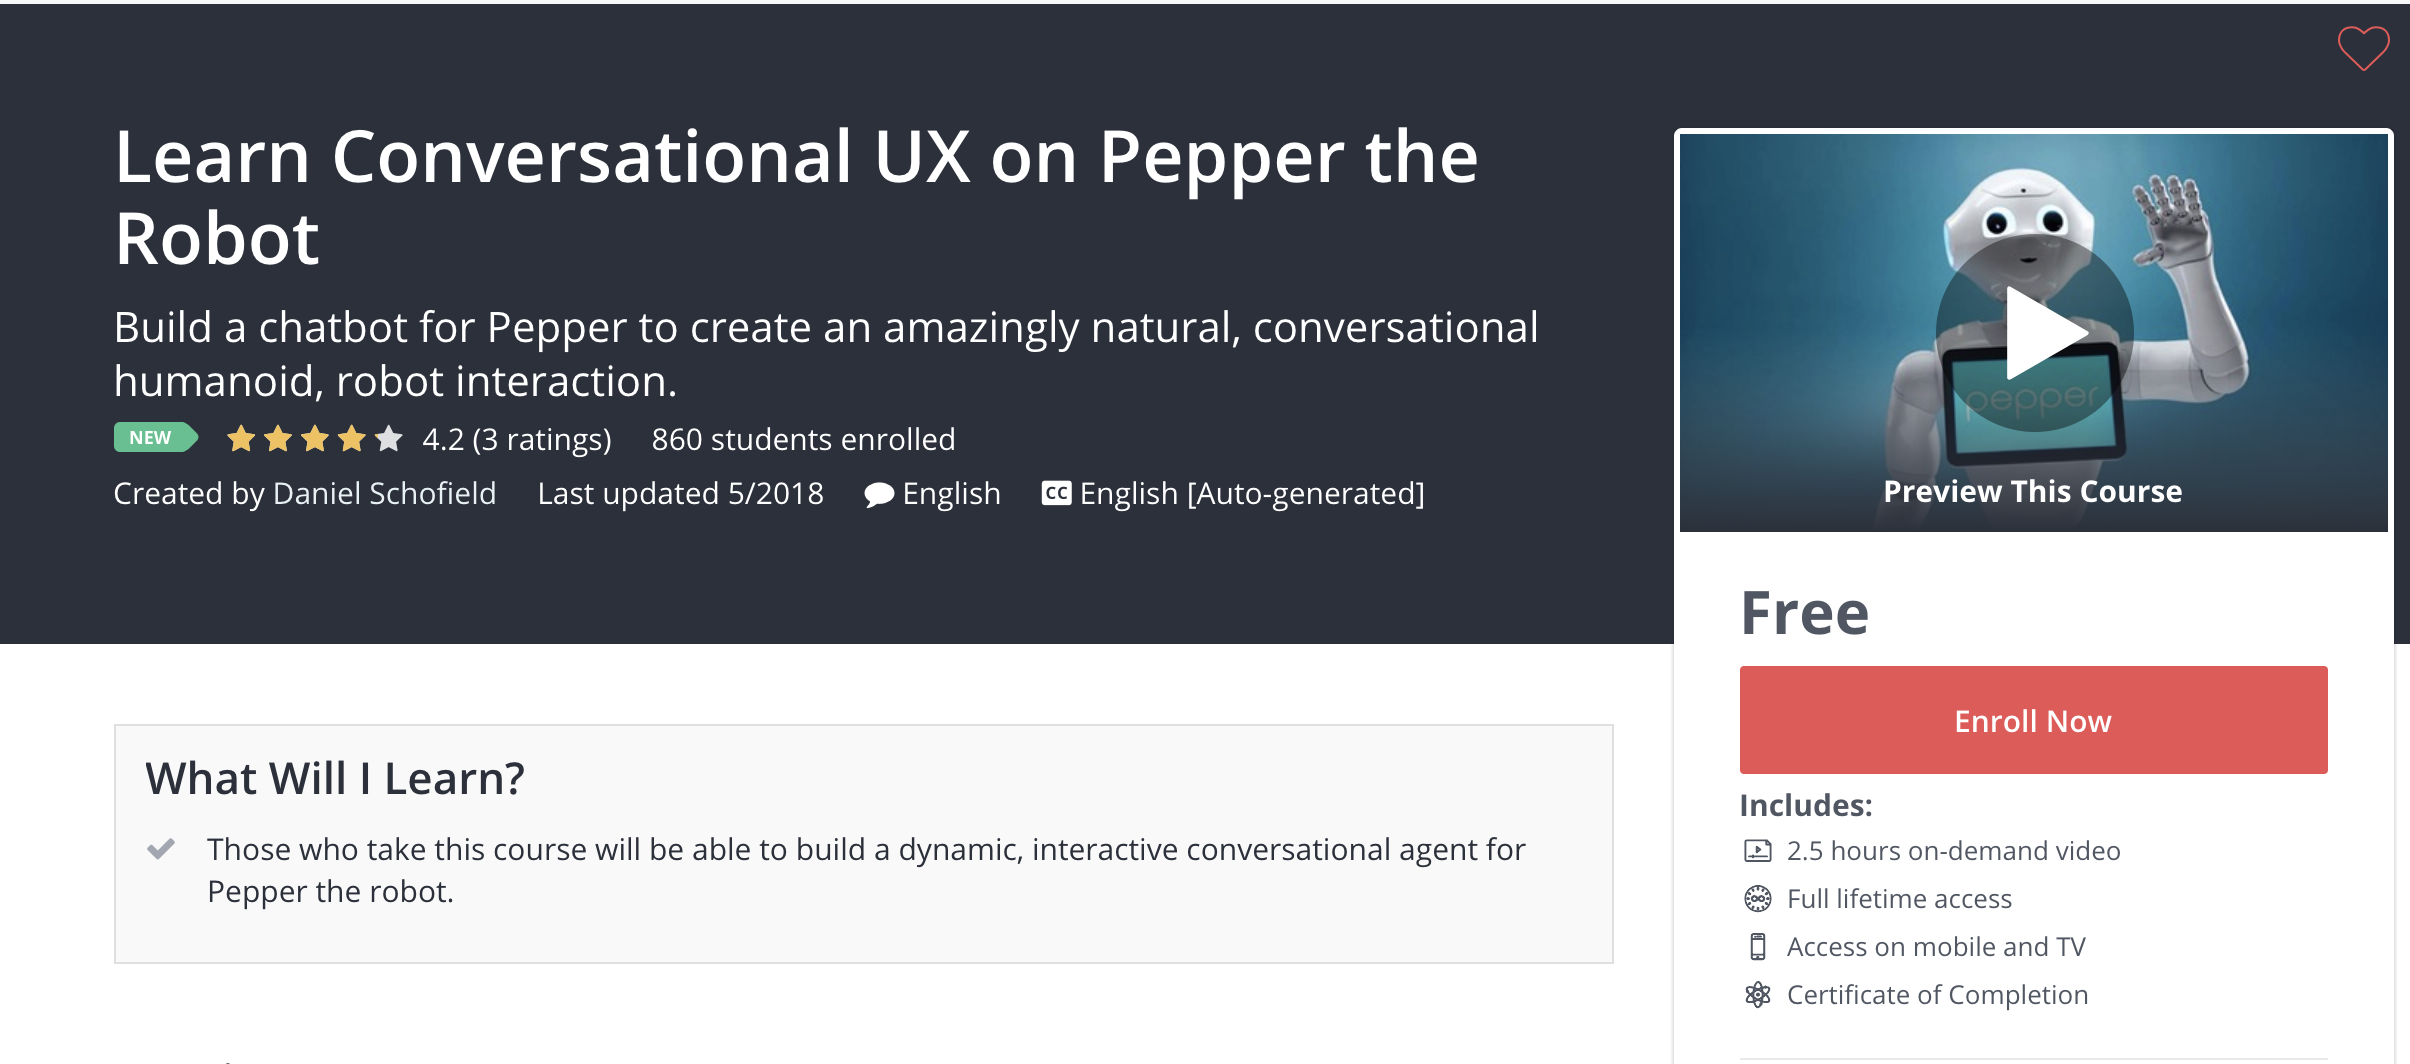
→ https://www.udemy.com/learn-conversational-ux-on-pepper-the-robot/
Advanced:
If you are working with fulfillment and want to return rich responses,
you can use this fulfillment library in your project to make it easier
to form valid Pepper responses (also includes a demo project):
https://github.com/softbank-robotics-america/pepper-chat-dialogflow-fulfillment-library
"""""""""""""""""""""""""""""""""""""""""""""""""""""""""""""""""""""
Welcome to the Pepper Chat platform! This technical reference is for Pepper owners running the Pepper-As-A-Host solution, who would like to connect their Pepper to a 3rd party chatbot (only Google's Dialogflow platform supported at this time) in order to unlock Pepper's latent conversational abilities. It is an exciting evolution of Pepper's repertoire of capabilities.
Given the overwhelming success of the "chatbot feature" of the Host product, which was historically an optional upgrade that would replace the standard "FAQ" feature of the Host product, SBRA decided to build out and open up the Pepper Chat platform to its broader customer base. Pepper Chat allows customers who want to take more control over Pepper's speech, animations, tablet display and overall interactions can now do so using this solution, all with a conversational-focused, web-based, user interface. Teaming up with Google to bring our customers world-class NLP and Conversational AI technologies, we are proud and excited to provide our customers with a conversation-based Pepper platform that is dynamic, smart, and immersively fun!
NAVIGATING THIS REFERENCE: You can view general integration instructions in this central, light blue section. In the dark area to the right, you can see Dialogflow-specific code examples corresponding visually in line with each general section.
Getting Started
SBRA offers professional services to assist in the creation of your Chatbot. If you are interested, please email support@softbankrobotics.com. Otherwise you can use the remainder of this documentation to create your own Chatbot for Pepper.
Building a successful chatbot for deployment on Pepper requires a large amount of time, patience, and cross-disciplinary creative expertise. For this reason, SBRA offers professional services to assist in the creation of your Chatbot for Pepper. If you are interested, send us an email.
If you would like to learn and build on your own, you can take our free, 2.5-hour, eLearning course on Udemy course and use this documentation to get started.
Authentication & Setup
"""""""""""""""""""""""""""""""""""""""""""""""""""""""""""""""""""""""""
DIALOGFLOW SETUP INSTRUCTIONS:
Note: V1 Agents and the V1 chatbot authentication mechanism (Client Access
  Tokens) have been deprecated! Please follow the step-by-step guide outlined
  in the FAQ at the bottom of this page to migrate your Pepper Dialogflow
  chatbot to V2. When it comes to pairing your migrated V2 chatbot to Pepper
  Chat, follow the following instructions:

V2 Instructions:
Step 1: Open your bot in Dialogflow (https://console.dialogflow.com/)
Step 2: Click on the gear icon to the right of your selected agent.
Step 3: Under the 'GOOGLE PROJECT' section, click on the hyperlinked email
 address beside the 'Service Account' field. This will open up the Service Account
  page of the associated Google Cloud Project project within the Google Cloud
   Platform console.
Step 4: Within the Google Cloud Platform console, click on the Actions ellipsis
 beside the Dialogflow Integrations service account and select "Create key" to
  download a JSON file containing your private key.
Step 5: Upload this keypath file into Pepper Chat → See central panel
 for instructions


↓ !IMPORTANT! ↓

AGENT SETUP INSTRUCTIONS:
To set up a welcome intent on Pepper in your agent, reconfigure the default
Welcome Intent or else set up a new intent with the text 'init1234' as the
only Training Phrase. You may use any type of response from the options
below for your welcome intent's response.
"""""""""""""""""""""""""""""""""""""""""""""""""""""""""""""""""""""""""
ChatBots use RESTful APIs with some form of credentials (typically KEY FILES, ACCESS TOKENS, APP IDs, PASSWORDS, etc.) to authenticate in order to send and retrieve text & multimedia session data.
With SoftBank Robotics America's new Pepper ChatBot API and the Pepper Chat platform built on top of it, connecting your Dialogflow chatbot is as easy as it possibly can be. Simply log in to Pepper Chat CMS (Content Management System) and provide the platform with a friendly name for your bot and either your bot's client access token or else a key file.
I.) CHATBOT INSTRUCTIONS:
→ SEE CHATBOT-SPECIFIC SETUP INSTRUCTIONS TO THE RIGHT →
II.) PEPPER CHAT INSTRUCTIONS:
1) Using your existing Host credentials, log in to the Pepper Chat CMS
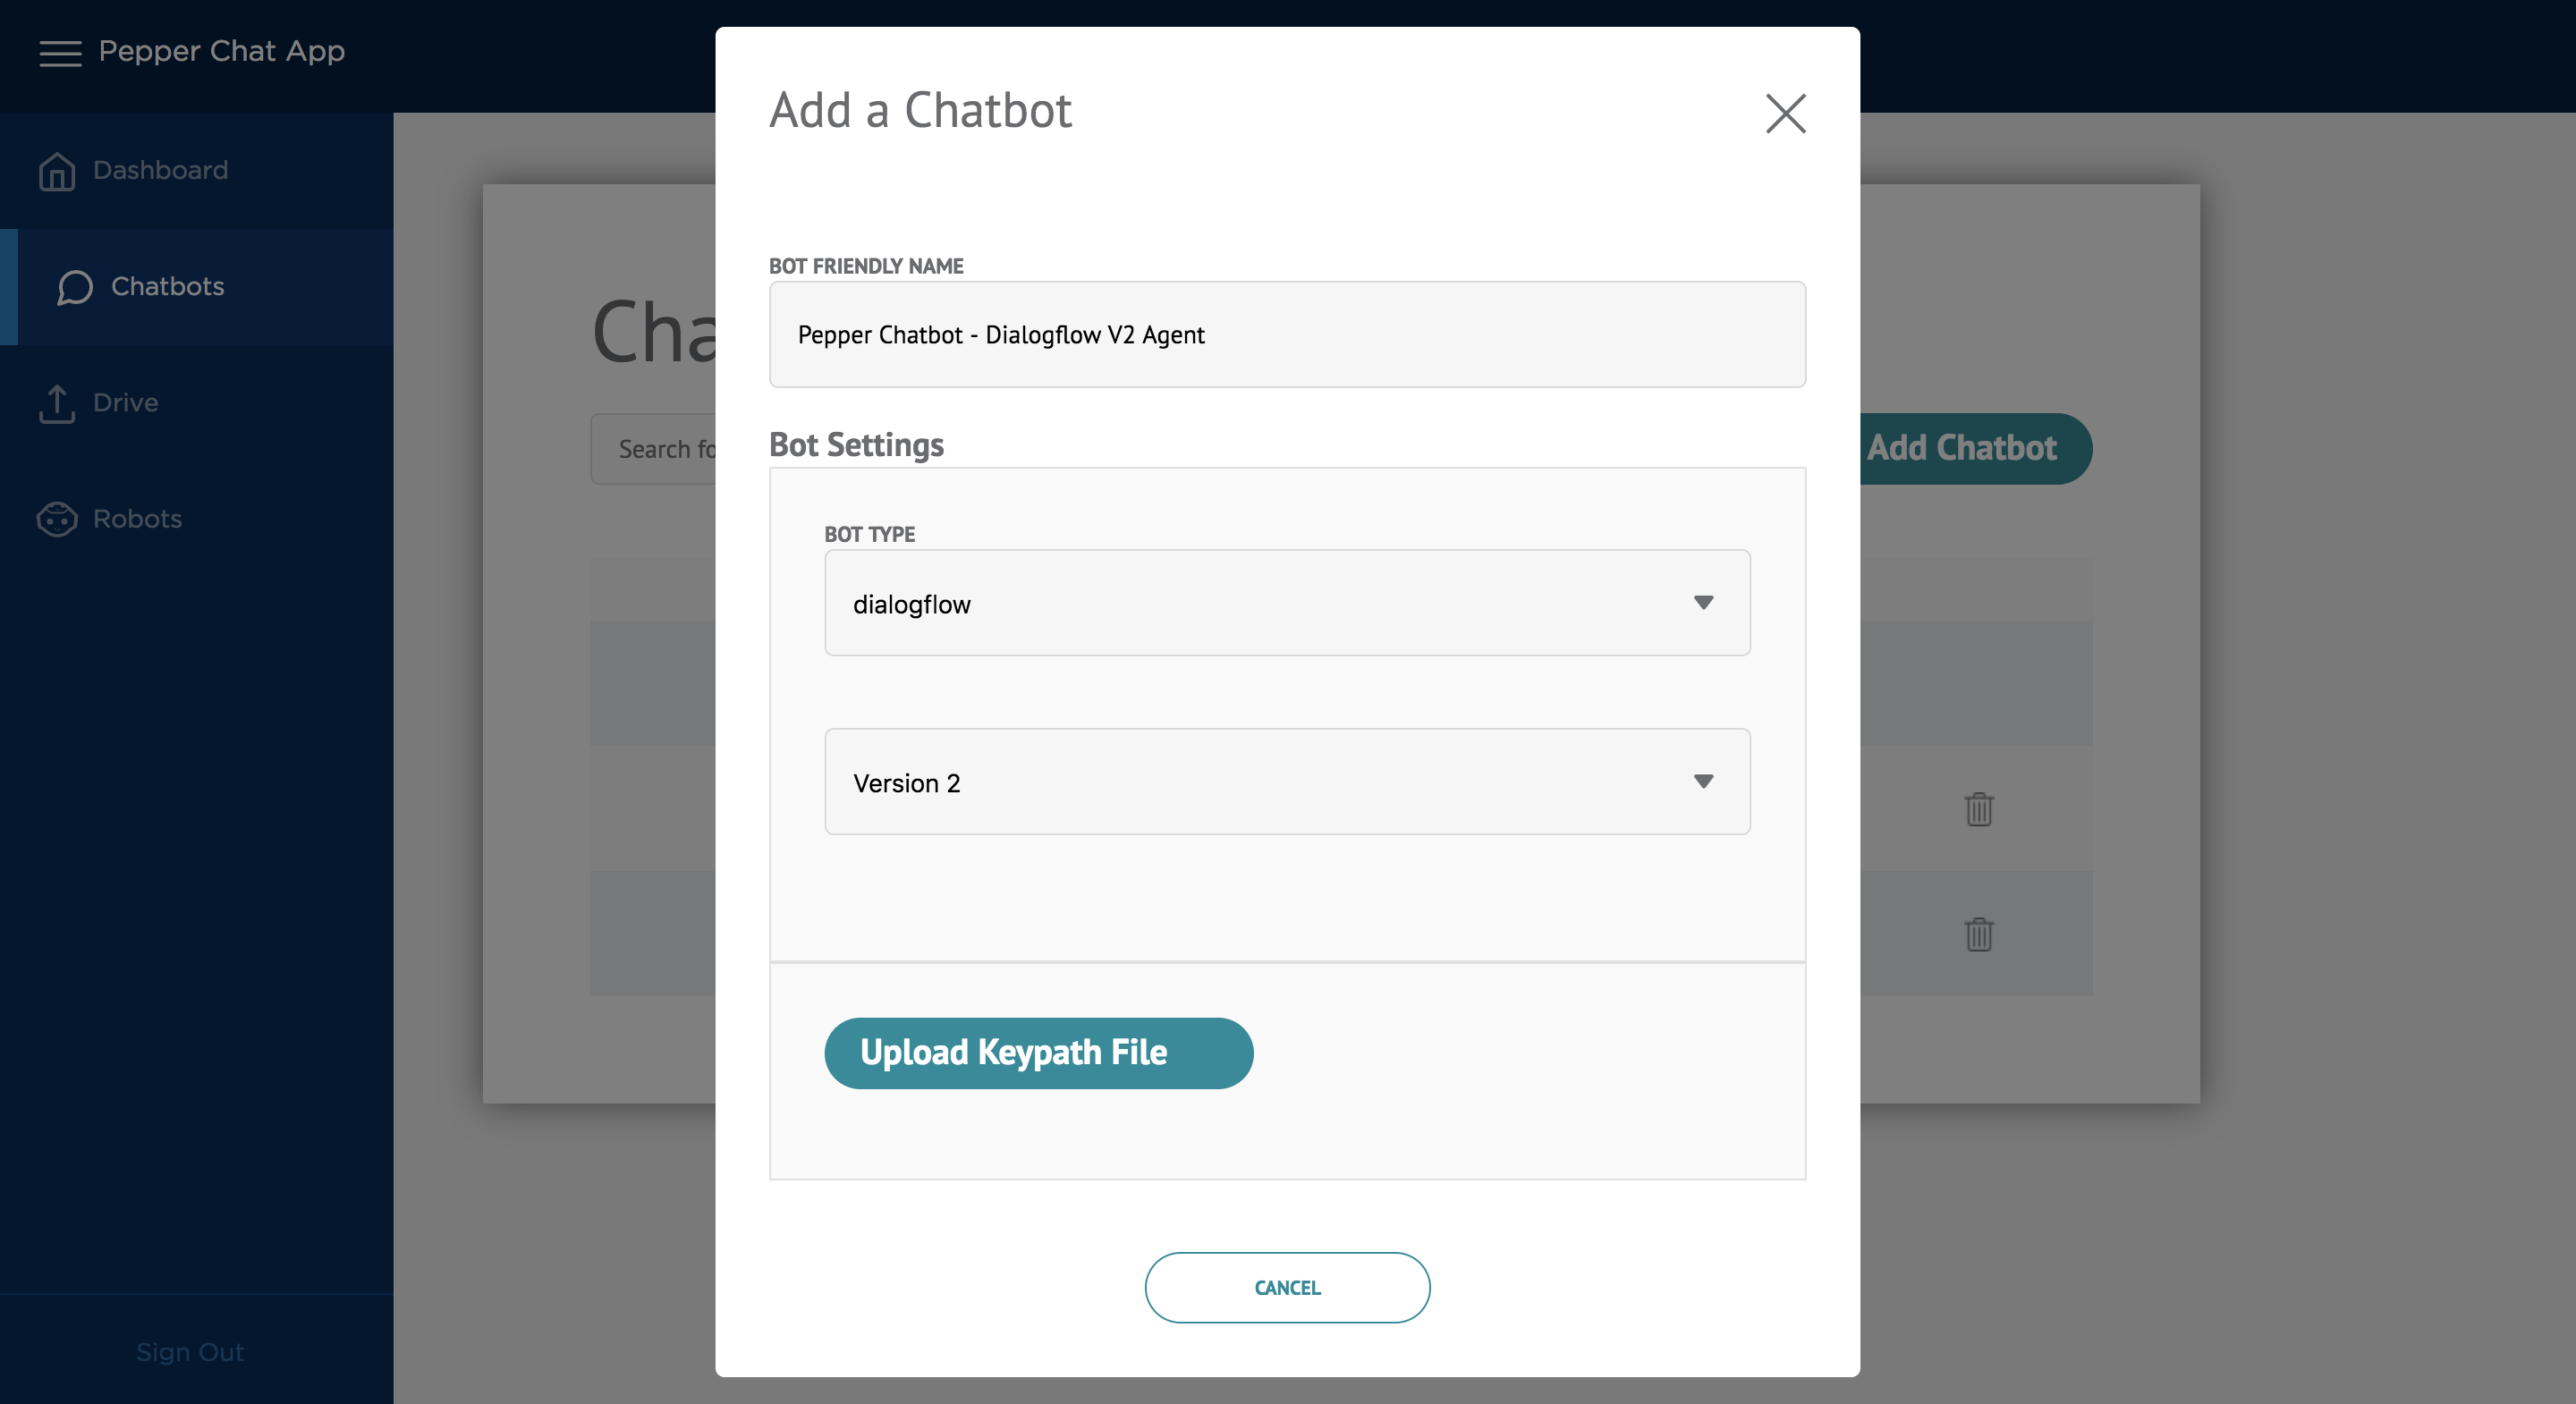
2) Add a new chatbot to your account from within the CHATBOTS tab, using the '+ Add Chatbot' button;
3) Complete the setup wizard, supplying the downloaded keypath file you obtained from Dialogflow in part I. This will pair Pepper Chat with your Dialogflow chatbot.
4) Activate the chatbot for the desired robot(s) by clicking on the Robots tab and selecting the chatbot from the dropdown menu.
5) Disable the standard Host menu by logging into the standard Host CMS and turning off Notify, Company Stories, & Entertainment, while ensuring that the FAQ feature remains on.
6) Within your Dialogflow agent, to set up a Welcome intent, use the training phrase "init1234". The "init1234" training phrase will activate this intent as the entry point to every interaction. NOTE: If you do not set up an intent with this training phrase, then the system will still send the "init1234" message, and as a result, Pepper will start every interaction with your default Fallback intent's response.
BUILD YOUR CHATBOT:
Now it's time to build your Pepper chatbot! Remember these guidelines in order to create a positive, memorable experience with Pepper for your customers.
1.) Use tablet menus throughout the conversation - it's easy for a user to get lost in a conversational UX experience
2.) Let Pepper lead the conversation - Pepper always asks the follow-ups
3.) Don't let a user dead-end - it's always better to have your ending conversational branches loop back around to an entry point into another conversational branch
4.) Make the conversation truly interactive - Pepper can learn bits of information from the user and use them in the conversation
5.) Make it fun and light - give Pepper a sense of humor and keep the conversation moving
→ Types of Responses
A Chatbot is essentially a collection of responses that are designed to be triggered by vocal- or text-based, user input. With the Host + Pepper Chat platform, you can choose from the following type of responses that include both what Pepper speaks as well as renders on his tablet.
SPEECH + TABLET DISPLAY OPTIONS:
SPEECH + TABLET DISPLAY OPTIONS:
The section below shows all the various options that can be displayed on Pepper's tablet:
TEXT:
- TEXT (ONLY) - Non-selectable text response; Pepper says the text as well as rendering the text on its tablet
- TEXT BUBBLES - Selectable, Scrollable Text Bubbles(1-4 max on tablet at a time) - size of bubble varies according to the length of the response
IMAGES:
- IMAGES - Carousel, Captioned - Selectable, Scrollable (n>2; 3 max on tablet at a time) - 360w x 341t ea.
- IMAGES - Carousel, Uncaptioned - Selectable, Scrollable (n>2; 3 max on tablet at a time) - 360w x 341t ea.
- IMAGE(S) - 1-6-Icon Layouts - Selectable, Non-Scrollable (1-6 max total) - 280w x 225t ea.
- IMAGE - Basic Card - Non-Selectable, Non-Scrollable (1 total) - variable height / width
- IMAGE - Fullscreen - Non-Selectable, Non-Scrollable, Skippable - 1280w x 800t
- IMAGE - Background Image - Non-Selectable, Non-Scrollable - 1280w x 800t
VIDEO:
- VIDEO - Fullscreen - Skippable - 1280w x 800t - .mp4 format required *
WEBPAGE:
- WEBPAGE - Fullscreen - Skippable - 1280w x 800t - Will only work for embeddable sites - Does not allow pop-up windows *
USER INPUT:
- SHOW KEYBOARD - Display the keyboard for the user to type in information.
- PRIVACY POLICY - Checkbox - Keyboard with checked box with Privacy Policy displayed (for CTA) - .PDF format only
- PRIVACY POLICY - Modal Pop-up - Modal window pops up with Privacy Policy displayed (for CTA) - .PDF format only
TABLET UI SETTINGS:
- UPDATE CHATBOT STYLE - Update your chatbot's default UI settings
TEXT ONLY
TEXT ONLY RESPONSE:
Simple, non-selectable, text response
"""""""""""""""""""""""""""""""""""""""""
Dialogflow:
""""""""""""""""""""""""""""""""""""""""
For each intent within your agent, use the simple 'Text response'
fields under the 'Response' section to render a response. Input
multiple responses to have Pepper randomly choose between text responses.
See 'General Information' section above for information on how to have
Pepper display different text from what he speaks.

If you would like to add styling, you can also use the Custom Payload
feature under the 'Response' section and use the following JSON payload:
{
  "speak" : "What you would like Pepper to speak and display on his tablet"
}

See section on styling to add text style.
TEXT BUBBLES
TEXT BUBBLES RESPONSE:
Selectable, Scrollable (1-4 max on tablet at a time) - variable size
"""""""""""""""""""""""""""""""""""""""""
Dialogflow:
""""""""""""""""""""""""""""""""""""""""
I.) UI:
To display Text Bubbles within Dialogflow:
For a given intent within your agent, under the 'Response'
section, select 'Custom Payload' and enter the following JSON payload:

Without style/formatting:
{
  "title": "Tap or Say one of the following",
  "randomBubbles": [
    {
      "speak": "You clicked Bubble 1",
      "title": "Title of Bubble 1",
      "value": "Bubble1"
    },
    {
      "speak": "You clicked Bubble 2",
      "title": "Title of Bubble 2",
      "value": "Bubble 2"
    },
    {
      "speak": "You clicked Bubble 3",
      "title": "Title of Bubble 3",
      "value": "Bubble 3"
    },
    {
      "speak": "You clicked Bubble 4",
      "title": "Title of Bubble 4",
      "value": "Bubble 4"
    }]
  }

With style/formatting:
{
  "title": "Tap or Say one of the following",
  "randomize": false,
  "backgroundColor": "#ccccff",
  "backgroundImage": "https://pepperstoragedev.blob.core.windows.net/pepperdrive/41092db5-ee34-424a-bdf3-6bca579180af57646fd2-3e12-48db-bc23-36e597b697ef.png",
  "textColor": "red",
  "font": "Courier New",
  "bubbleColor": "green",
  "bubbleTextColor": "yellow",
  "bubbleFont": "Fantasy",
  "randomBubbles": [
    {
      "speak": "You clicked Bubble 1",
      "title": "Title of Bubble 1",
      "value": "Bubble 1"
    },
    {
      "speak": "You clicked Bubble 2",
      "title": "Title of Bubble 2",
      "value": "Bubble 2"
    },
    {
      "speak": "You clicked Bubble 3",
      "title": "Title of Bubble 3",
      "value": "Bubble 3"
    },
    {
      "speak": "You clicked Bubble 4",
      "title": "Title of Bubble 4",
      "value": "Bubble 4"
    }]
  }

** Note:
Each style parameter (font, textColor, etc.) ^^ is optional.
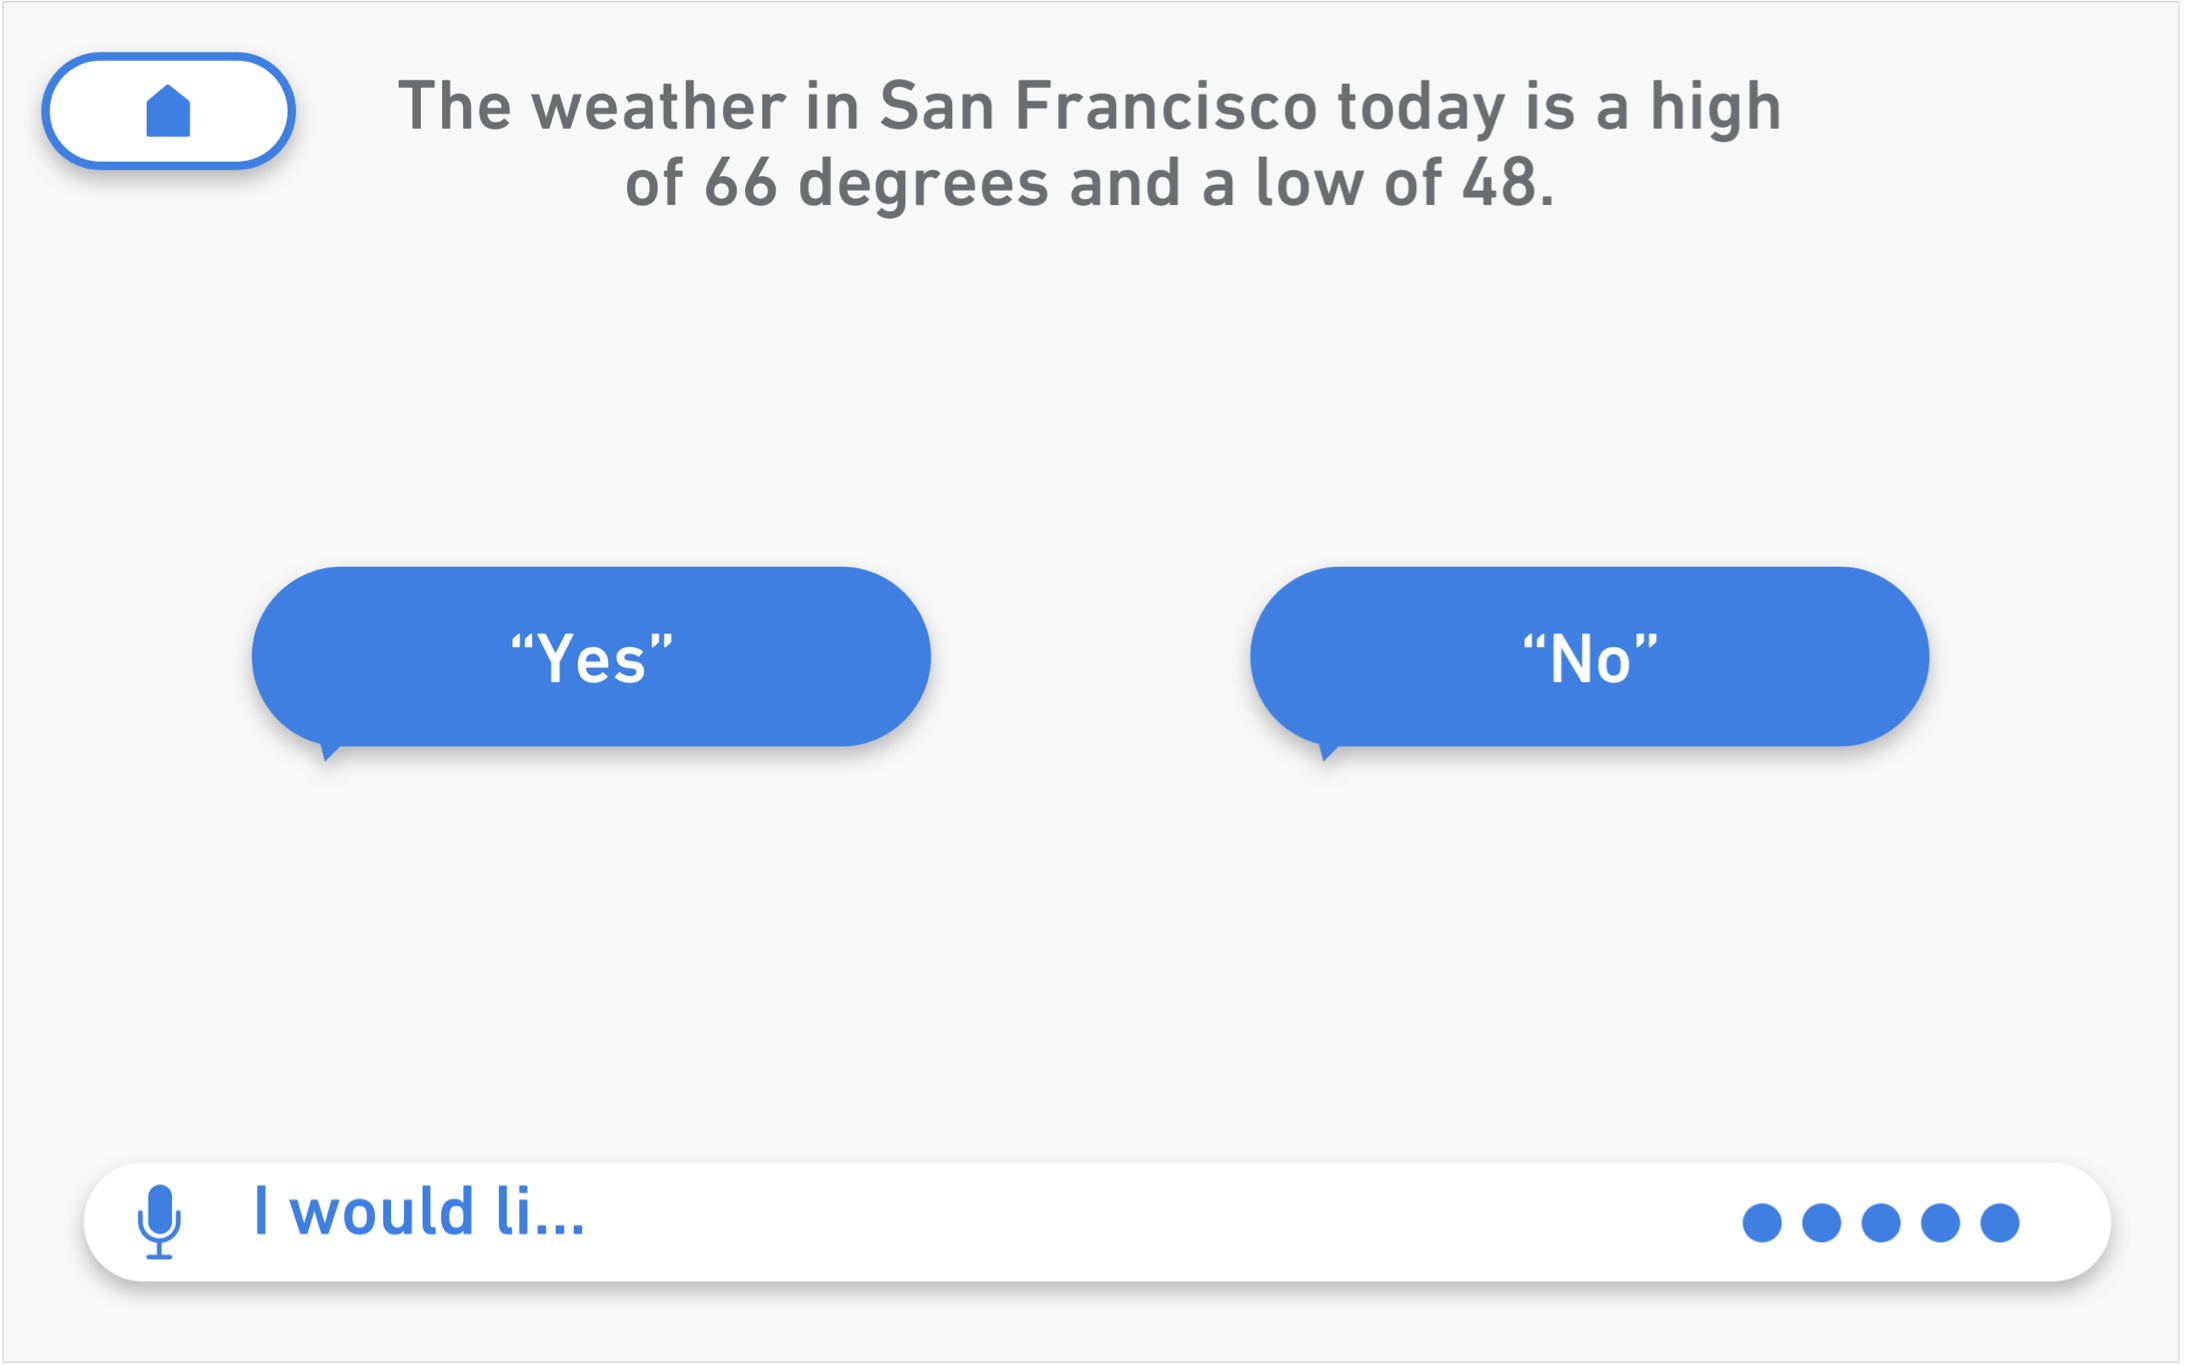
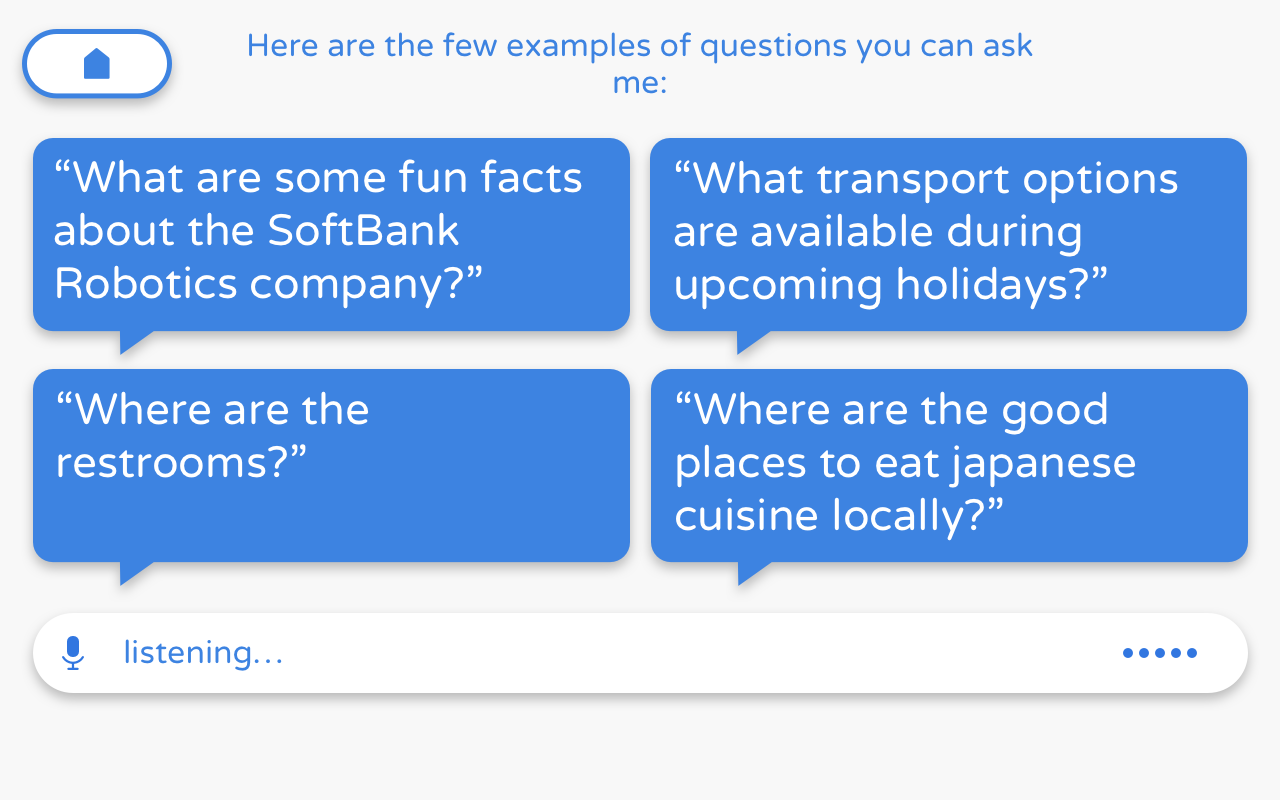
IMAGE - Carousel, Captioned
ACTIONABLE IMAGES & TEXT RESPONSE:
Selectable, Scrollable (3 max on tablet at a time)
Dimensions: 360w x 341t ea.
"""""""""""""""""""""""""""""""""""""""""
Dialogflow:
""""""""""""""""""""""""""""""""""""""""
For a given intent within your agent, under the 'Response'
section, select 'Custom Payload' and enter the following JSON payload:
{
  "title": "Did somebody request a fulfillment-free, captioned carousel? At your service... || Your wish is my command ...",
  "backgroundColor": "lightblue",
  "textColor": "green",
  "font": "sans-serif-medium",
  "imageCards": [
    {
      "speak": "The American boxer is a strong-looking dog.",
      "contentURL": "https://static.pexels.com/photos/158682/snow-dog-de-bordeaux-158682.jpeg",
      "text": "Boxer",
      "value": "carousel uncaptioned"
    },
    {
      "speak": "Its coat is short and generally smooth.",
      "contentURL": "https://upload.wikimedia.org/wikipedia/commons/3/31/IMG_0488-Crocus_alatavicus.jpg",
      "text": "Boxer2",
      "value": "boxer"
    },
    {
      "speak": "The Akita is a very intelligent dog.",
      "contentURL": "https://upload.wikimedia.org/wikipedia/commons/5/56/Papillon_Ears.jpg",
      "text": "Akita",
      "value": "akita"
    },
    {
      "speak": "This dog can be sociable with children.",
      "contentURL": "https://upload.wikimedia.org/wikipedia/commons/e/e3/Verde_Visconti.jpg",
      "text": "Akita2",
      "value": "akita"
    }
  ]
}
** Note:
The following keywords are optional in the above example:
'backgroundColor', 'font', 'textColor'
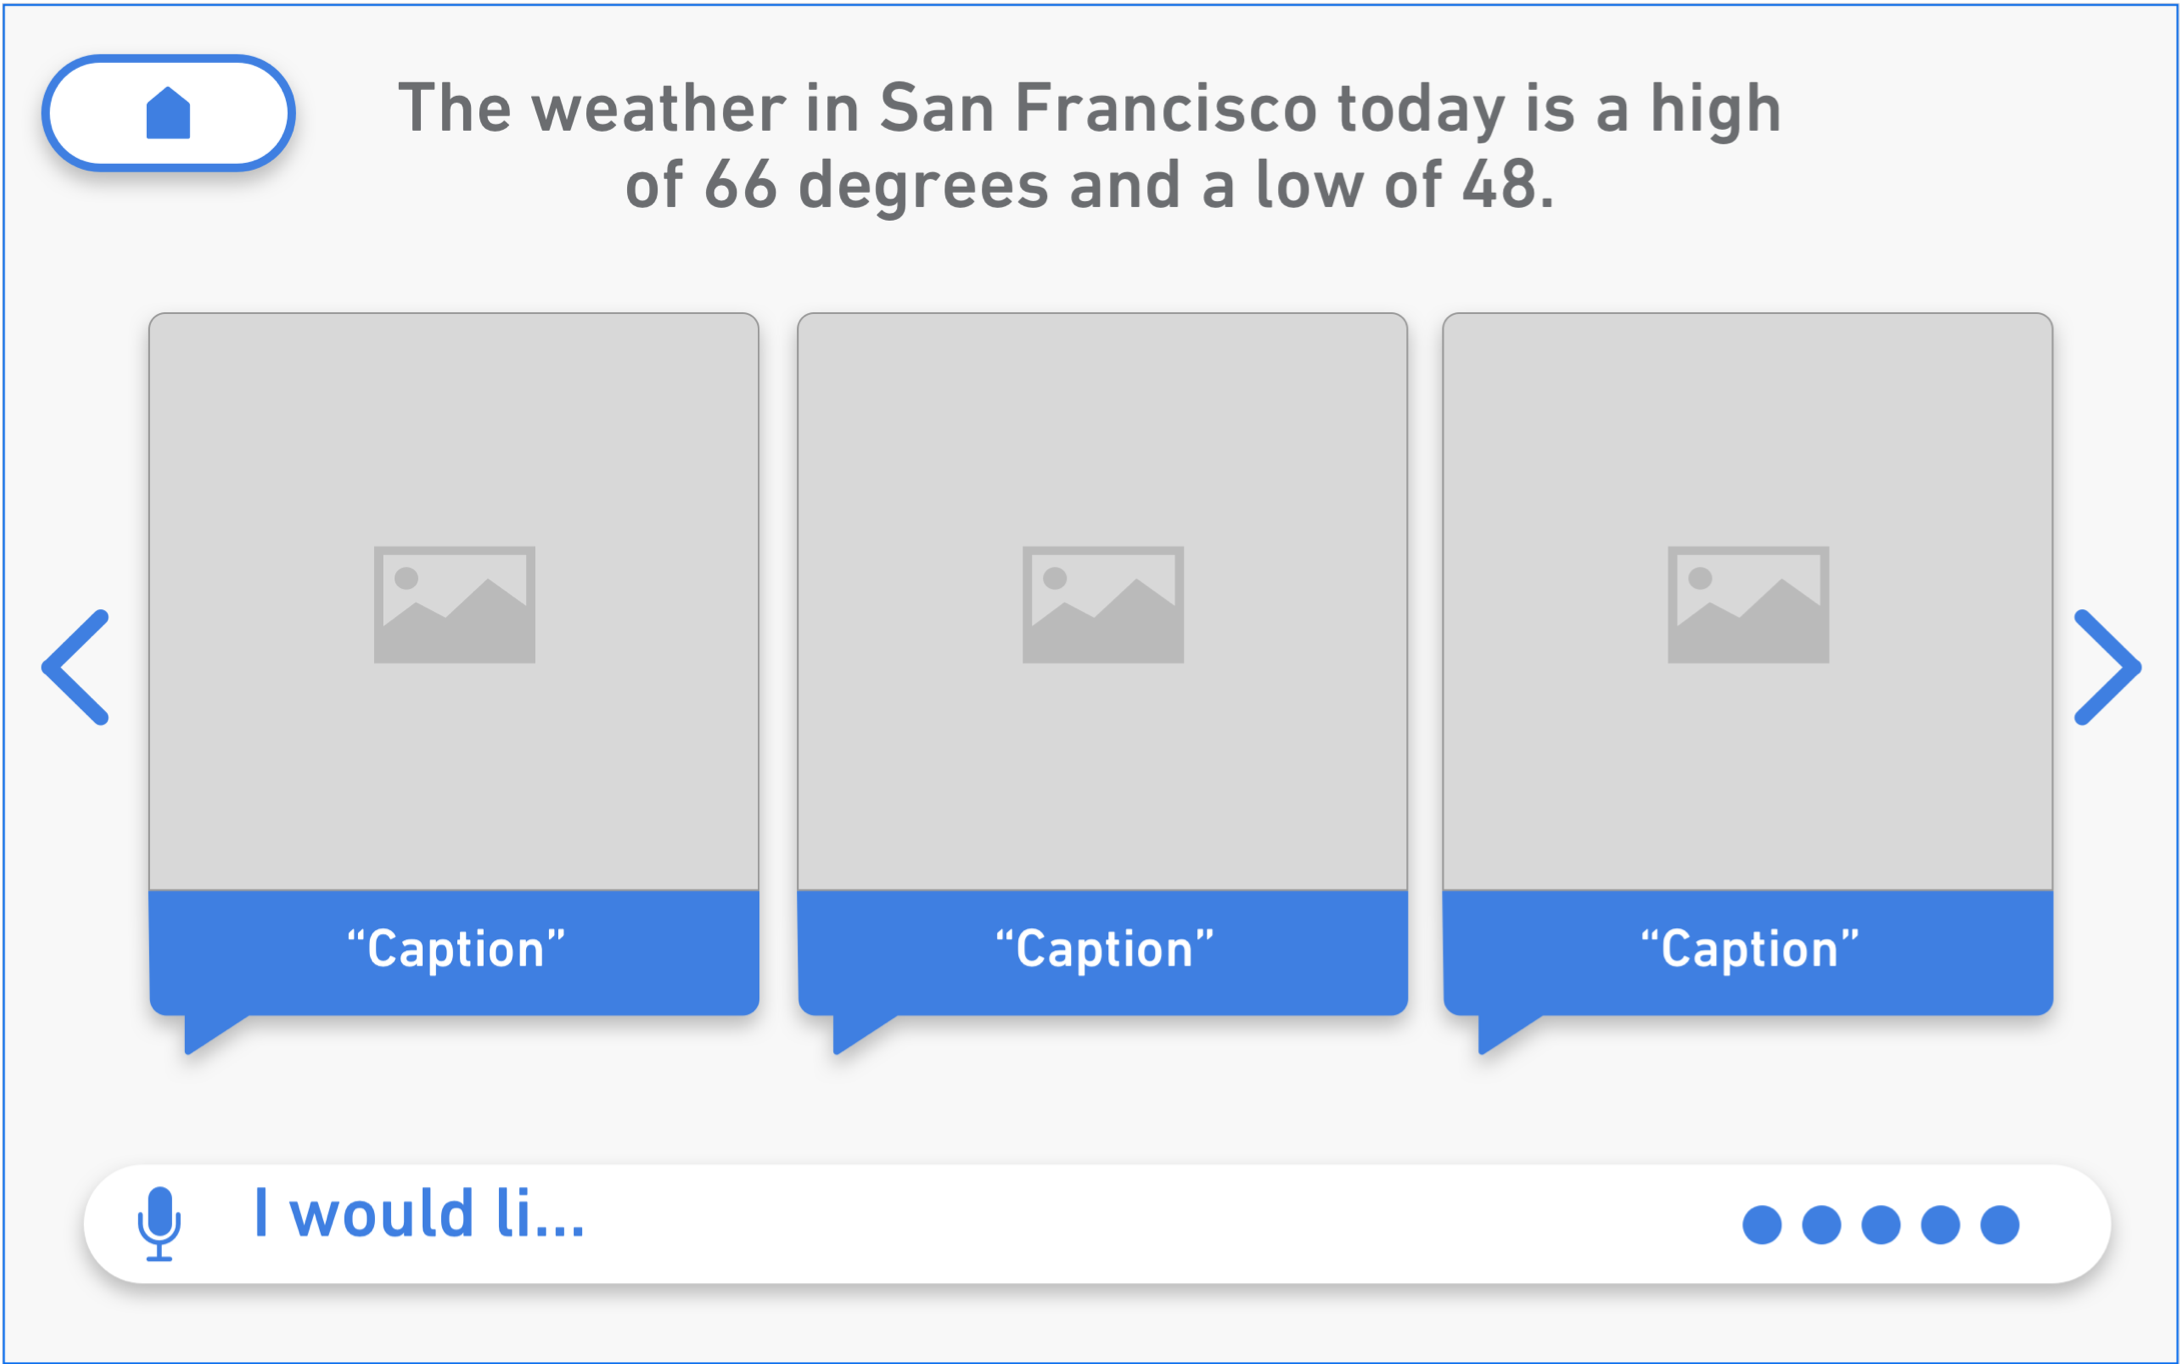
IMAGE - Carousel, Uncaptioned
ACTIONABLE IMAGES & TEXT RESPONSE:
Selectable, Scrollable (3 max on tablet at a time)
Dimensions: 360w x 361t ea.
"""""""""""""""""""""""""""""""""""""""""
Dialogflow:
""""""""""""""""""""""""""""""""""""""""
For a given intent within your agent, under the 'Response'
section, select 'Custom Payload' and enter the following JSON payload:
{
  "title": "One uncaptioned carousel about dogs || A beautiful carousel ...",
  "backgroundImage": "https://pepperstoragedev.blob.core.windows.net/pepperdrive/41092db5-ee34-424a-bdf3-6bca579180af57646fd2-3e12-48db-bc23-36e597b697ef.png",
  "font": "Roboto",
  "textColor": "red",
  "imageCards": [
    {
      "speak": "The American boxer is a strong-looking dog.",
      "contentURL": "https://static.pexels.com/photos/158682/snow-dog-de-bordeaux-158682.jpeg",
      "value": "boxer"
    },
    {
      "speak": "The Akita is a very intelligent dog.",
      "contentURL": "https://upload.wikimedia.org/wikipedia/commons/5/56/Papillon_Ears.jpg",
      "value": "akita"
    },
    {
      "speak": "This dog can be sociable with children.",
      "contentURL": "https://upload.wikimedia.org/wikipedia/commons/5/56/Papillon_Ears.jpg",
      "value": "akita"
    }
  ]
}

** Note:
The following keywords are optional in the above example:
'backgroundImage', 'font', 'textColor'
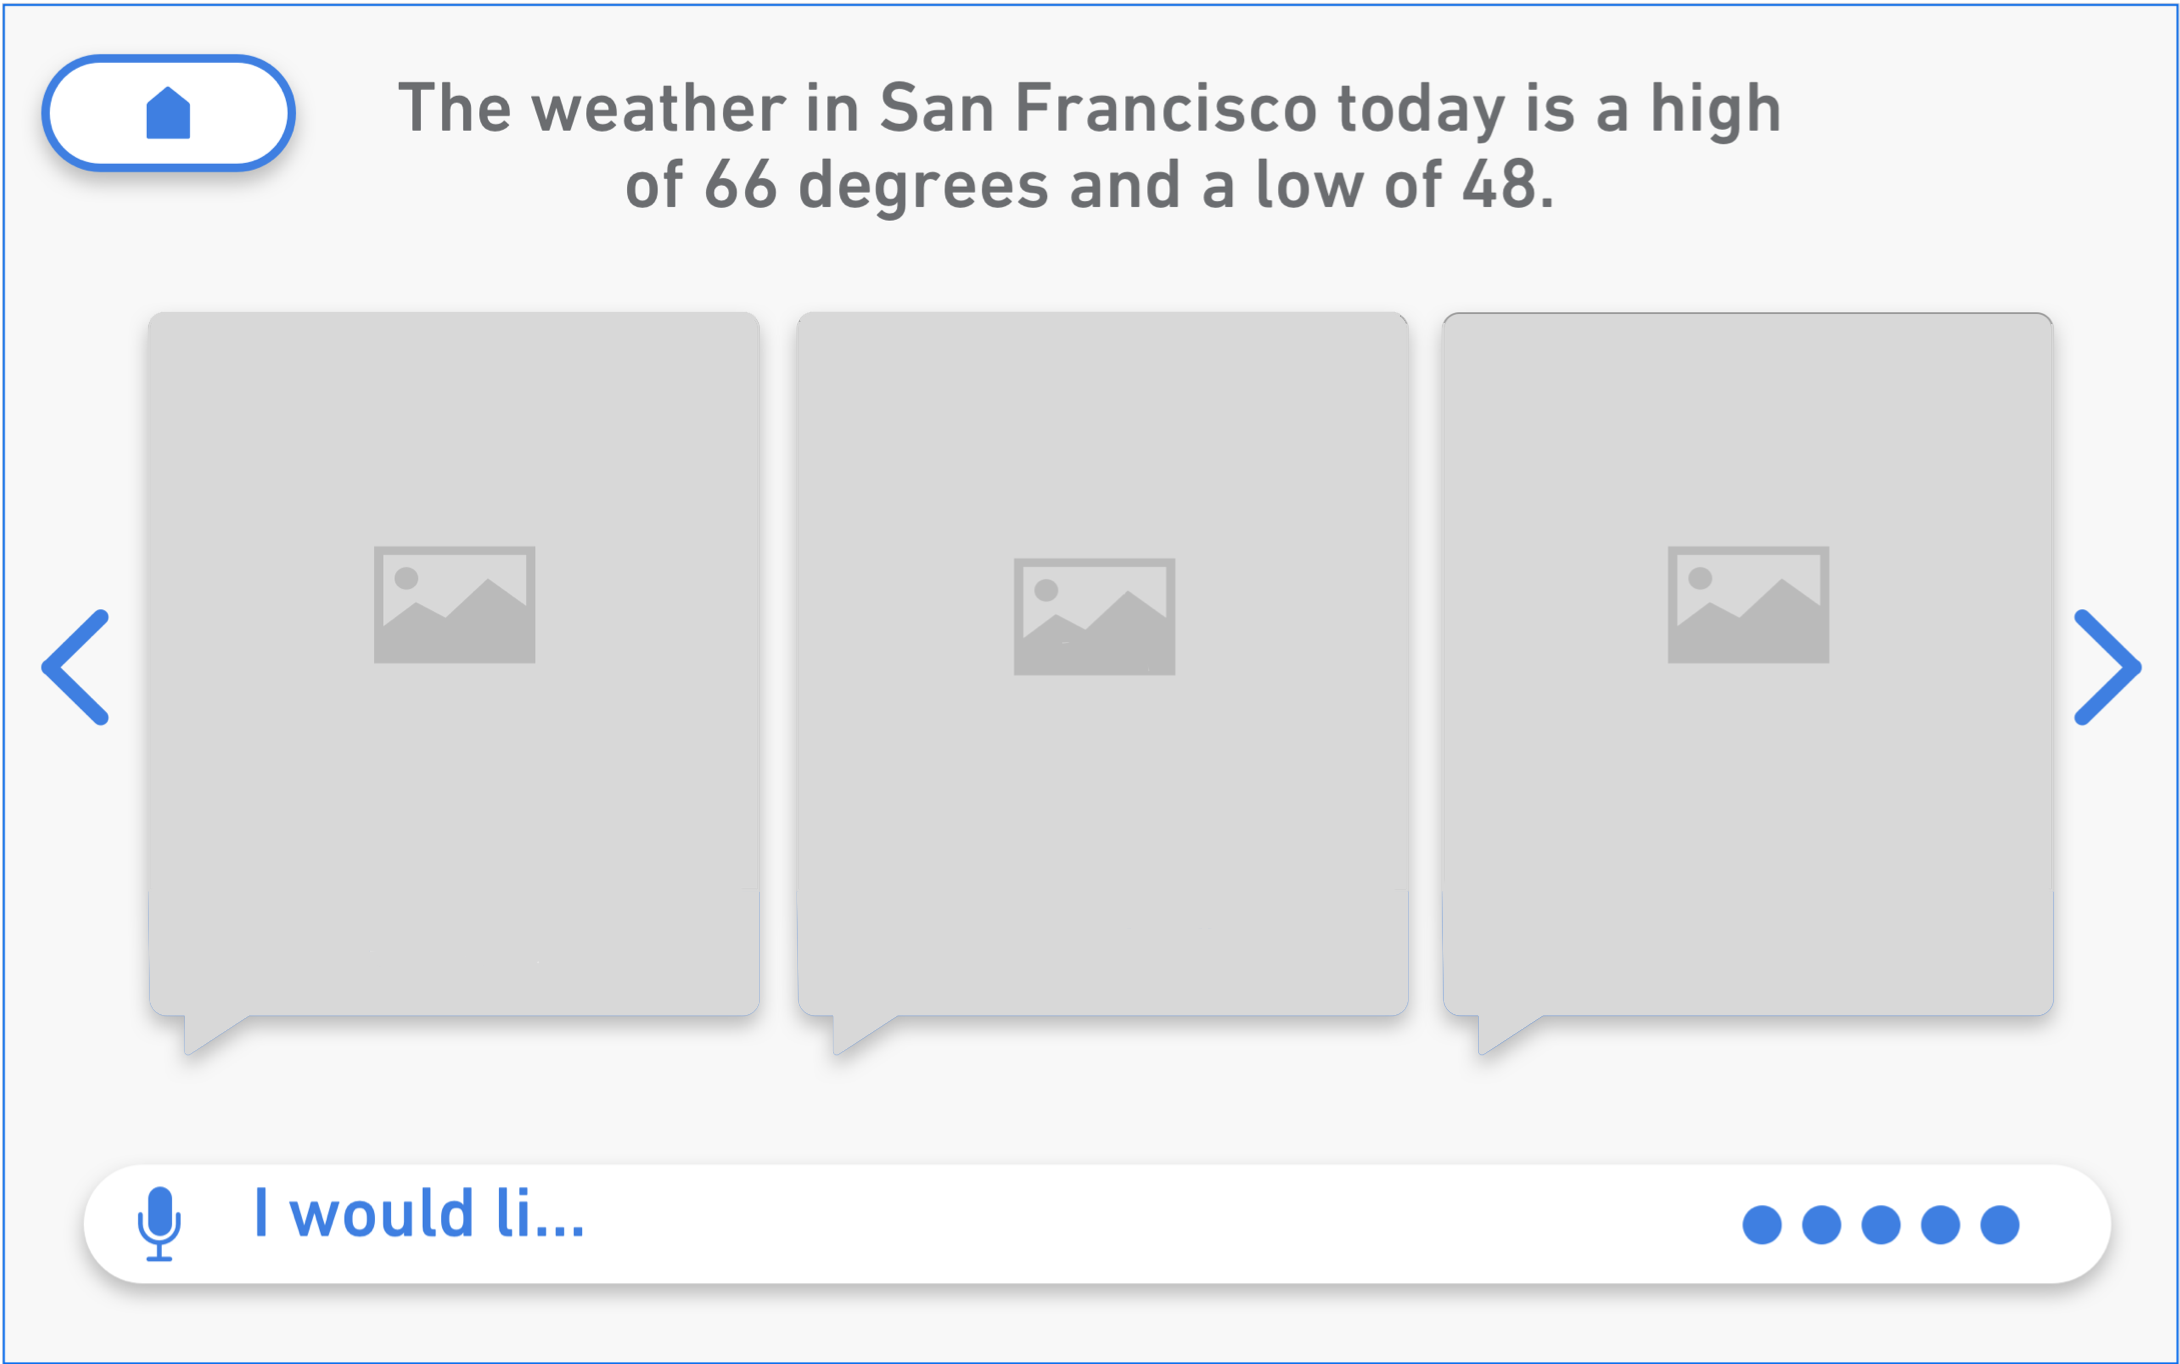
IMAGE - 1-6-Icon Layouts
ACTIONABLE IMAGES & TEXT RESPONSE:
Selectable, Non-Scrollable, Multiple-Icon Layouts (6 max total)
Dimensions: 280w x 225t ea.
"""""""""""""""""""""""""""""""""""""""""
Dialogflow:
""""""""""""""""""""""""""""""""""""""""
For a given intent within your agent, under the 'Response'
section, select 'Custom Payload' and enter the following:
{
  "backgroundImage": "https://pepperstoragedev.blob.core.windows.net/pepperdrive/41092db5-ee34-424a-bdf3-6bca579180af60cd05b2-4caf-47e3-b654-e69da3b6f81a.jpg",
  "speak": "Here are some icons || Icons...",
  "customIcons": [
    {
      "iconUrl": "https://pepperstoragedev.blob.core.windows.net/pepperdrive/41092db5-ee34-424a-bdf3-6bca579180af6c4dfe53-5fa2-45a2-a431-4cf014fc750e.png",
      "value": "One icon",
      "speak": "Good choice"
    },
    {
      "iconUrl": "https://pepperstoragedev.blob.core.windows.net/pepperdrive/41092db5-ee34-424a-bdf3-6bca579180afa013ade8-f8b1-4c69-914e-4c255274c84c.png",
      "value": "Two icons",
      "speak": "OK"
    },
    {
      "iconUrl": "https://pepperstoragedev.blob.core.windows.net/pepperdrive/41092db5-ee34-424a-bdf3-6bca579180afde0a0ee6-947d-4ca7-918c-a034e6e65350.png",
      "value": "Three icons",
      "speak": "You got it"
    },
    {
      "iconUrl": "https://pepperstoragedev.blob.core.windows.net/pepperdrive/41092db5-ee34-424a-bdf3-6bca579180af6e65cd8c-9e2a-4db4-b65c-107b4629c1a8.png",
      "value": "Four icons",
      "speak": "Alright"
    },
    {
      "iconUrl": "https://pepperstoragedev.blob.core.windows.net/pepperdrive/41092db5-ee34-424a-bdf3-6bca579180af969a089b-884b-47e2-b896-b2b9f07eea31.png",
      "value": "Five icons",
      "speak": "Great"
    },
    {
      "iconUrl": "https://pepperstoragedev.blob.core.windows.net/pepperdrive/41092db5-ee34-424a-bdf3-6bca579180afc611cb65-0926-4ccb-b308-4f879f131ec8.png",
      "value": "Six icons",
      "speak": "Wonderful"
    }
  ]
}

** Note:
The following keywords are optional in the above example:
'backgroundImage'
![]()
![]()
![]()
![]()
![]()
![]()
![]()
IMAGE - Basic Card
IMAGE RESPONSE - Basic Card
Non-selectable, must be followed by text bubbles to be selectable
Dimensions:
- approx. 975w x 585t for landscape Basic Cards
- approx. 415w x 585t for portrait Basic Cards
"""""""""""""""""""""""""""""""""""""""""""""""""""""""""""
Dialogflow: Non-actionable Images (with follow-up buttons)
""""""""""""""""""""""""""""""""""""""""""""""""""""""""""
For a given intent within your agent, under the 'Response'
section, select 'Custom Payload' and enter the following:
{
  "basicCard": {
    "speak": "Check out this beautiful basic card of a few of my heroes. No fulfillment was harmed or otherwise used in the making of this basic card:",
    "text": "Basic Card",
    "contentURL": "https://pepperstorageprod.blob.core.windows.net/pepperdrive/6bb74073-3661-4588-81fd-d4484e9e01daeae1145b-8dd1-4ac7-a0ff-ca1063f89d9a.png"
  },
  "backgroundColor": "black",
  "textColor": "white",
  "font": "sans-serif-thin"
}

** Note:
The following keywords are optional in the above example:
  'backgroundImage', 'font', 'textColor'

** Note:
With non-actionable images, it is recommended to keep the conversation
alive with a follow-up message. To prompt the user for another action, simply
combine the Basic Card with Text Bubbles or redirect to another intent
 using Actions > Trigger An Intent
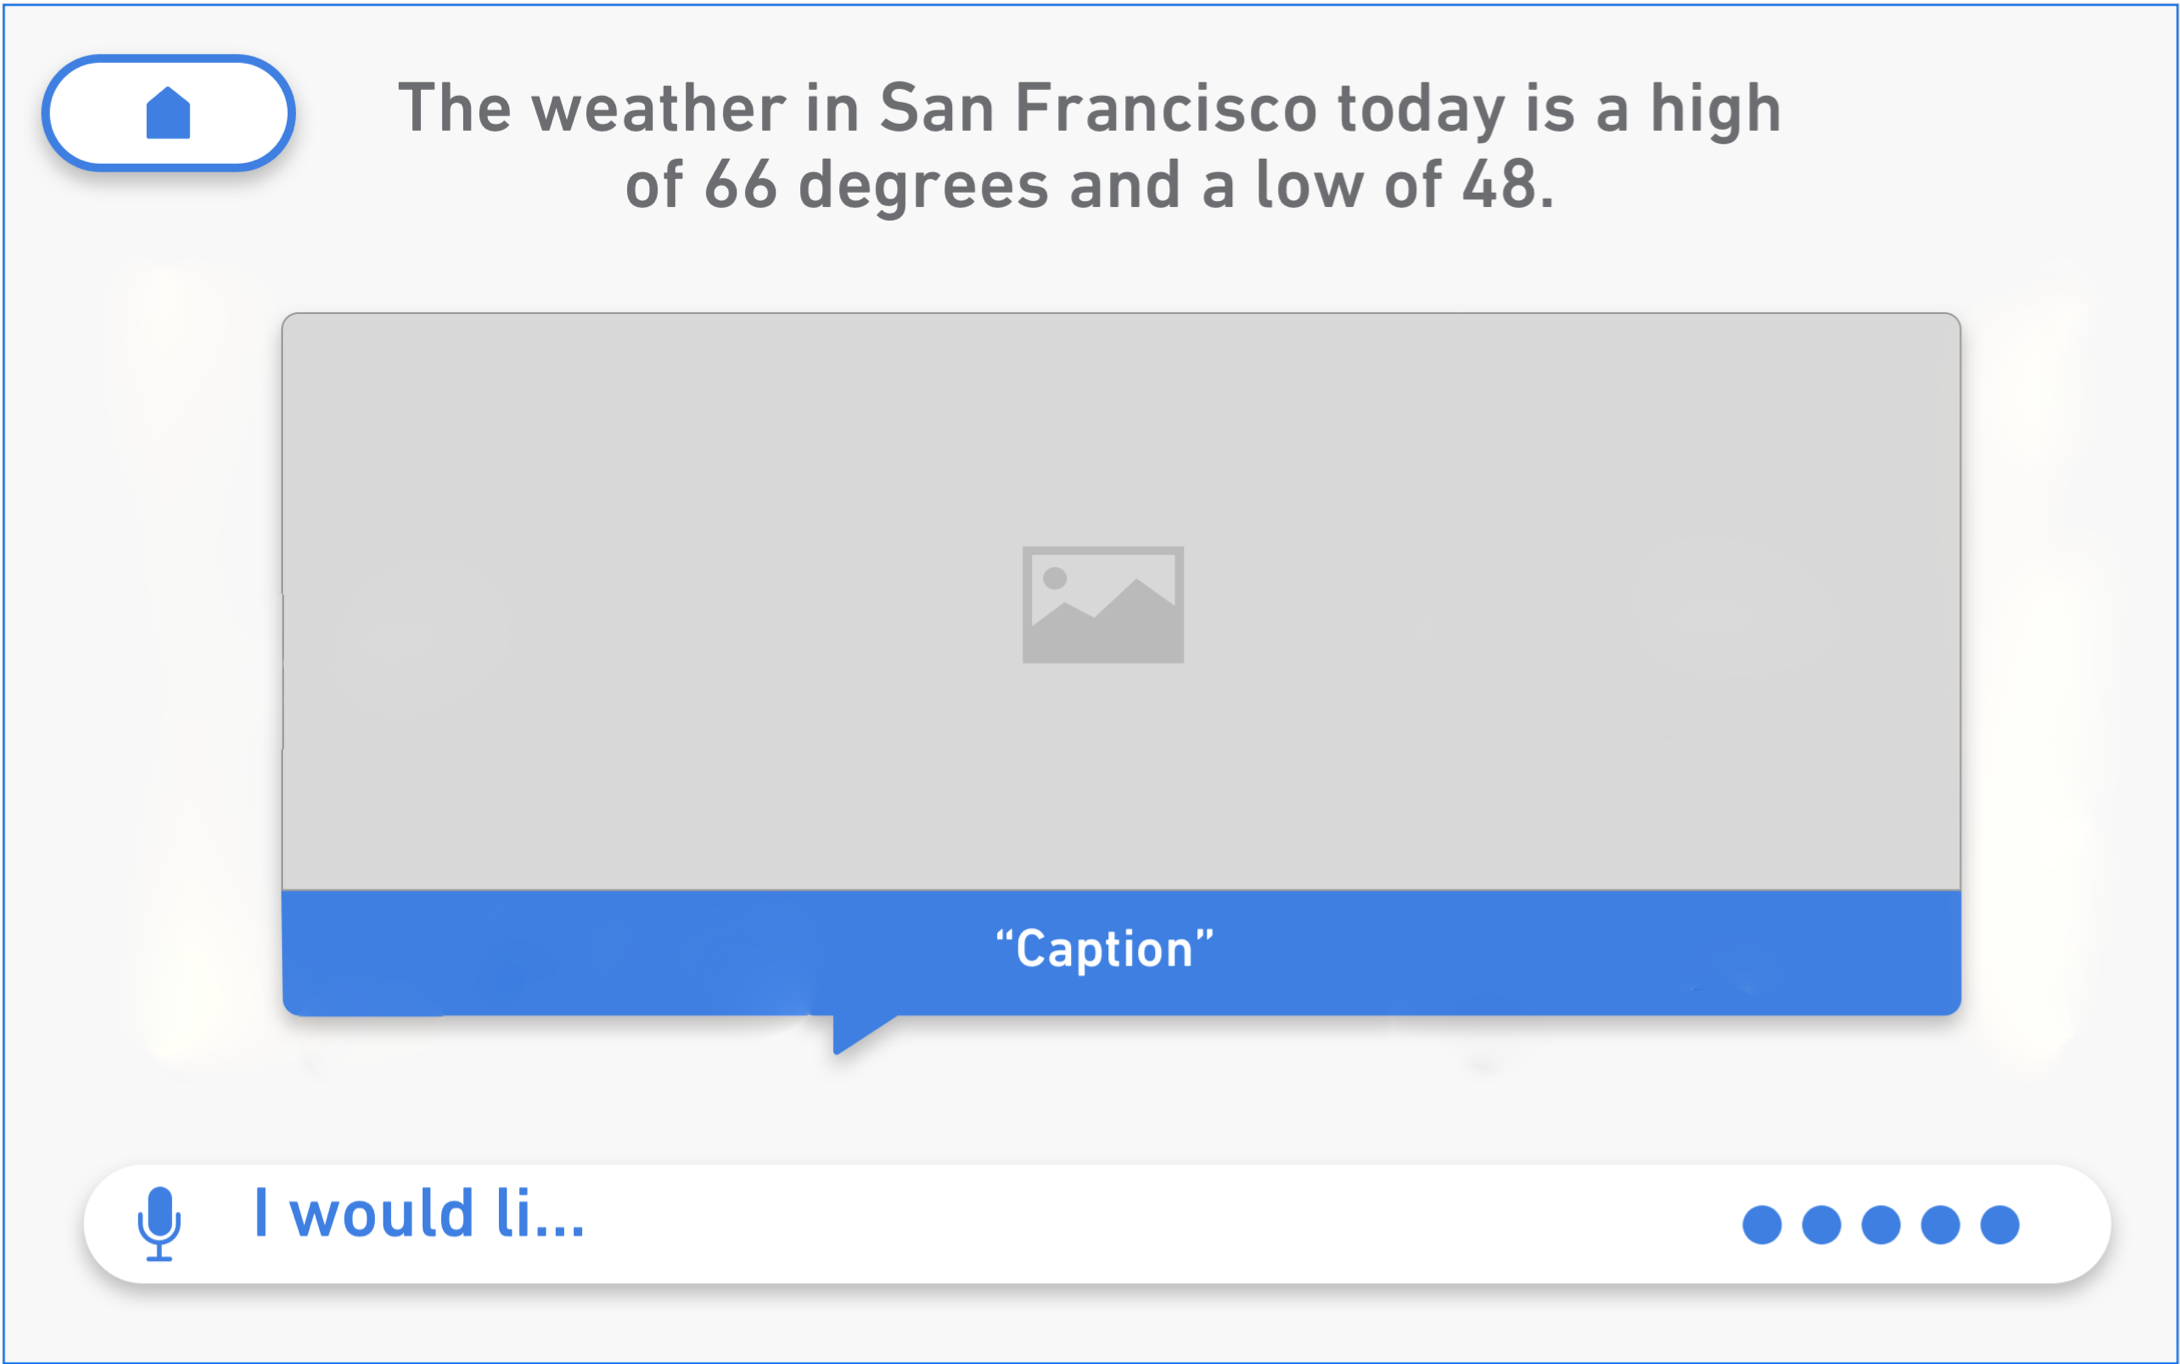
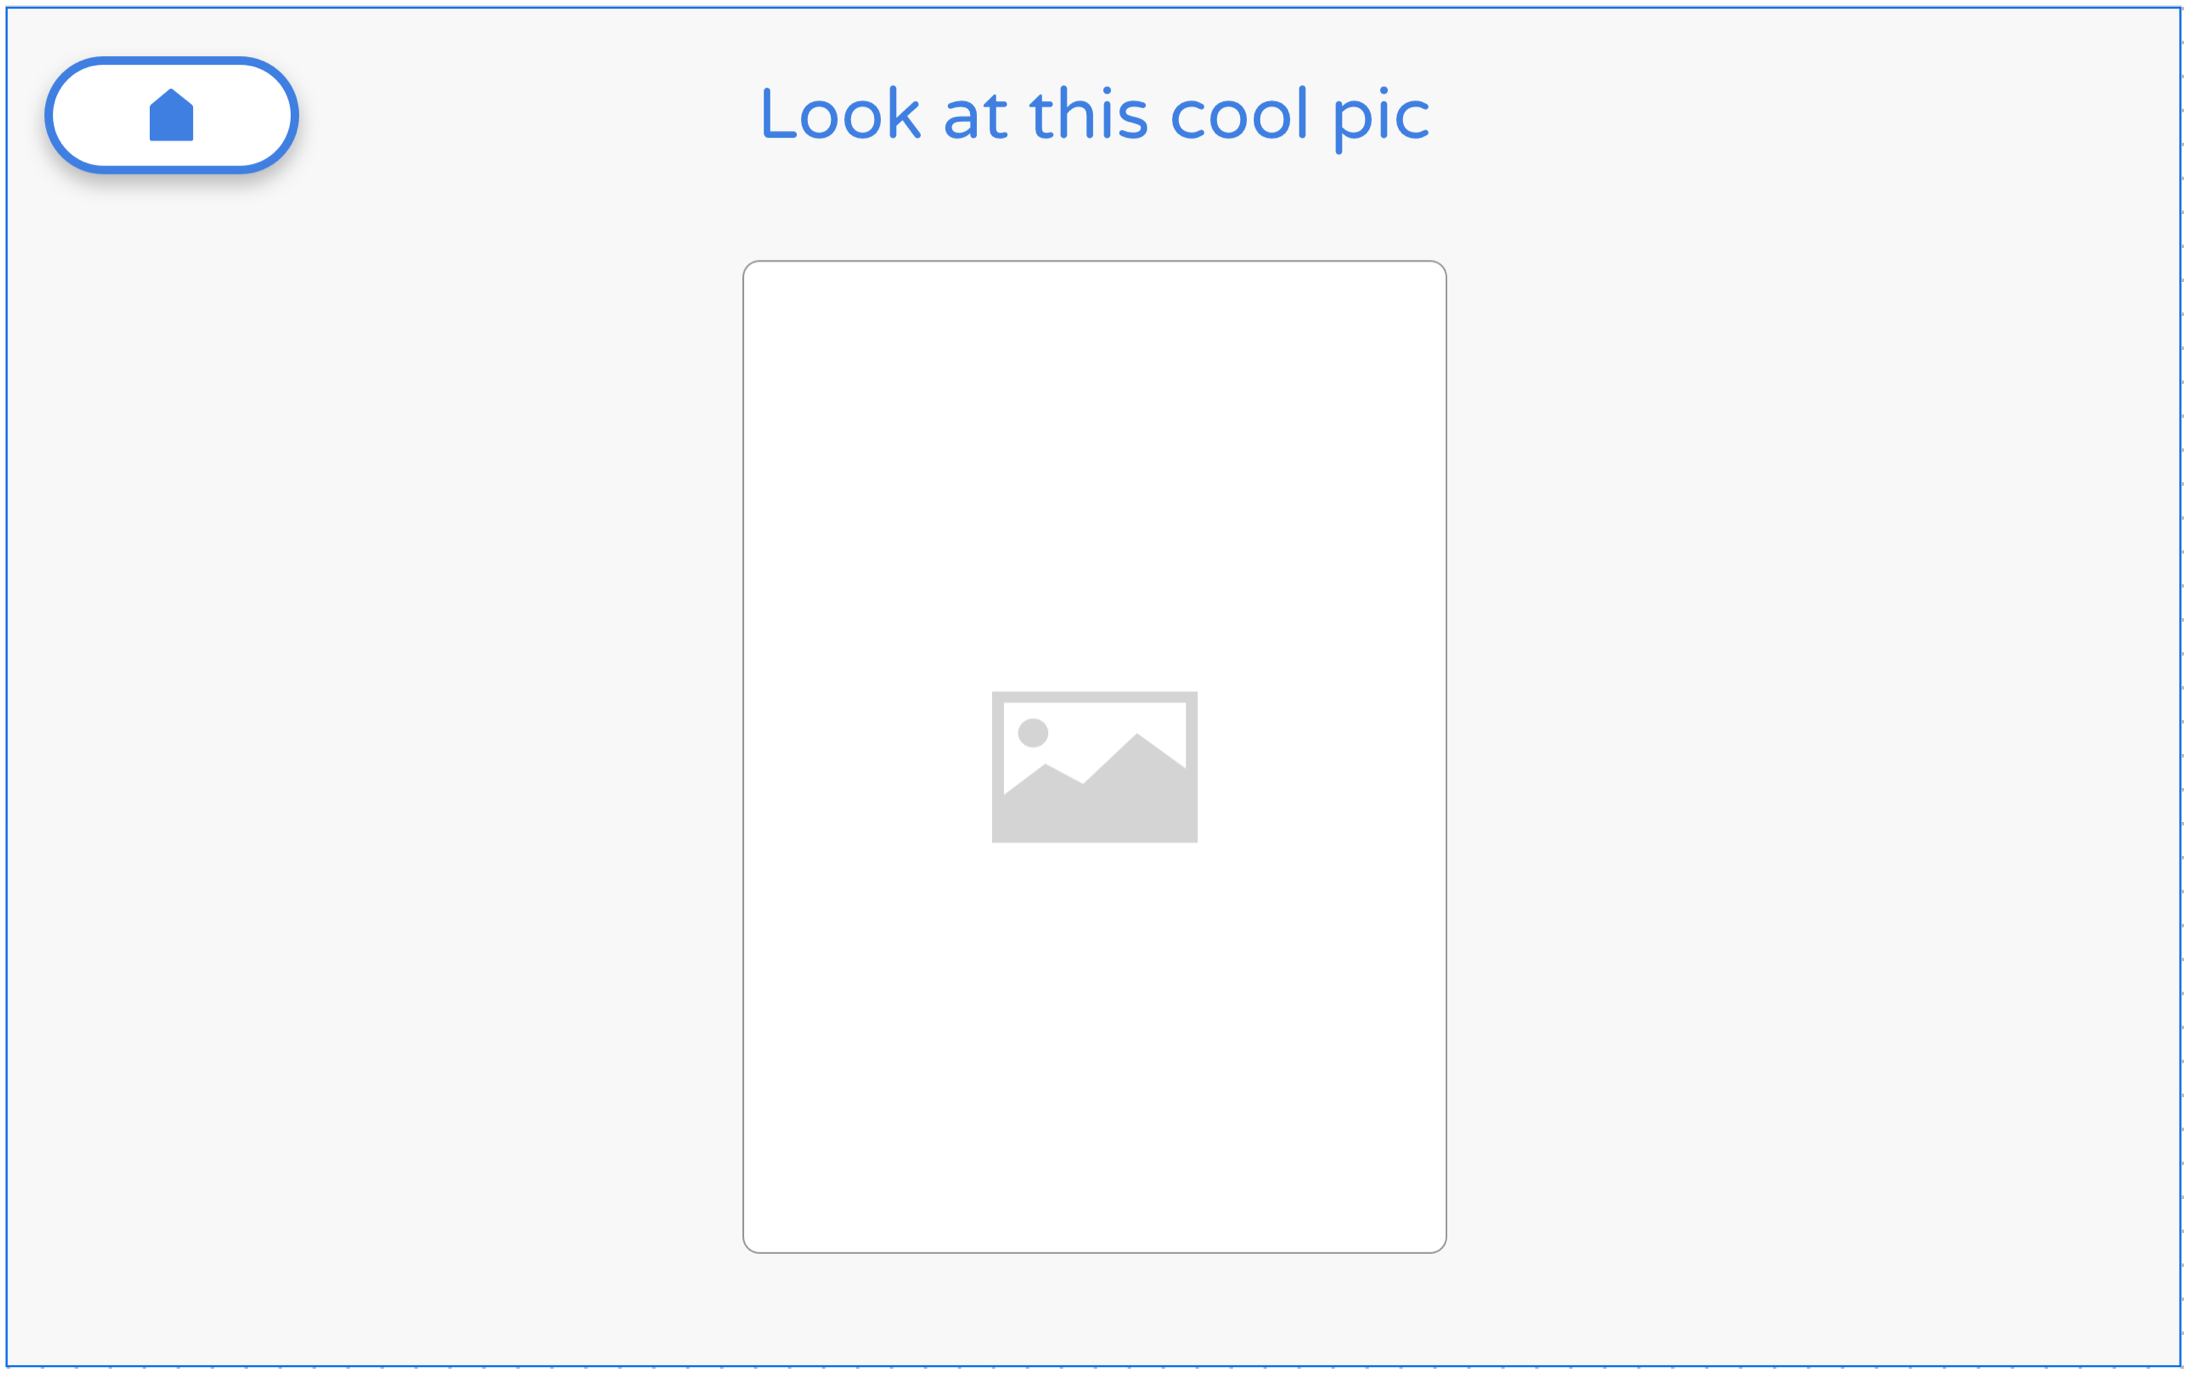
IMAGE - Background Image
IMAGE RESPONSE - Background Image:
Non-selectable, Non-Scrollable, Persistent (once displayed, the image will remain throughout the rest of the interaction unless or until a new background image is set) - 1280w x 800t
"""""""""""""""""""""""""""""""""""""""""
Dialogflow:
""""""""""""""""""""""""""""""""""""""""
I.) UI:
A.) Selectable:
For a given intent within your agent, under the 'Response'
section, click 'Add Message Content', select 'Custom Payload'
and copy and paste the following:
{
  "backgroundImage": "https://pepperstorageprod.blob.core.windows.net/pepperdrive/b01d1715-6c1c-4e73-ae19-5136ecdd6bf8020fb261-ddde-4080-923e-cfc247281a63.png",
  "speak": "Here is an persistent background image ||"
}

Notes:

A) With non-actionable images, it is recommended to keep the conversation
alive with a follow-up message. To prompt the user for another action,
simply combine the Basic Card with the Google Assistant Suggestion Chips.

B) When using JSON (^^), any QiChat commands must be double-escaped (\\).
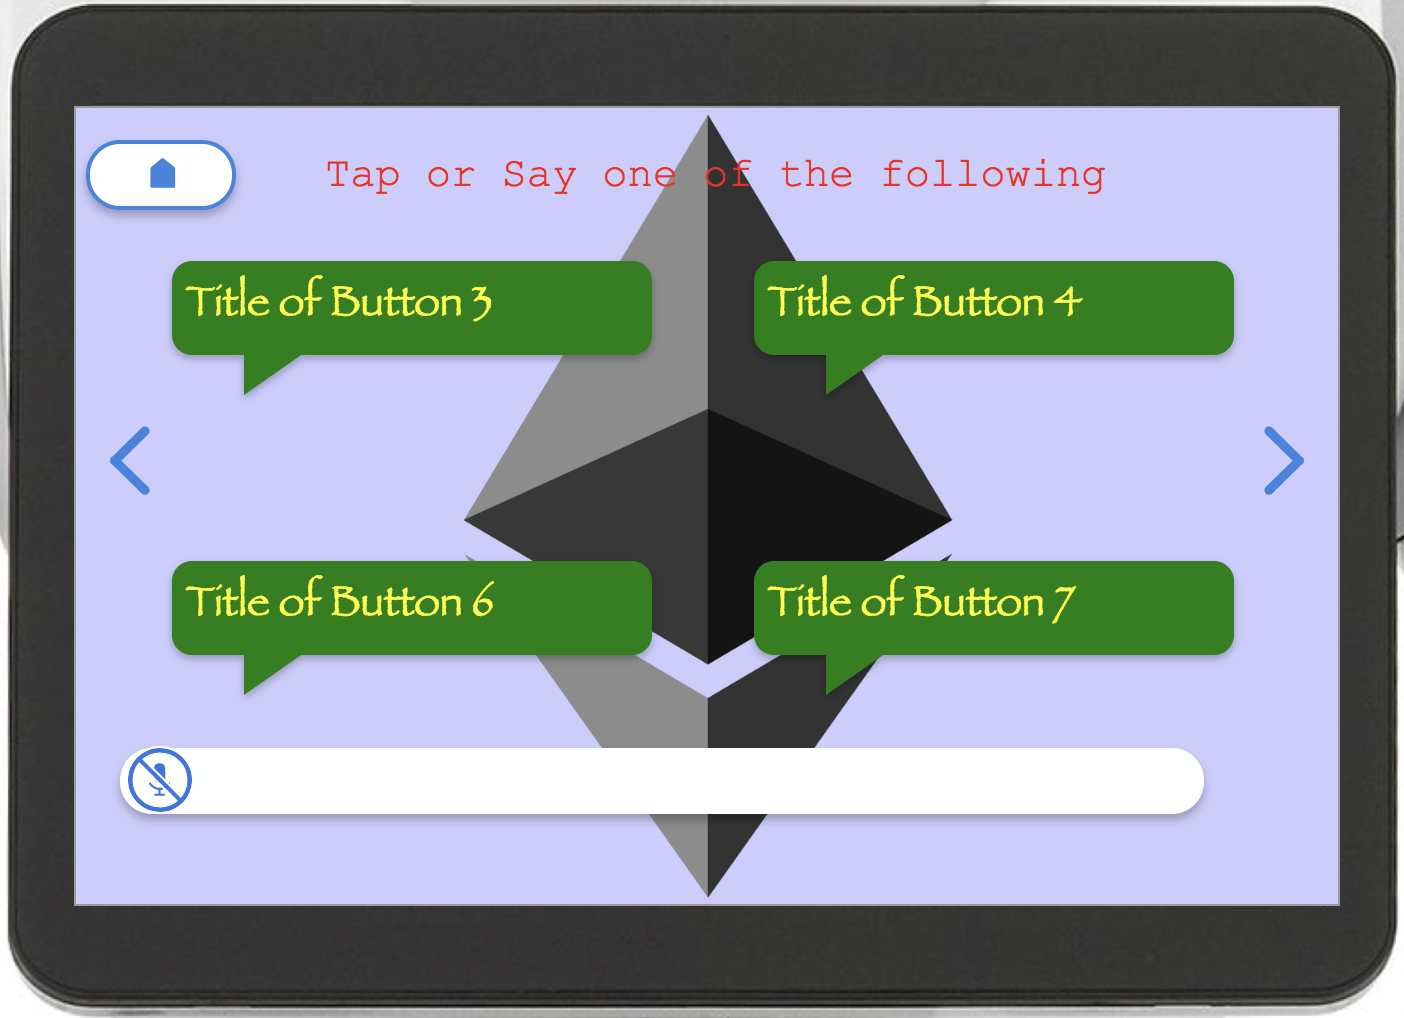
IMAGE - Fullscreen Image
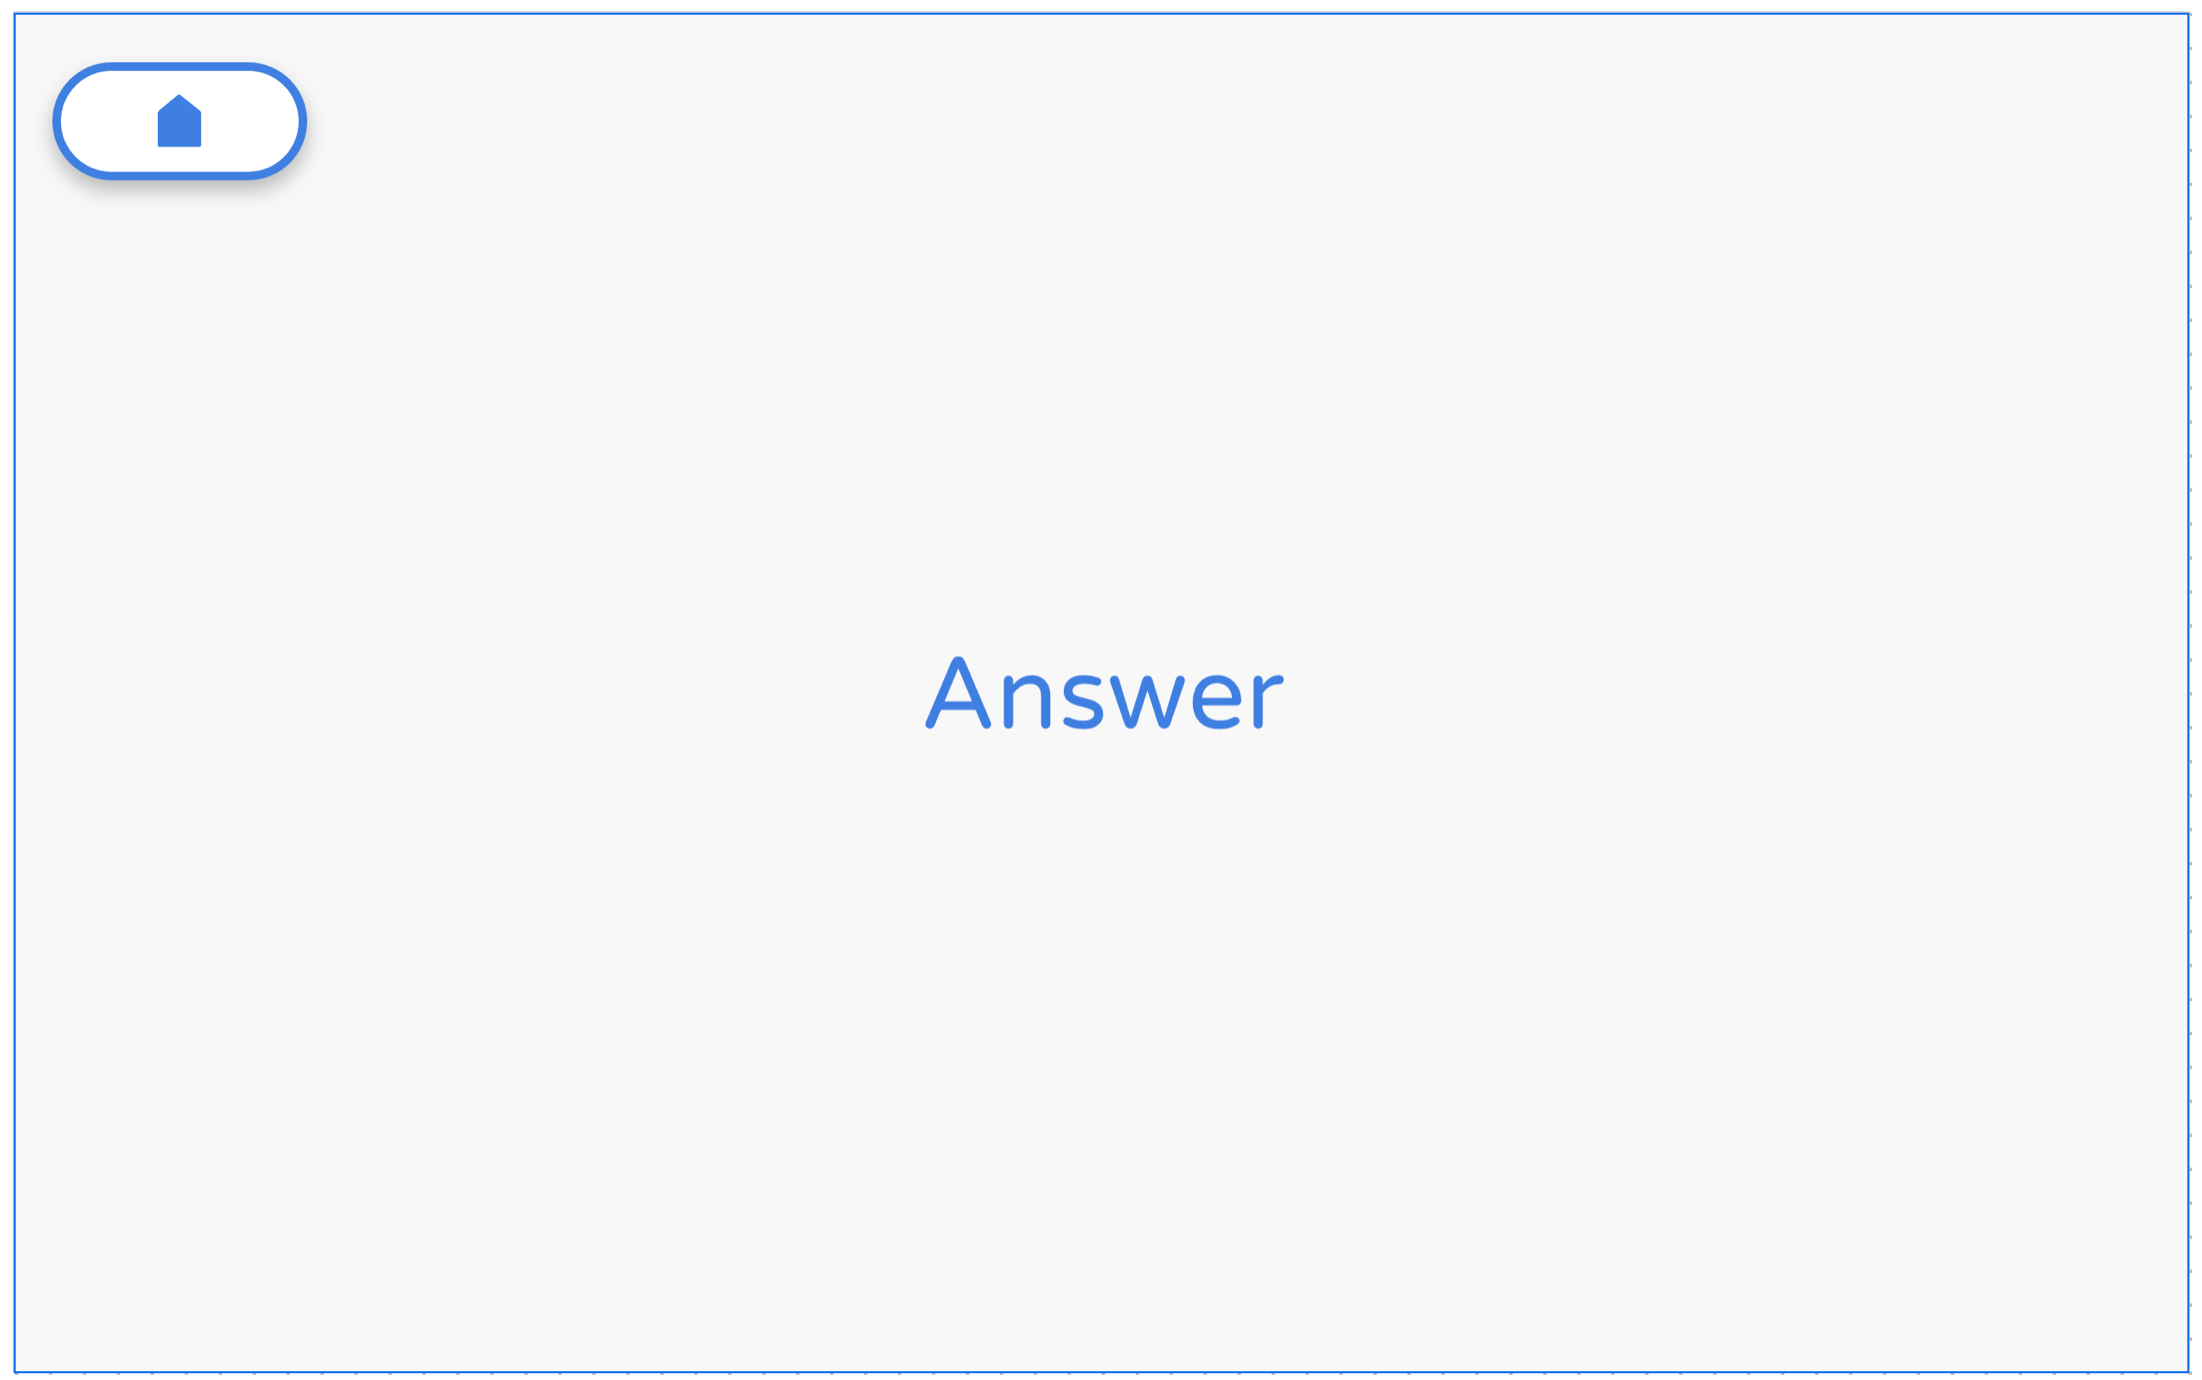
IMAGE RESPONSE - Fullscreen Image:
Non-selectable, Non-Scrollable, Skippable - 1280w x 800t
"""""""""""""""""""""""""""""""""""""""""
Dialogflow:
""""""""""""""""""""""""""""""""""""""""
I.) UI:
A.) Selectable:
For a given intent within your agent, under the 'Response'
section, click 'Add Message Content', select 'Custom Payload'
and copy and paste the following:

{
  "imageURL": "https://pepperstoragedev.blob.core.windows.net/files/Default_Story_1.jpg",
  "speak": "Hi, I dont know how much you know about me, but I am here to be your host.",
  "delay": 2
}

Notes:

A) With non-actionable images, it is recommended to keep the conversation
alive with a follow-up message. To prompt the user for another action,
simply combine the Basic Card with the Google Assistant Suggestion Chips.

B) When using JSON (^^), any QiChat commands must be double-escaped (\\).

IMAGE - Sequence of Images
IMAGE RESPONSE - Sequence of Images
Images can be chained together for the effect of Pepper telling a story, similar to a slide-show presentation. For this, it is recommended to use a sequence of Full Screen Images.
"""""""""""""""""""""""""""""""""""""""""
Dialogflow: IMAGE RESPONSE
""""""""""""""""""""""""""""""""""""""""
To create a non-actionable sequence of (full screen) images, use the
'Full Screen Image Response' described above. Chain the Custom
Payloads together, one after another, to create a story.
VIDEO - Fullscreen Video
VIDEO RESPONSE:
Skippable
Technical Specs:
- resolution - 1280w x 800t
- format - .mp4 or .mov format
- size - < 8-10MB for optimal performance
- bitrate - no recommendation, but lower bitrates will load faster
- streaming - not supported (YouTube/Vimeo/etc. video links do not work)
Note: If video file is uploaded/served from Pepper Drive, Pepper will actually locally cache the video for faster display upon subsequent views.
"""""""""""""""""""""""""""""""""""""""""
Dialogflow: VIDEO RESPONSE
""""""""""""""""""""""""""""""""""""""""
I.) UI:
For a given intent within your agent, under the 'Response'
section, click 'Add Message Content', select 'Custom Payload'
and copy and paste the following:
{
  "videoURL": "https://url-of-your-video-file.mp4",
  "contentType": "video/mp4",
  "speak": "Here is a short video that is relevant to your utterance..."
}

Note: When using JSON (^^), any QiChat commands must be double-escaped (\\).

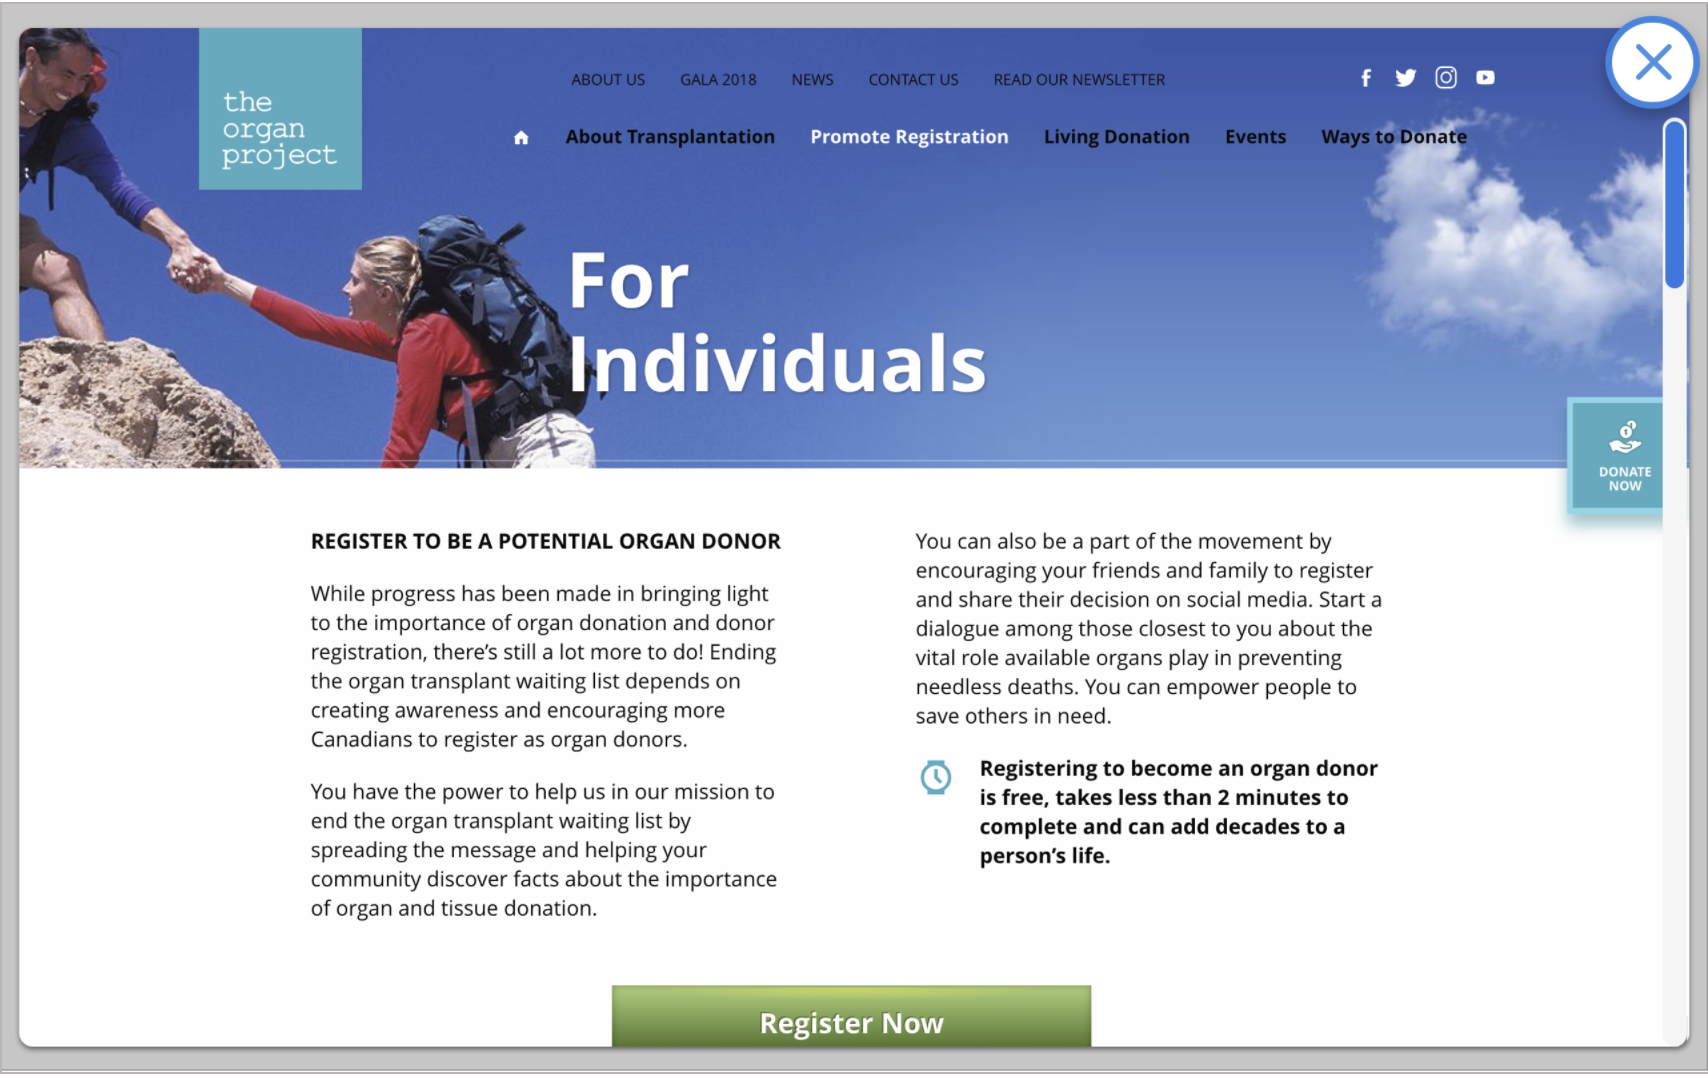
WEBPAGE - Show Webpage
WEBPAGE - SHOW WEBPAGE:
You may now display webpages on Pepper through your chatbot! The webpage allows scrolling and a convenient exit icon in the upper righthand corner. It is recommended to build custom HTML pages specifically for Pepper and to host them via Pepper Drive.
"""""""""""""""""""""""""""""""""""""""""
Dialogflow:
""""""""""""""""""""""""""""""""""""""""
I.) UI:
For a given intent within your agent, under the 'Response'
section, click 'Add Message Content', select 'Custom Payload'
and copy and paste the following:
{
  "speak": "Here is a webpage ||",
  "action": "showWebpage",
  "action_parameters": {
    "url": "https://www.theorganproject.net/promote-registration-individuals/",
    "onClose": "Web page closed"
  }
}
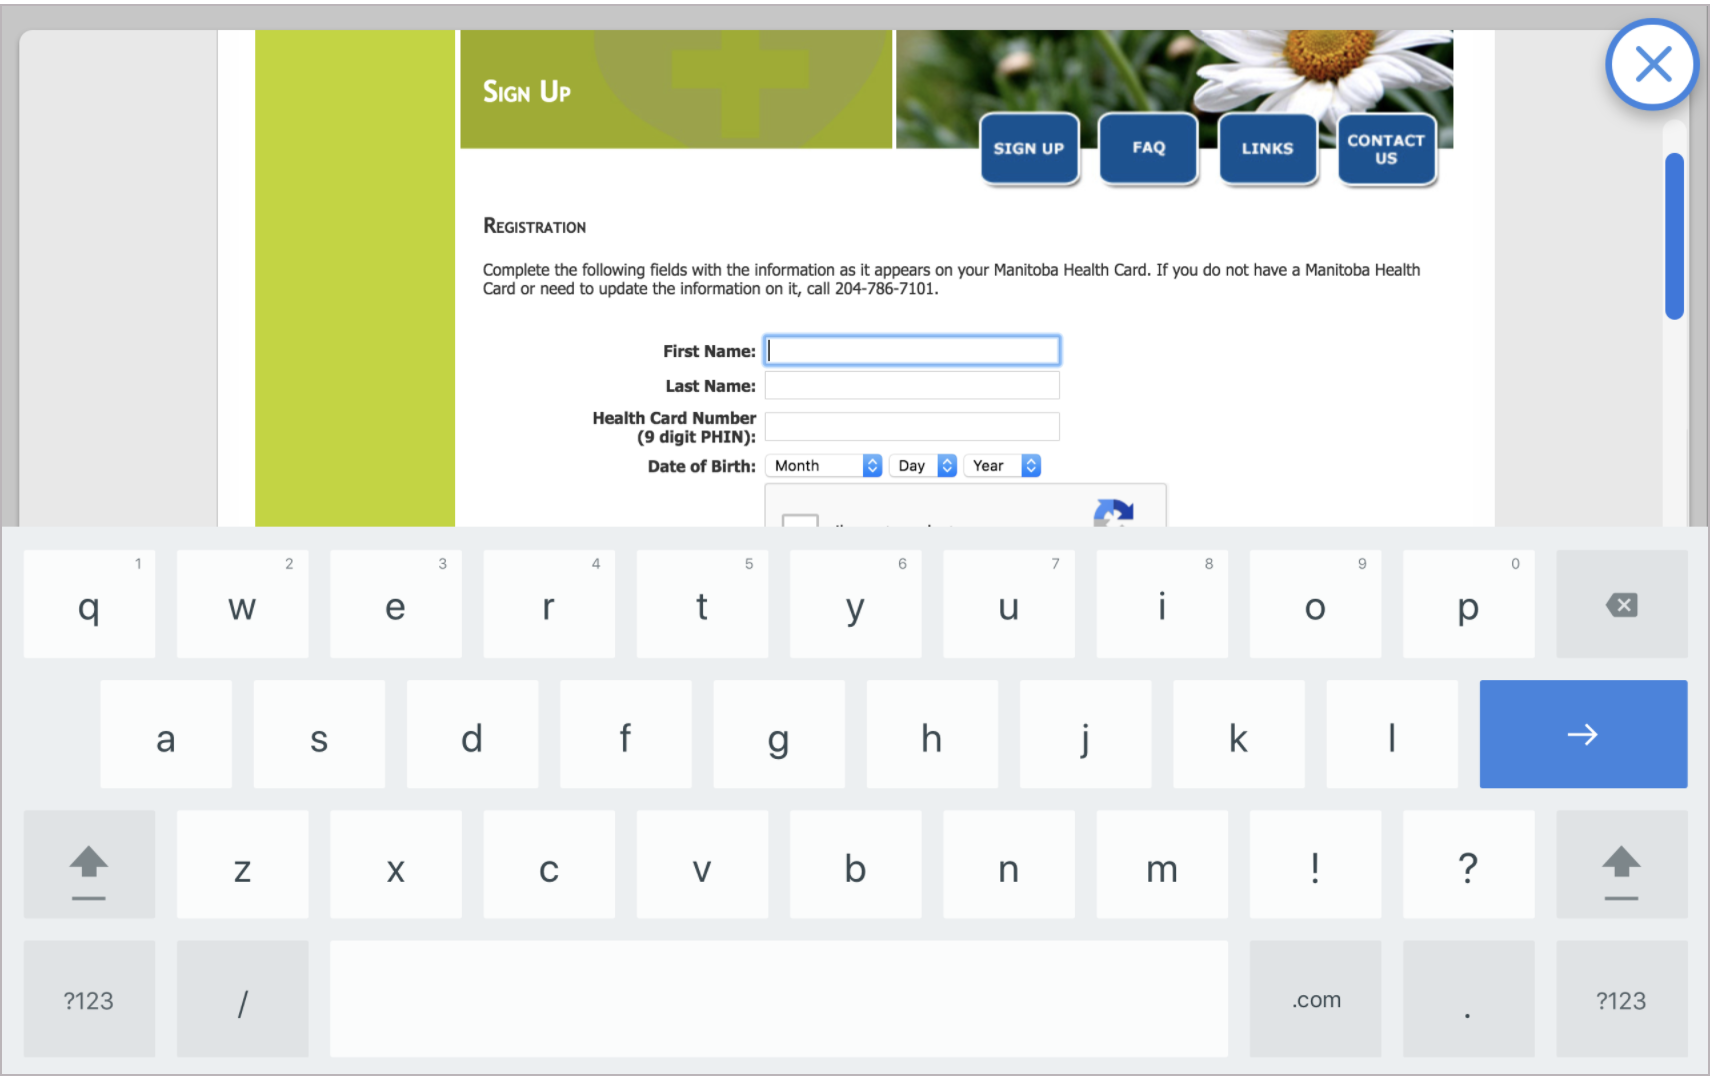
USER INPUT - SHOW KEYBOARD
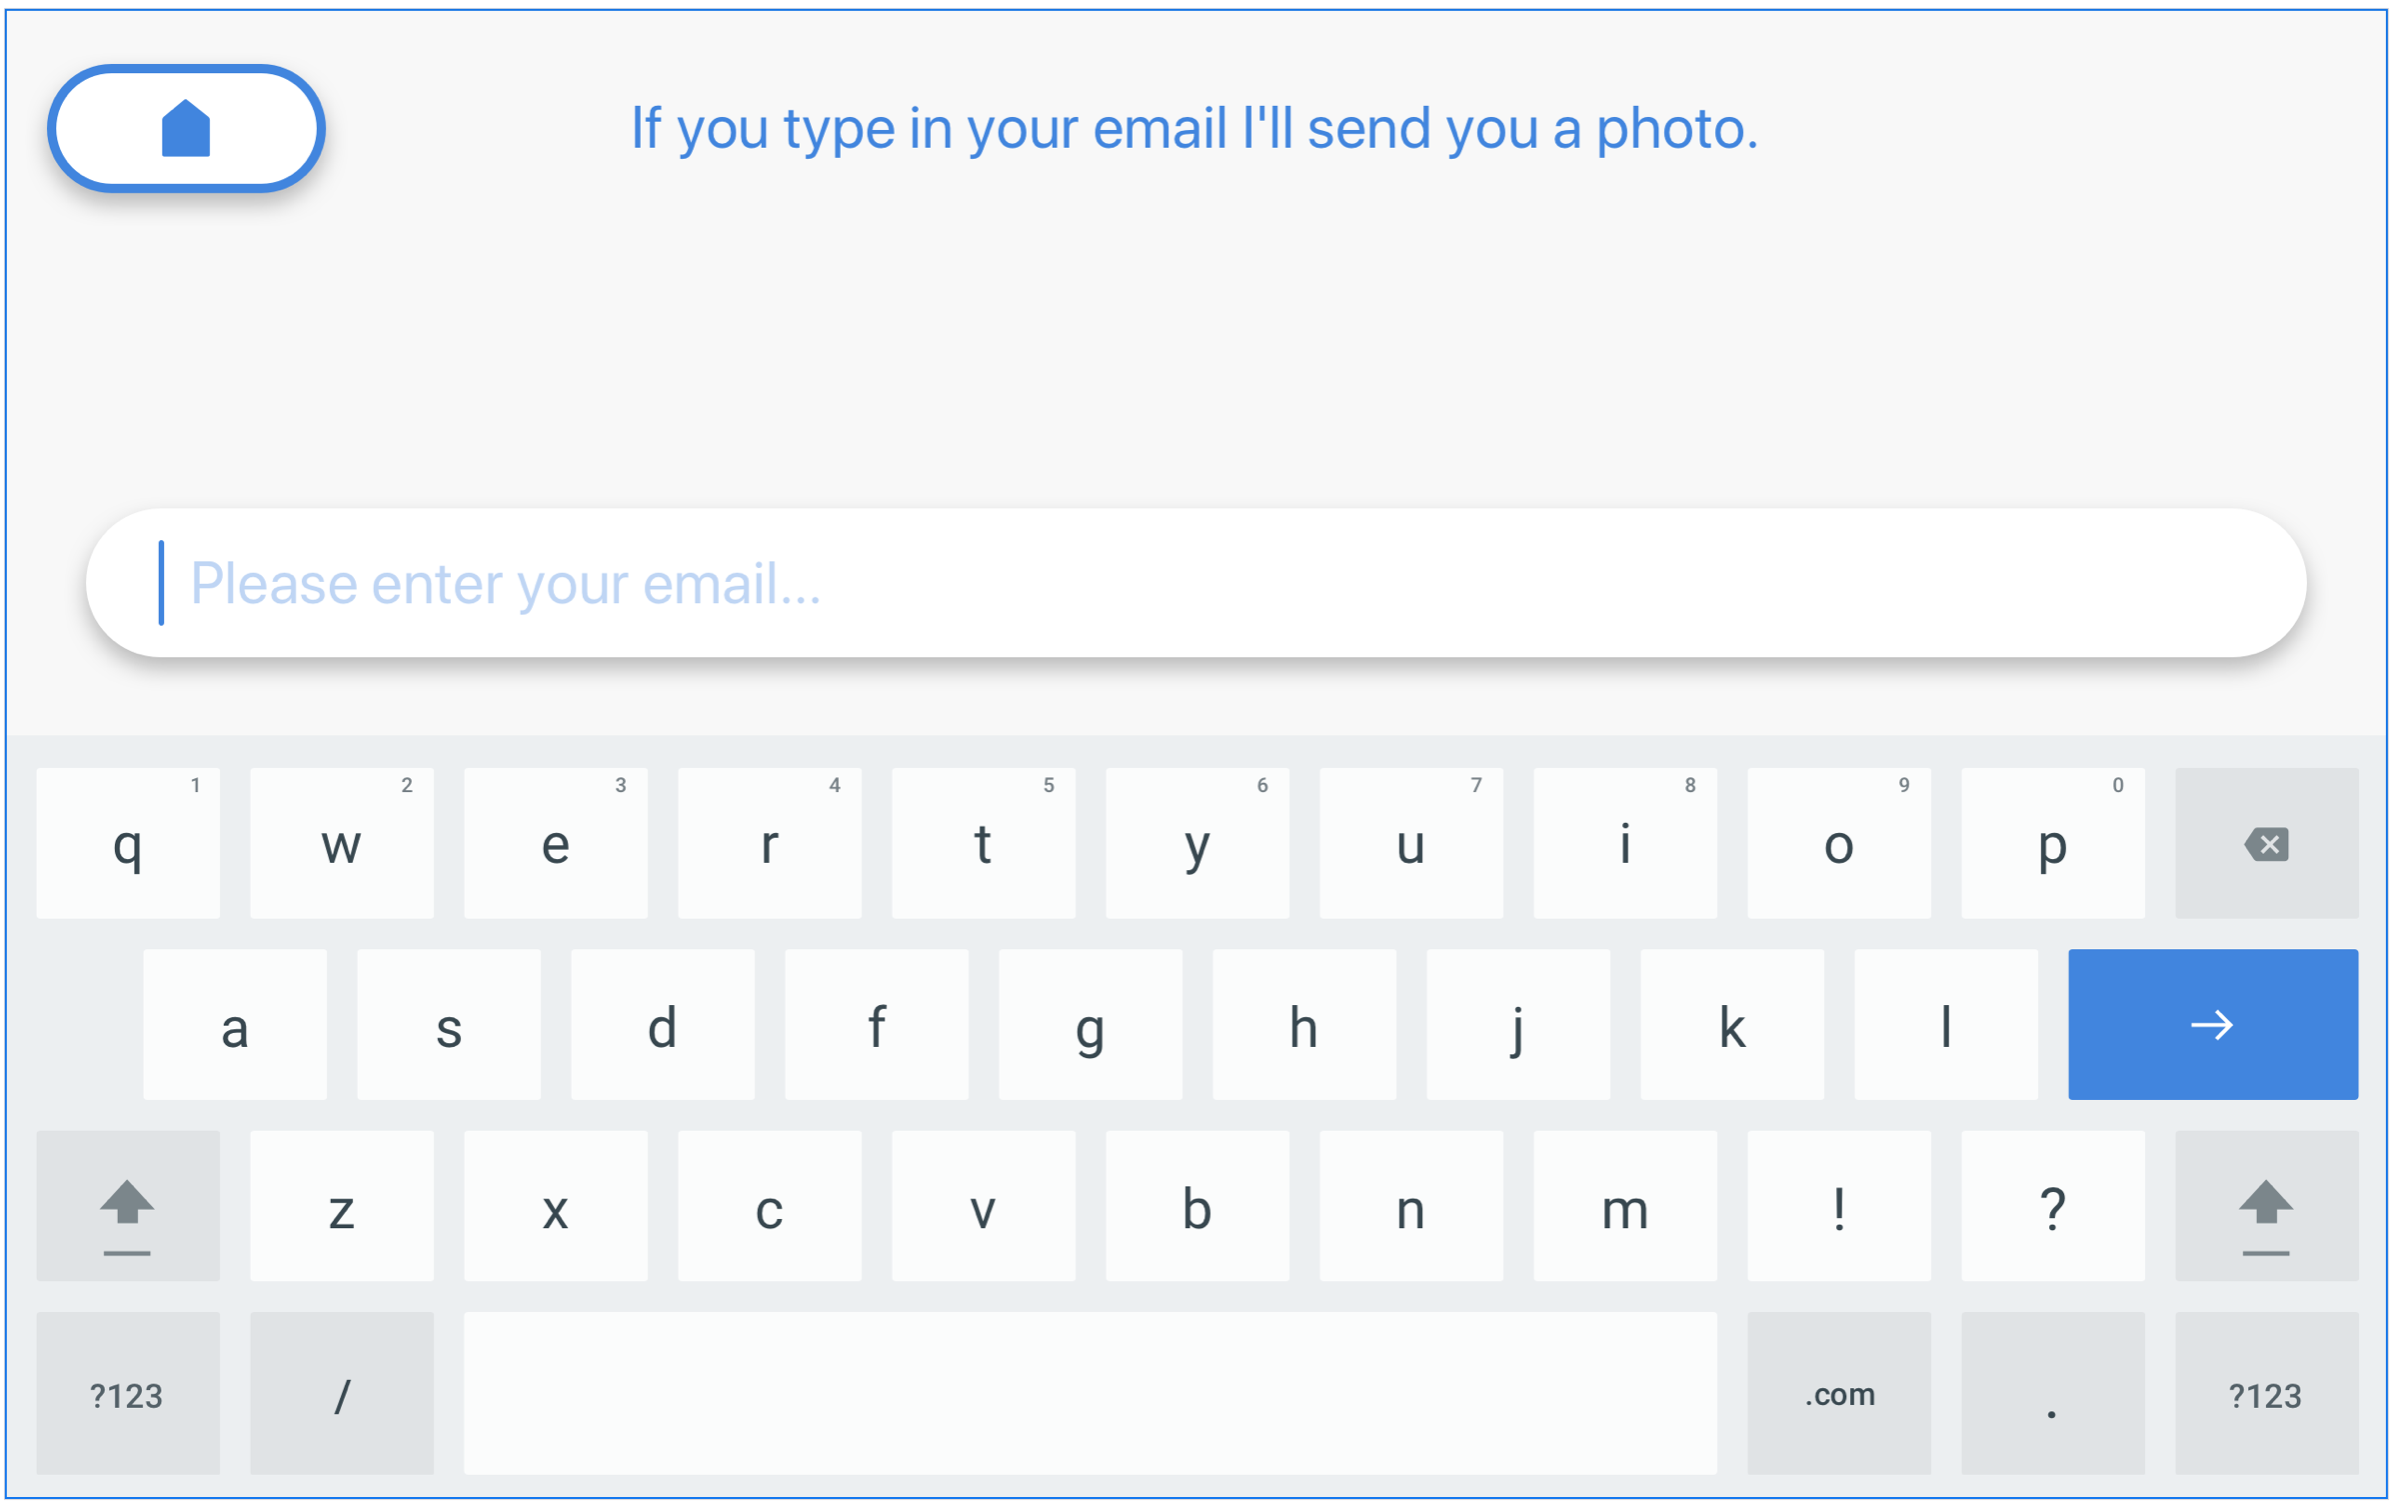
USER INPUT - SHOW KEYBOARD:
"""""""""""""""""""""""""""""""""""""""""
Dialogflow:
""""""""""""""""""""""""""""""""""""""""
A keyboard can be shown to receive any type of input. To do so,
for a given intent within your agent, under the 'Response'
section, select 'Custom Payload' and enter the following:
{
  "speak": "If you type in your email I'll send you a photo."
  "action": "showKeyboard"
}
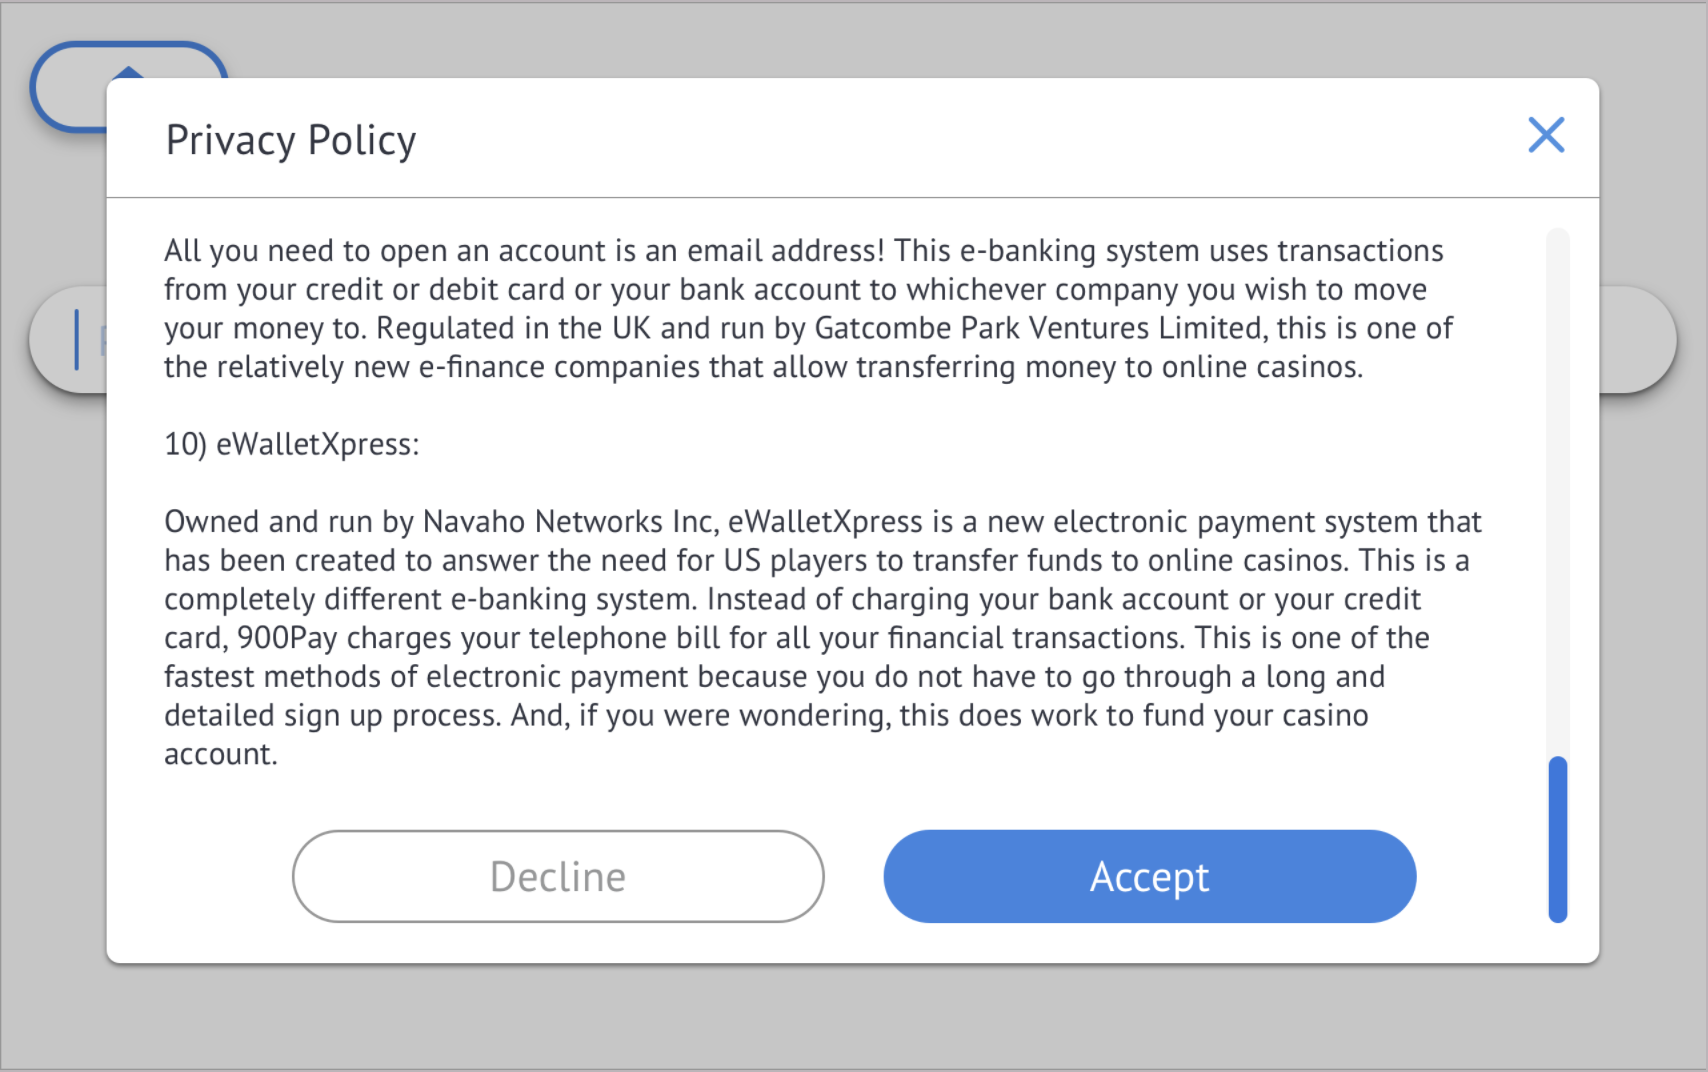
USER INPUT - PRIVACY POLICY
If you would like to save user input for later use for CTA (Call-to-Action) purposes, you must supply your company's privacy policy in PDF format for how you will use customer data, to which users must agree.
There are two options, listed below for collecting CTA information, via:
- Checkbox; &
- Modal Dialog
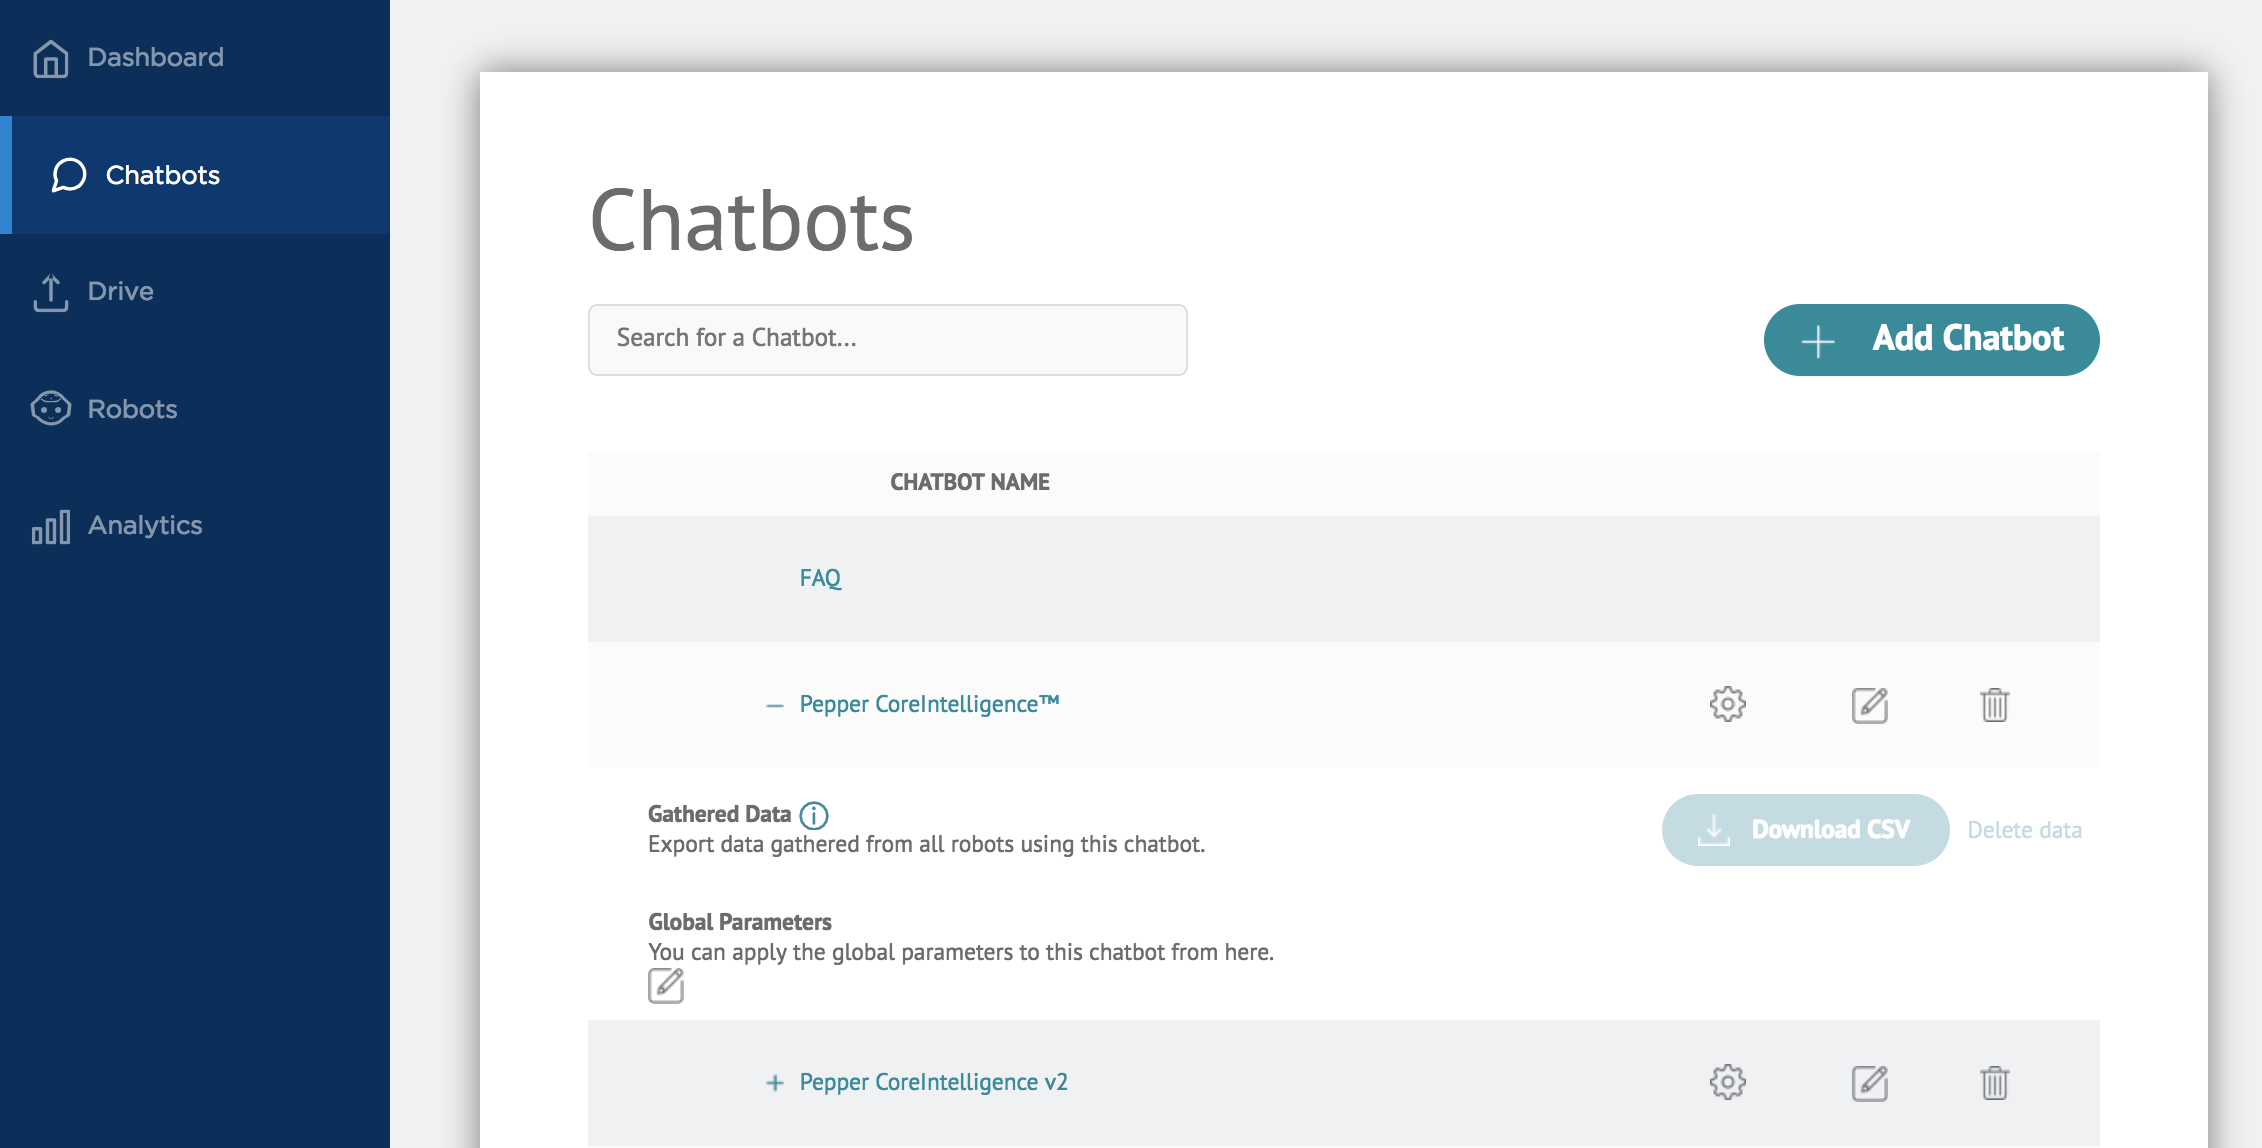 Fig. - Pepper Chat CMS ^^ - Download CTA results from within the Pepper Chat CMS, in the Chatbots tab, by clicking on the '+' icon beside the specific chatbot that collected the CTA results. Then, beside 'Gathered Data', click on 'Download CSV.'
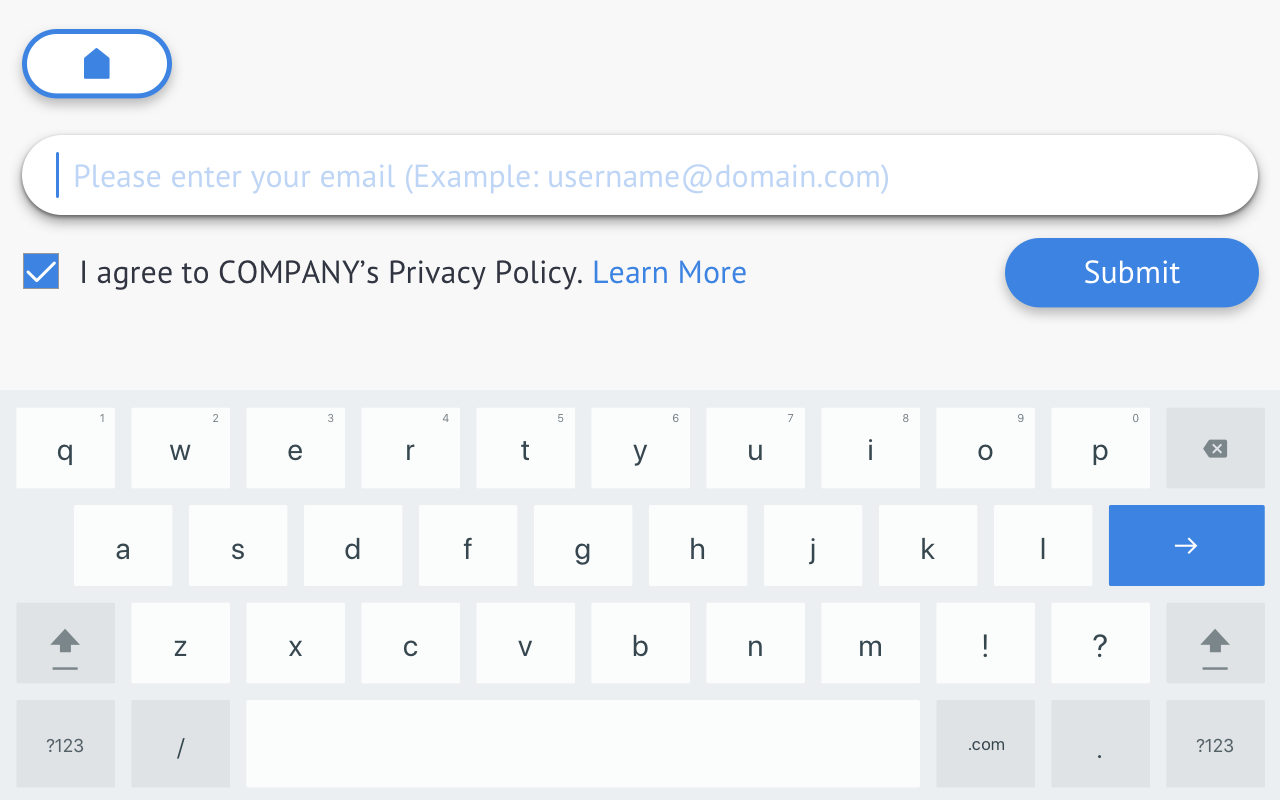
PRIVACY POLICY - Checkbox:
CHECKBOX
Keyboard with checked box with Privacy Policy displayed (for CTA) - .PDF format only.
"""""""""""""""""""""""""""""""""""""""""
Dialogflow: PRIVACY POLICY - CHECKBOX
""""""""""""""""""""""""""""""""""""""""
I.) UI:
For a given intent within your agent, under the 'Response'
section, click 'Add Message Content', select 'Custom Payload'
and copy and paste the following:
{
  "speak": "Please type in your email and agree to our privacy policy to continue",
  "privacyPolicy": {
    "url": "https://pepperstoragedev.blob.core.windows.net/pepperdrive/41092db5-ee34-424a-bdf3-6bca579180afprivacy-policy-template.pdf",
    "inputType": "email",
    "checkBoxChecked": true
  }
}

The value of "inputType" can be either 'phone number' or 'email'.

Note: With non-actionable images, it is recommended to keep the conversation
alive with a follow-up message. To prompt the user for another action,
simply combine the Basic Card with the Google Assistant Suggestion Chips.
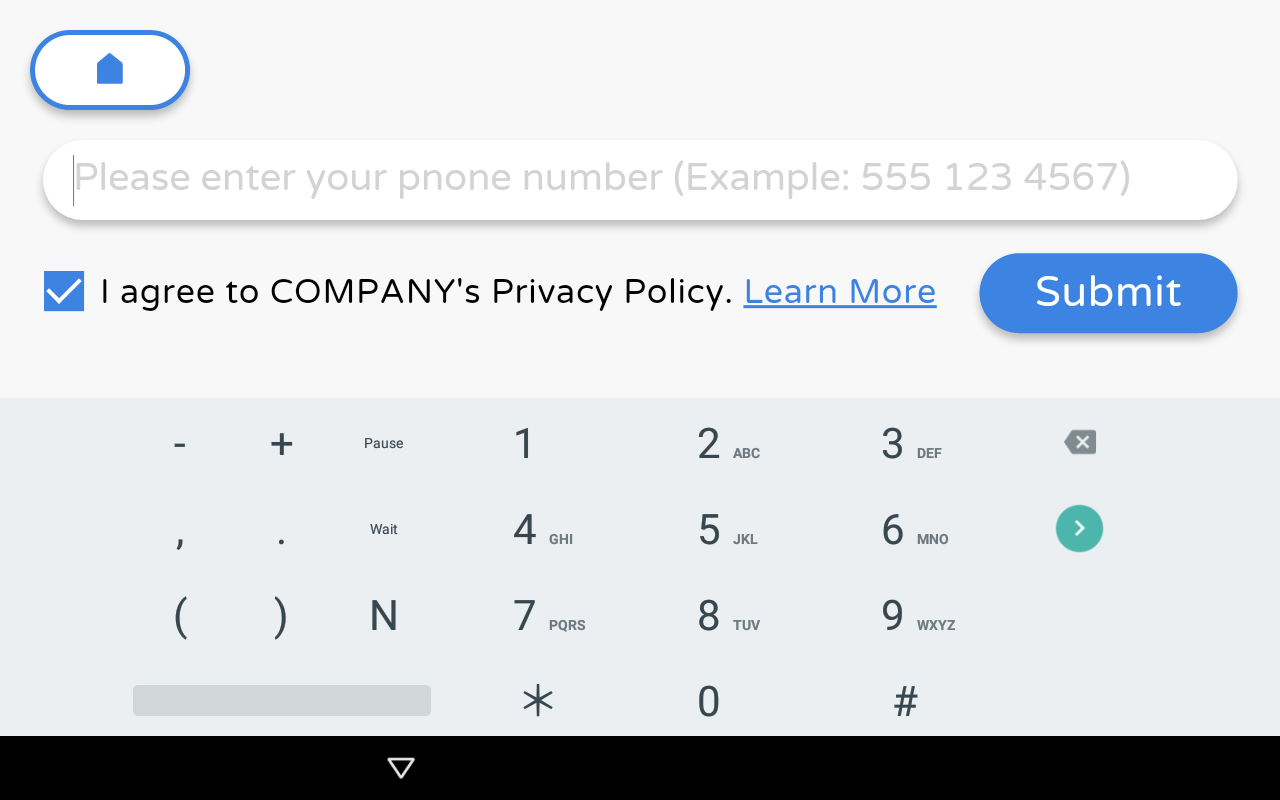
MODAL DIALOG POP-UP
PRIVACY POLICY - Modal Dialog Pop-Up:
Modal window pops up with Privacy Policy displayed (for CTA) - .PDF format only
"""""""""""""""""""""""""""""""""""""""""
Dialogflow: PRIVACY POLICY - Modal Dialog Pop-up
""""""""""""""""""""""""""""""""""""""""
I.) UI:
For a given intent within your agent, under the 'Response'
section, click 'Add Message Content', select 'Custom Payload'
and copy and paste the following:
{
  "speak": "Please enter your email",
  "privacyPolicy": {
    "url": "https://pepperstoragedev.blob.core.windows.net/pepperdrive/41092db5-ee34-424a-bdf3-6bca579180afprivacy-policy-template.pdf",
    "inputType": "email",
    "forcedPopup": true
  }
}

The value of "inputType" can be either 'phone number' or 'email'.

Note: With non-actionable images, it is recommended to keep the conversation
alive with a follow-up message. To prompt the user for another action,
simply combine the Basic Card with the Google Assistant Suggestion Chips.

→ Styling
TABLET UI SETTINGS
TABLET UI SETTINGS - UPDATE CHATBOT STYLE
Configures style and settings for the chatbot's UI.
"""""""""""""""""""""""""""""""""""""""""
Dialogflow:  UPDATE CHATBOT STYLE
""""""""""""""""""""""""""""""""""""""""
For a given intent within your agent, under the 'Response'
section, select 'Custom Payload' and enter the following:
{
  "speak": "Setting background image and color ||",
  "action": "setStyle",
  "action_parameters": {
    "backgroundColor": "#ebc6eb",
    "backgroundImage": "https://pepperstoragedev.blob.core.windows.net/pepperdrive/41092db5-ee34-424a-bdf3-6bca579180afbd2dcbc8-f435-4615-b63c-4274d66d7993.png",
    "restoreDefault": false,
    "listenBarLocation": "top",
    "nextUtterance": "{Insert any Intent's Training Phrase here...}"
  }
}

Notes:
- "speak" property is optional.
- "action" property is required to set the style (value = "setStyle")
- Set "restoreDefault" to true to restore the original (default)
 chatbot screen style. "backgroundColor" and "backgroundImage"
 properties can be omitted in this case (ignored if present).
- Use it if you want Pepper to say something when chatbot style
is updated.
- "listenBarLocation" values can be 'top'|'bottom'|'invisible'
- "nextUtterance" property is also optional. You can trigger
next chatbot intent automatically after changing the style by
assigning one of an intent's training phrases to this property.
- Use "default" as "backgroundColor" or "backgroundImage" value
to restore the original state of corresponding property
- Use "none" as "backgroundImage" to remove the image
- Style changes persist until the end of chatbot session. Original
chatbot style is restored every time chatbot session is restarted.
BACKGROUND - SET COLOR
"""""""""""""""""""""""""""""""""""""""""
Dialogflow:  SET BACKGROUND COLOR
""""""""""""""""""""""""""""""""""""""""
I.) UI:
For a given intent within your agent, under the 'Response'
section, select 'Custom Payload' and enter the following:
{
  "backgroundColor": "#d7d7d7",
  "speak": "Here is a background color ||"
}

BACKGROUND - SET IMAGE
"""""""""""""""""""""""""""""""""""""""""
Dialogflow:  SET BACKGROUND IMAGE
""""""""""""""""""""""""""""""""""""""""
I.) UI:
For a given intent within your agent, under the 'Response'
section, select 'Custom Payload' and enter the following:
{
  "backgroundImage": "https://pepperstoragedev.blob.core.windows.net/pepperdrive/c8f7061d-cd26-4807-8113-209cf7f574738baae0ca-27e1-4998-8732-7042c66e12ad.jpg",
  "speak": "Here is an actionable background image ||"
}

OTHER UI SETTINGS
CUSTOM PAYLOADS: You can generally insert any of the following properties (here listed with sample values) into any response that takes a custom payload (although some may not render successfully with some custom payloads):
"backgroundColor": "#ccccff",
"backgroundImage": "https://pepperstoragedev.blob.core.windows.net/pepperdrive/41092db5-ee34-424a-bdf3-6bca579180af57646fd2-3e12-48db-bc23-36e597b697ef.png",
"textColor": "red",
"font": "Courier New",
"bubbleColor": "green",
"bubbleTextColor": "yellow",
"bubbleFont": "Fantasy"
List of recommended fonts:
| Font Name | Pepper Chat Font Code |
| Roboto Thin | sans-serif-thin |
| Roboto Light | sans-serif-light |
| Roboto Regular | sans-serif |
| Roboto Medium | sans-serif-medium |
| Roboto Black | sans-serif-black |
| Roboto Condensed Light | sans-serif-condensed-light |
| Roboto Condensed Regular | sans-serif-condensed |
| Roboto Condensed Medium | sans-serif-condensed-medium |
| Noto Serif | serif |
| Droid Sans Mono | monospace |
| Cutive Mono | serif-monospace |
| Casual | casual |
| Dancing Script | cursive |
| Carrois Gothic SC | sans-serif-smallcaps |
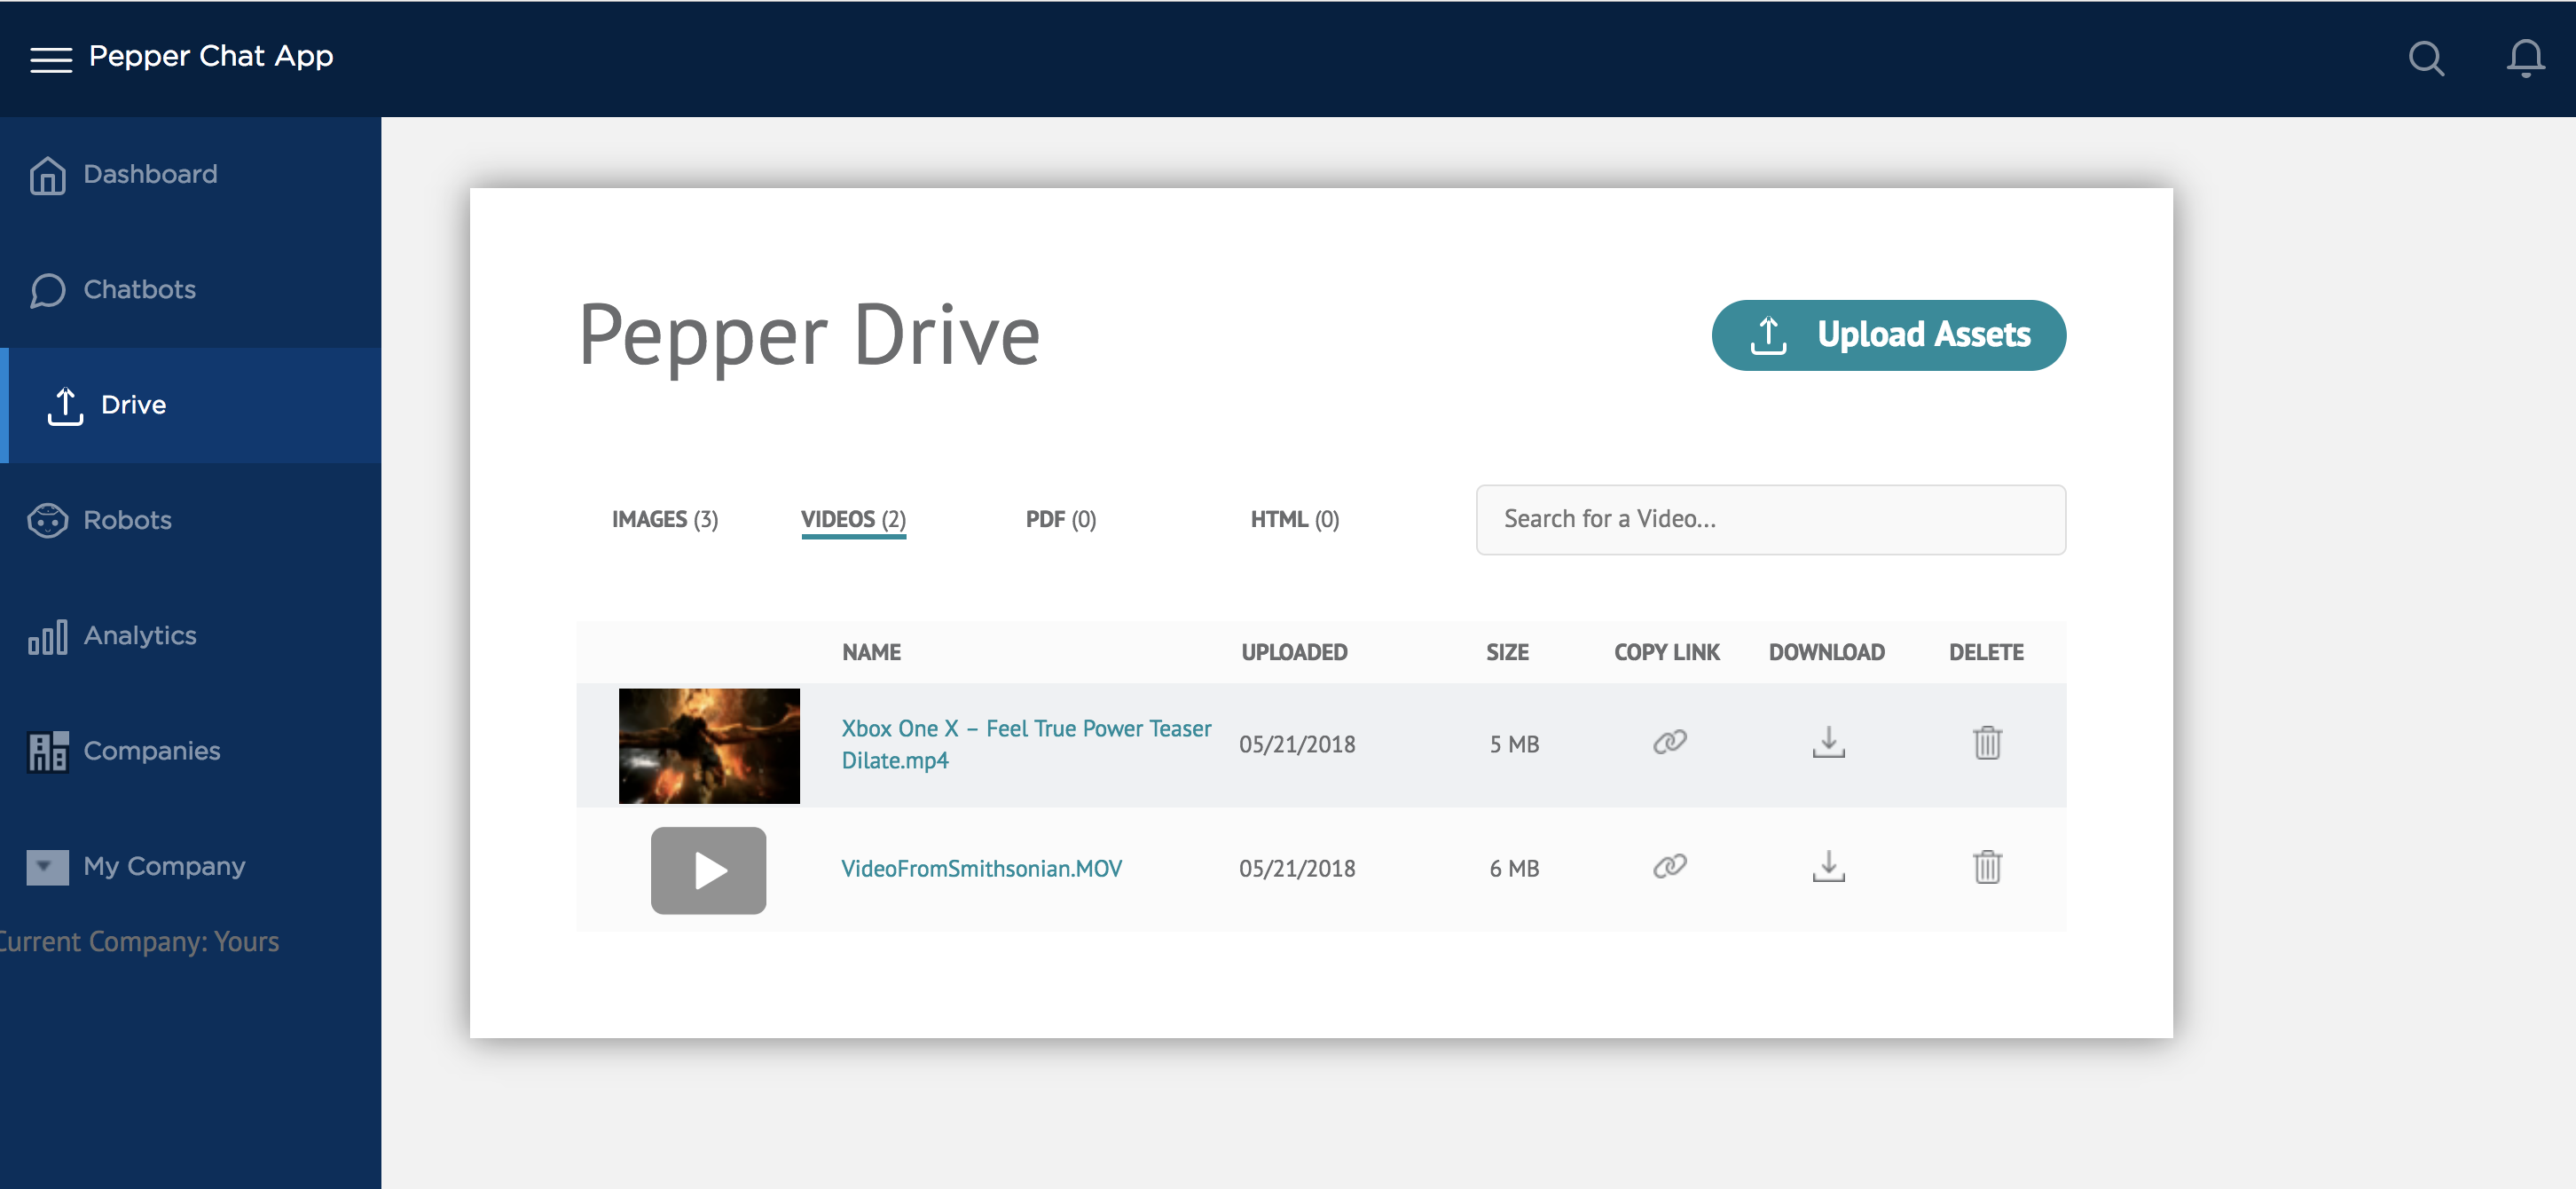
→ Pepper Drive
Pepper Drive
The Pepper Chat CMS comes equipped with its own file webserver for all your chatbot's assets, including its image, video, PDF (privacy policies, etc.) and HTML (basic websites) files.
LEVERAGE PEPPER DRIVE
Level up your Pepper experience by including multimedia and interactive HTML pages in Pepper's responses!
→ Spoken vs Displayed Text
WHAT PEPPER SPEAKS vs. WHAT PEPPER DISPLAYS ON TABLET:
By default, Pepper both speaks and displays on his tablet the text written in the response field. That is oftentimes not desirable behavior. For instance, you may want Pepper to display the opposite of what he is saying as part of a game or survey. By using the following convention in your chatbot responses, you can make Pepper say one thing and display another. Simply use double pipes (||), according to the following syntax:
Pepper: {What Pepper Says} || {What Pepper displays on the tablet}
Ex: Hello, human! || 😃
In this example, Pepper will say 'Hello, human!' while displaying an emoji smiley face: 😃.Ex: ig pay atin lay ample xay || Pig Latin example
I think you see what I did there ^^ ;)
Examples:
User: Hello, robot!
Pepper: {What Pepper Says} || {What Pepper displays on the tablet}
→ View how to do it →
User: Can you speak Pig Latin, Pepper?
Pepper: {What Pepper Says} || {What Pepper displays on the tablet}
→ View how to do it →
→ Voice Shaping Commands
Pepper Voice Shaping Commands -
"Did you know?
💡💡💡💡💡💡💡💡💡💡💡💡💡
QiChat is Pepper's native language.
Below are some useful voice commands a chatbot creator can use to control Pepper's delivery of certain lines or words. These commands are used as a markup language throughout a chatbot to wrap a word (or a series of words) in order to change the intonation and speed of Pepper's voice as he speaks the word(s)! In order to use these commands, you must end the sentence with the double pipes (||) and provide a clean, non QiChat version of the text.
QiChat voice commands * | * * :
\pau=1000\ = Inserts a pause (in milliseconds)
\rspd=100\ = Speed of voice (in percentage, 50-400)
\vct=100\ = Pitch of voice (in percentage, 50=200)
\vol=100\ = Volume of voice (in percentage, 0-100)
\style=joyful\ = Joyful intonation
\style=neutral\ = Normal intonation
\style=didactic\ = Didactic intonation
\rst\ = Resets control sequences
Ex. Usage: To imitate an emotional response
User: Pepper you're fired!
Pepper: \style=joyful\ No! \pau=100\ Please! \pau=500\ I need this job. \style=neutral\ || No! Please! I need this job. ...Ex. Usages: (1) To pause for dramatic effect; (2) to emphasize a word or syllable (puns)
Pepper: Want to hear a joke about a piece of paper? \pau=800\ Nevermind \pau=400\ it's \pau=300\ \rspd=50\ tearable. \rspd=100\ || Want to hear a joke about a piece of paper? Nevermind. It's terrible.
→ Pepper Animations
You have access to Pepper's full library of animations! Take advantage of them by first becoming familiar with the various animations in the library by playing them live on your Pepper from within Choregraphe (see instructions to the right → )
1) Install Choregraphe (free) from our website: https://developer.softbankrobotics.com/us-en/downloads/pepper
2) Connect to your robot from within Choregraphe using its IP address
3) Find (and activate if not activated) the Robot Applications panel
4) Find application called "Animation Library" and uncollapse it
5) Demo and animation by pressing its play icon in the Robot Applications panel
Animation Playback Modes
When playing an animation, you have to choose one of two options for how the animation should be played:
Ex.) Dialogflow - Pepper's response:
Hi! ^run(animations/Stand/Emotions/Positive/Happy_4) It's great to see you!
Ex.) Dialogflow - Pepper's response:
Hi! ^start(animations/Stand/Emotions/Positive/Excited_1) I'm so excited to see you! ^wait(animations/Stand/Emotions/Positive/Excited_1) It's nice to see you in our store again!
RUN mode:
- Stops the speech until the animation has finished
- ^run(...robot-animation-1)
START mode:
- Start the animation and allow it to play, but allow the speech to continue while the animation is playing
- ^start(...robot-animation-2)
→ Actions
The section below shows all the various actions that can be performed within a Chatbot context:
ACTIONS - PRIMARY:
- RUN APPLICATION - Launches external application - maintains chatbot session persistence
- PLAY A GAME - Play a pre-installed game.
- TRIGGER AN INTENT - Provide an utterance to an intent you want to trigger
ACTIONS - MISCELLANEOUS
- SET LANGUAGE Change the language Pepper is using
- GET LOCATION Returns geo-location of robot
ACTIONS - RUN APPLICATION
ACTIONS - RUN APPLICATION
Launches a locally installed, NAOqi application - and meanwhile maintains chatbot session persistence. NAOqi applications can be built with Choregraphe or with our Python SDK and the qi Framework via one of our Robot Jumpstarter templates. Download Choregraphe here (requires creating a SBR community account). Launching a custom NAOqi application from Dialogflow requires knowing the application's APP ID, which can be found in the Properties of the Choregraphe project.
"""""""""""""""""""""""""""""""""""""""""
Dialogflow: RUN AN APPLICATION
""""""""""""""""""""""""""""""""""""""""
For a given intent within your agent, under the 'Response'
section, select 'Custom Payload' and enter the following:
Syntax:
{
  "speak": "Insert what Pepper should speak here...",
  "action": "startApp",
  "action_parameters": {
    "appId": "{APP-ID HERE}/{BEHAVIOR-TO-RUN HERE}"
  }
}

Ex.
{
  "speak": "Launching Survey application",
  "action": "startApp",
  "action_parameters": {
    "appId": "pepper-survey/."
  }
}

** The "." in the example above will launch the main behavior
of the "pepper-survey" app.

ACTIONS - PLAY A GAME
ACTIONS - PLAY A GAME:
"""""""""""""""""""""""""""""""""""""""""
Dialogflow: PLAY A GAME
""""""""""""""""""""""""""""""""""""""""
I.) UI:
  A.) To initiate a specific game, under the 'Response' section,
  select 'Custom Payload' and enter the following:
  {
    "speak": "Initiating selfie mode.",
    "action": "playGame",
    "action_parameters": {
      "gameName": "Take a Selfie"
    }
  }

    Current Game Options:
    - 'Freestyle dance'
    - 'Take a Selfie'
    - 'Music Boxes'
    - 'Arcadia dance'

  B.) To initiate a random game, under the 'Response' section,
  select 'Custom Payload' and enter the following:
  {
    "payloadType": "action",
    "action": "playRandomGame"
  }

ACTIONS - TRIGGER AN INTENT
ACTIONS - TRIGGER AN INTENT
HACK: Using the 'Update Chatbot Style' action payload, you can actually trigger another intent. Provide an utterance to an intent you want to trigger
"""""""""""""""""""""""""""""""""""""""""
Dialogflow:  TRIGGER AN INTENT
""""""""""""""""""""""""""""""""""""""""
I.) UI:
For a given intent within your agent, under the 'Response'
section, select 'Custom Payload' and enter the following:
{
  "action": "setStyle",
  "action_parameters": {
    "nextUtterance": "Start"
  }
}

ACTIONS - SWITCH LANGUAGE
ACTIONS - SWITCH LANGUAGE
Changes the language Pepper is using.
supportedLanguages: [ 'English', 'Spanish', 'French', 'Japanese', 'Chinese' ], dialogFlow: { English: 'en', Spanish: 'es', French: 'fr', Japanese: 'ja', Chinese: 'zh-CN' }
"""""""""""""""""""""""""""""""""""""""""
Dialogflow:  SWITCH THE LANGUAGE
""""""""""""""""""""""""""""""""""""""""
I.) UI:
Setting the language requires your Dialogflow agent be multilingual. Read
Dialogflow documentation here: https://dialogflow.com/docs/multi-language.
Once your agent is multilingual, it is recommended to use selectable buttons
(icons, carousel, etc.) in order to select a language. Each button should
map to an intent whose purpose is to change the language. For each of these
given intents within your agent, under the 'Response' section, select 'Custom
Payload' and enter the following:

General Syntax:
{
  "action": "setLanguage",
  "action_parameters": {
    "language": "Spanish"|"English"|"Spanish"|"French"|"Japanese"| "Chinese"
                (↑↑ only provide one of these options↑↑)
  }
}

Ex.
{
  "action": "setLanguage",
  "action_parameters": {
    "language": "Spanish"
  }
}

ACTIONS - GET ROBOT LOCATION
ACTIONS - GET ROBOT LOCATION
{COMING SOON - AVAILABLE TODAY ONLY IN DOGFOOD} Returns geo-location of robot.
"""""""""""""""""""""""""""""""""""""""""
Dialogflow:  GET ROBOT LOCATION
""""""""""""""""""""""""""""""""""""""""
I.) UI:
For a given intent within your agent, under the 'Response'
section, select 'Custom Payload' and enter the following:
{
  "speak": "Getting triangulated geolocation information ||",
  "action": "getLocation"
}

→ Localization
If you have more than one Pepper, you may want to use the same chatbot on multiple Peppers, but have certain greetings, phrases, direction sets, or other types of responses differ from location to location and Pepper to Pepper. This can be accomplished by using parameters!
 Click ↑ to open an enlarged view!
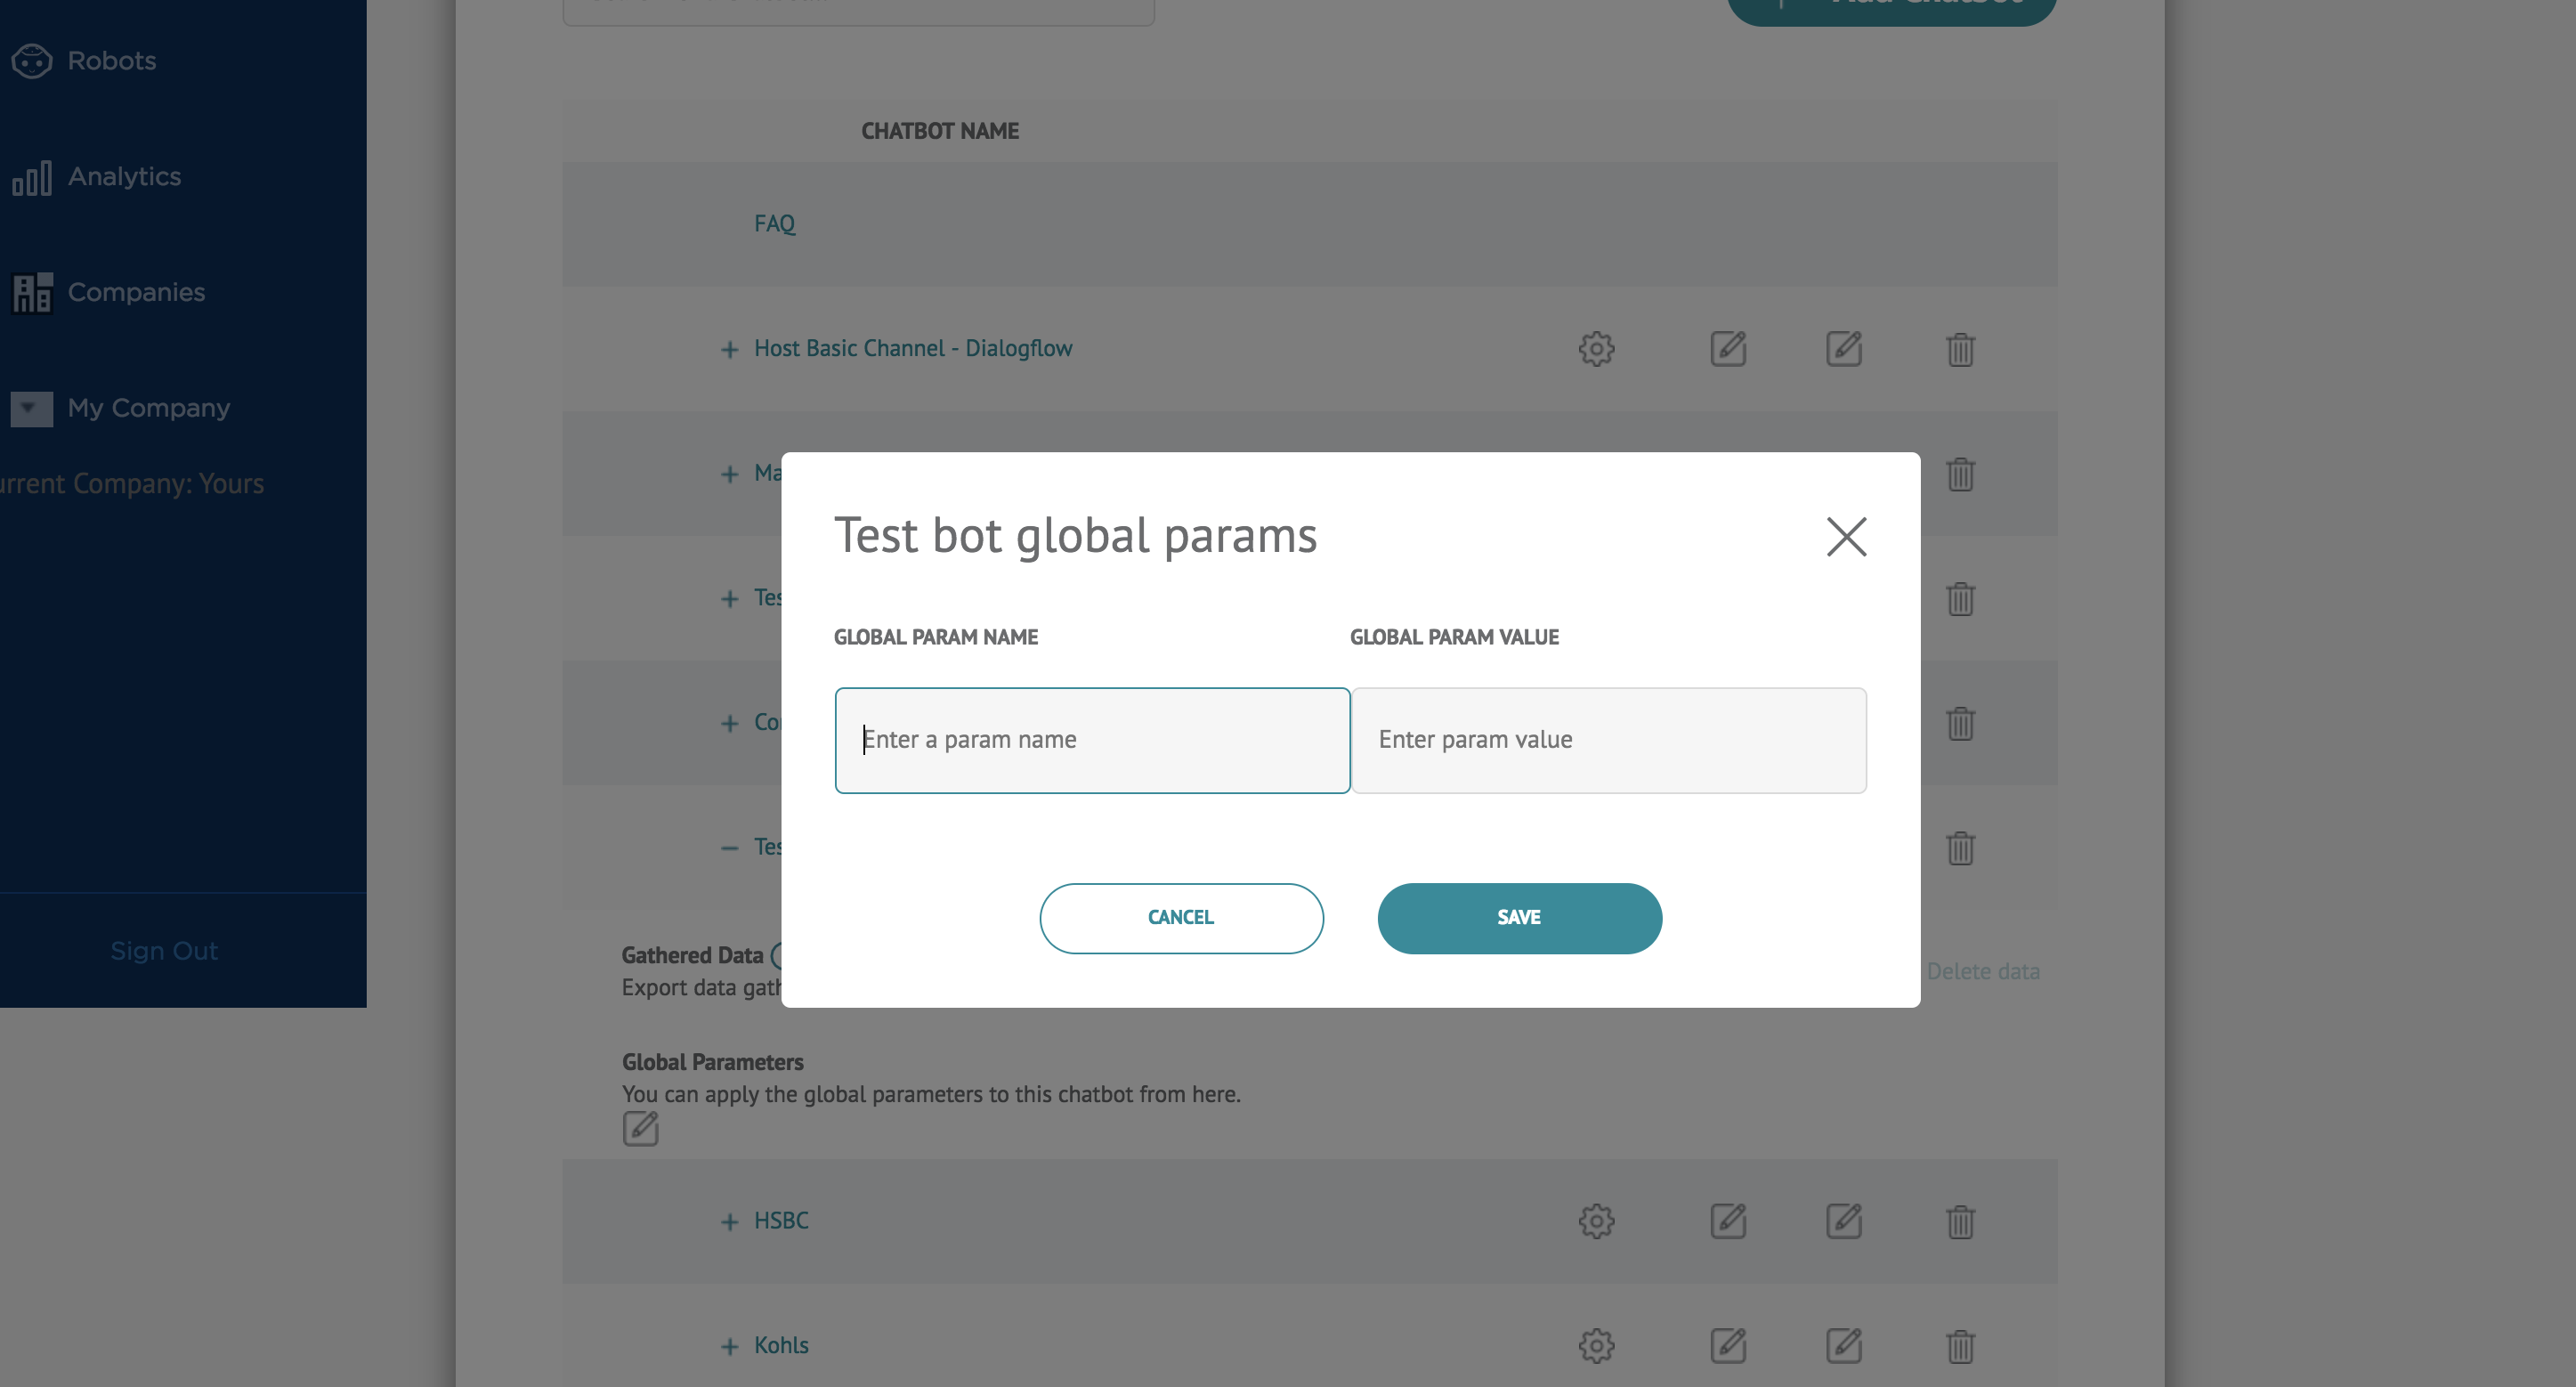
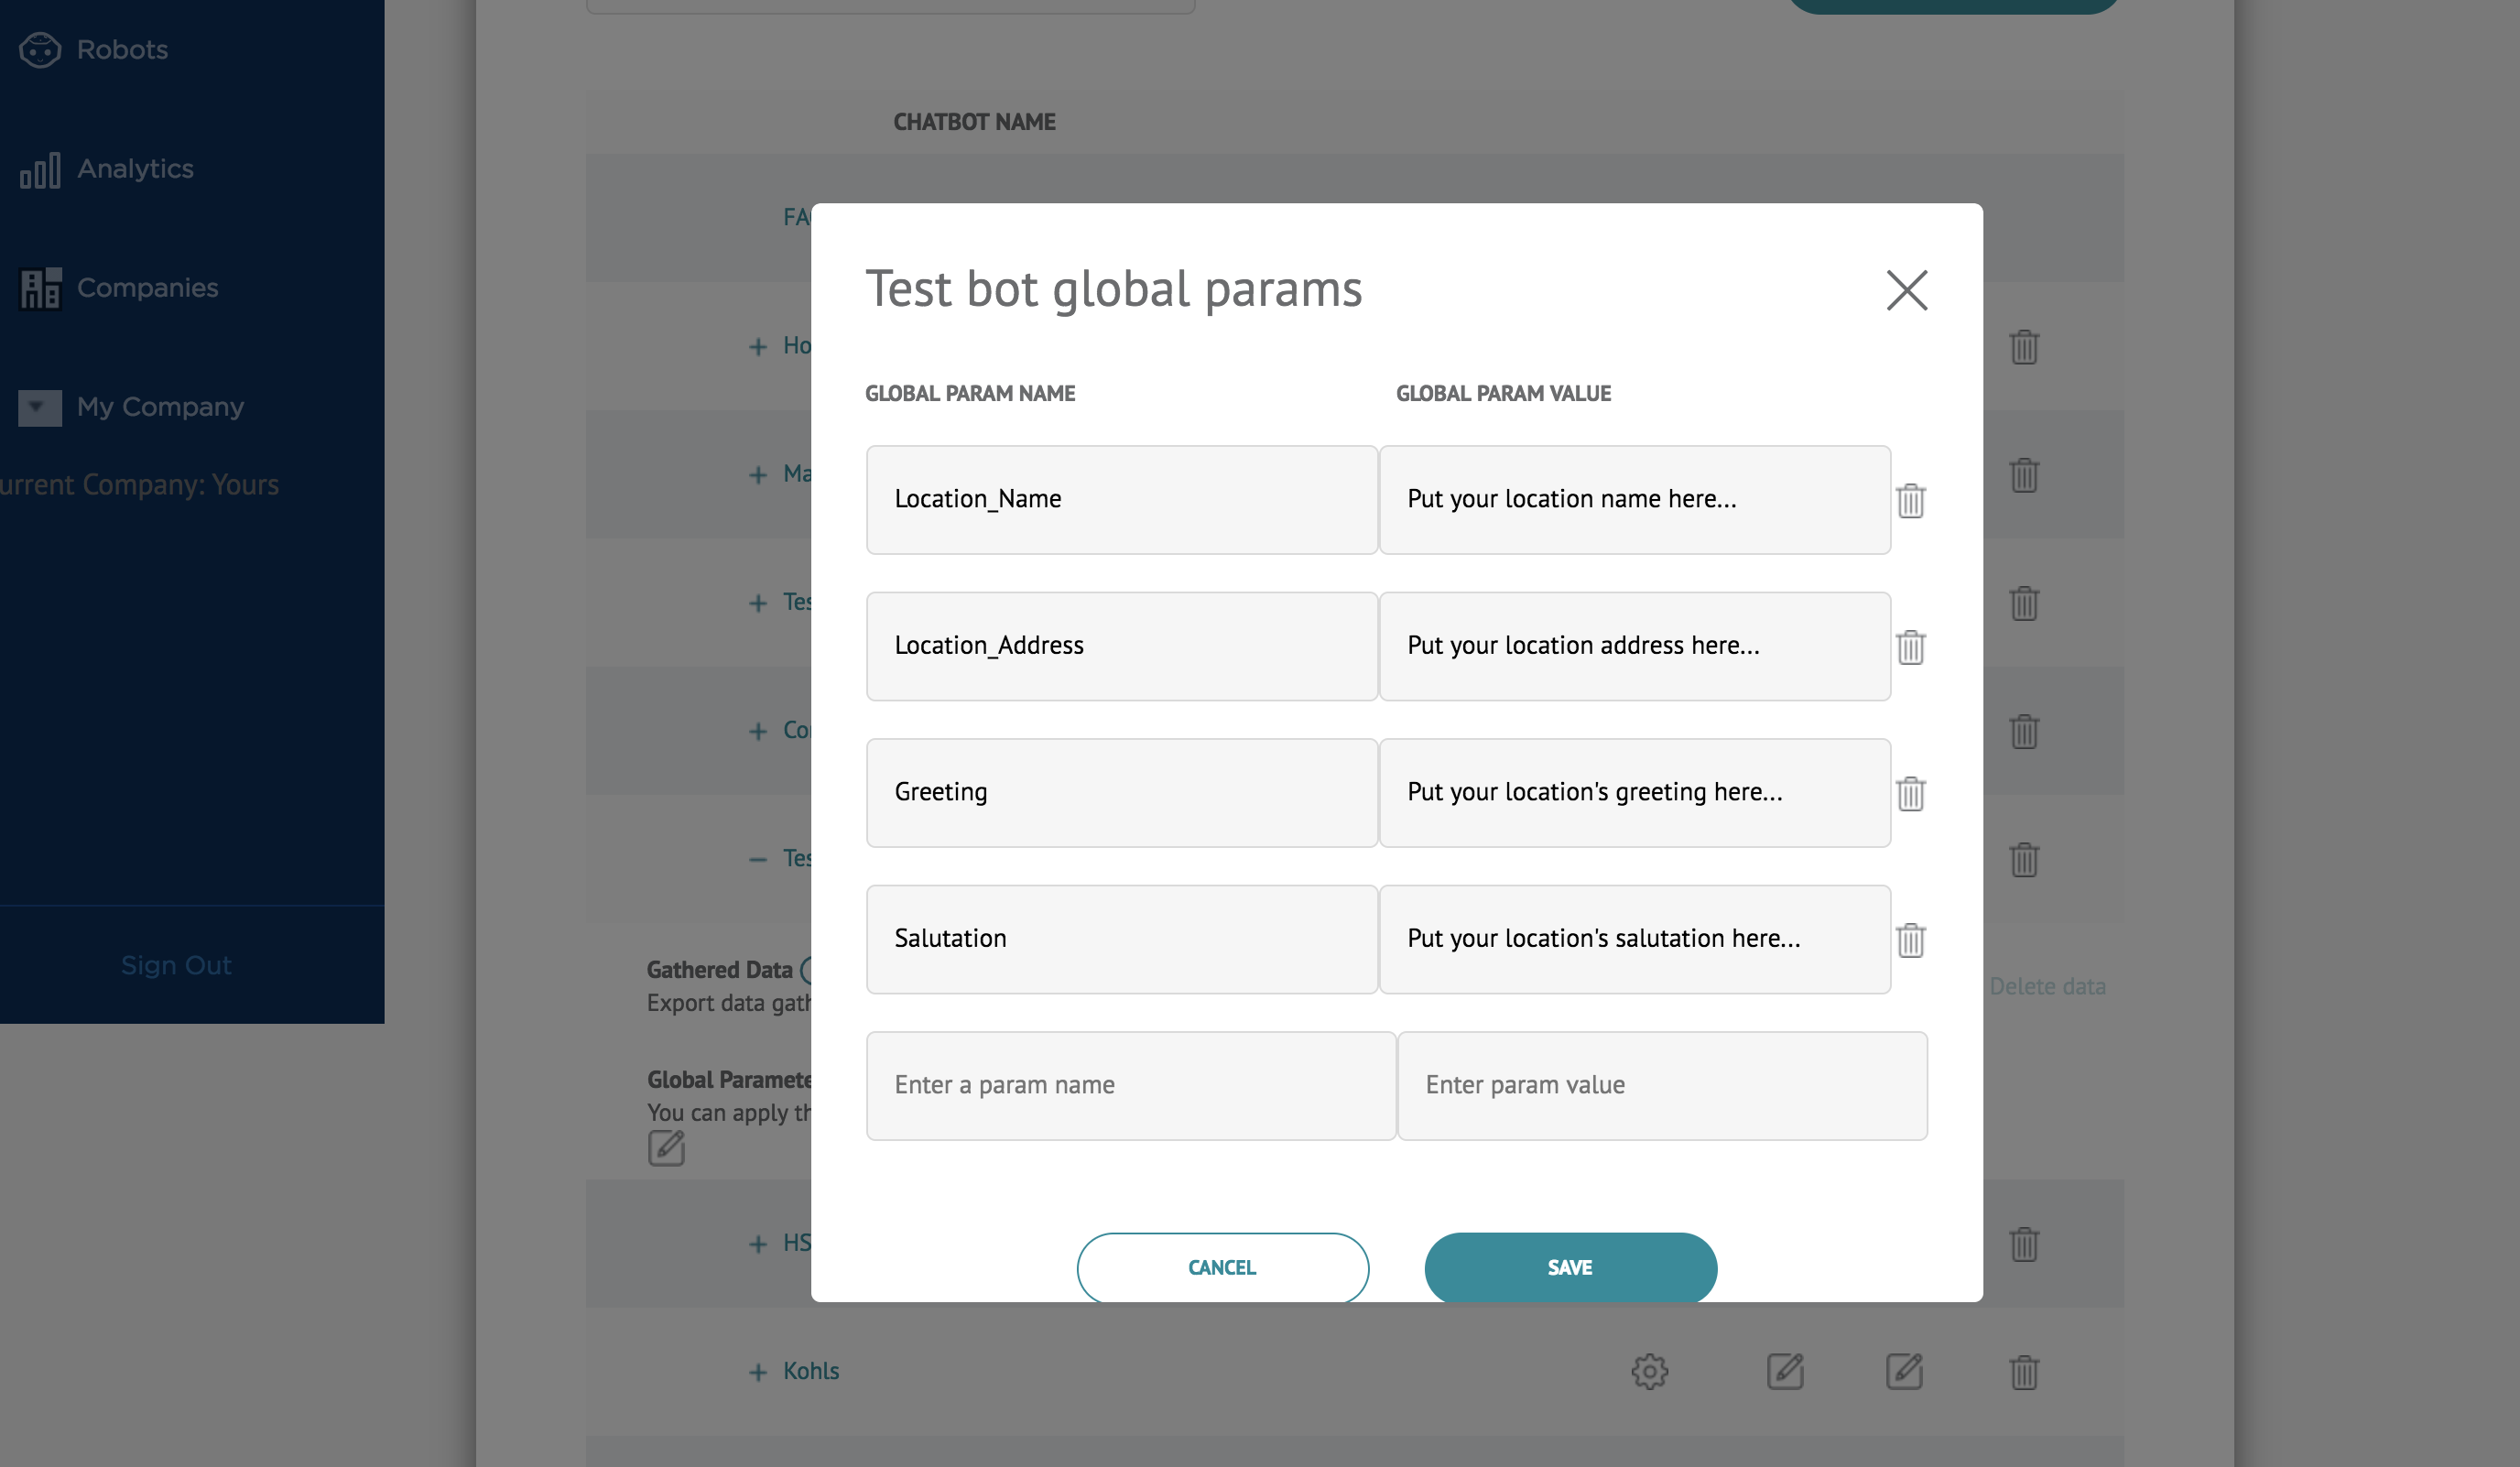
PARAMETERS - Global vs. Local
Parameters are essentially variables that you can set from within the Pepper Chat CMS and can be used throughout your chatbot. They are very powerful, and can be used to create localized experiences on a per robot level.
So how does one employ the use of parameters within a chatbot?
Generally, the steps are to first decide what areas of the chatbot to localize. Then, create names for those placeholders called GLOBAL parameters. Their values should simply be tooltips to describe what should fill that placeholder. Once the global parameters for a chatbot have all been specified in the Pepper Chat CMS, then one can assign actual, localized values to a robot that will override the global parameter's tooltip value.
DETAILED STEPS:
1.) First, when creating the chatbot for your company, think about all the areas of the chatbot that lend itself to having localized information. Replace the value in the chatbot with a descriptive name prefixed by '#local.' For example, let's say we want to customize Pepper's greeting on a per location basis. => If 'pepper_greeting' is the descriptive name we choose for the greeting, then in the chatbot we would specify '#local.pepper_greeting'
2.) Then, in the Pepper Chat CMS on the Chatbot tab, click the icon to edit the parameters for the given chatbot (assuming it has already been added to the CMS) -- simply add the descriptive name from step 1, in this case just the text 'pepper_greeting' as a GLOBAL PARAMETER. For the value of the global parameter, put a text tooltip, i.e. 'This is where you put your greeting...'. Click save.
3.) Now, on the robots tab, select the robot for which you want to apply localized values for these parameters; click on the edit icon in order to provide the localized values.
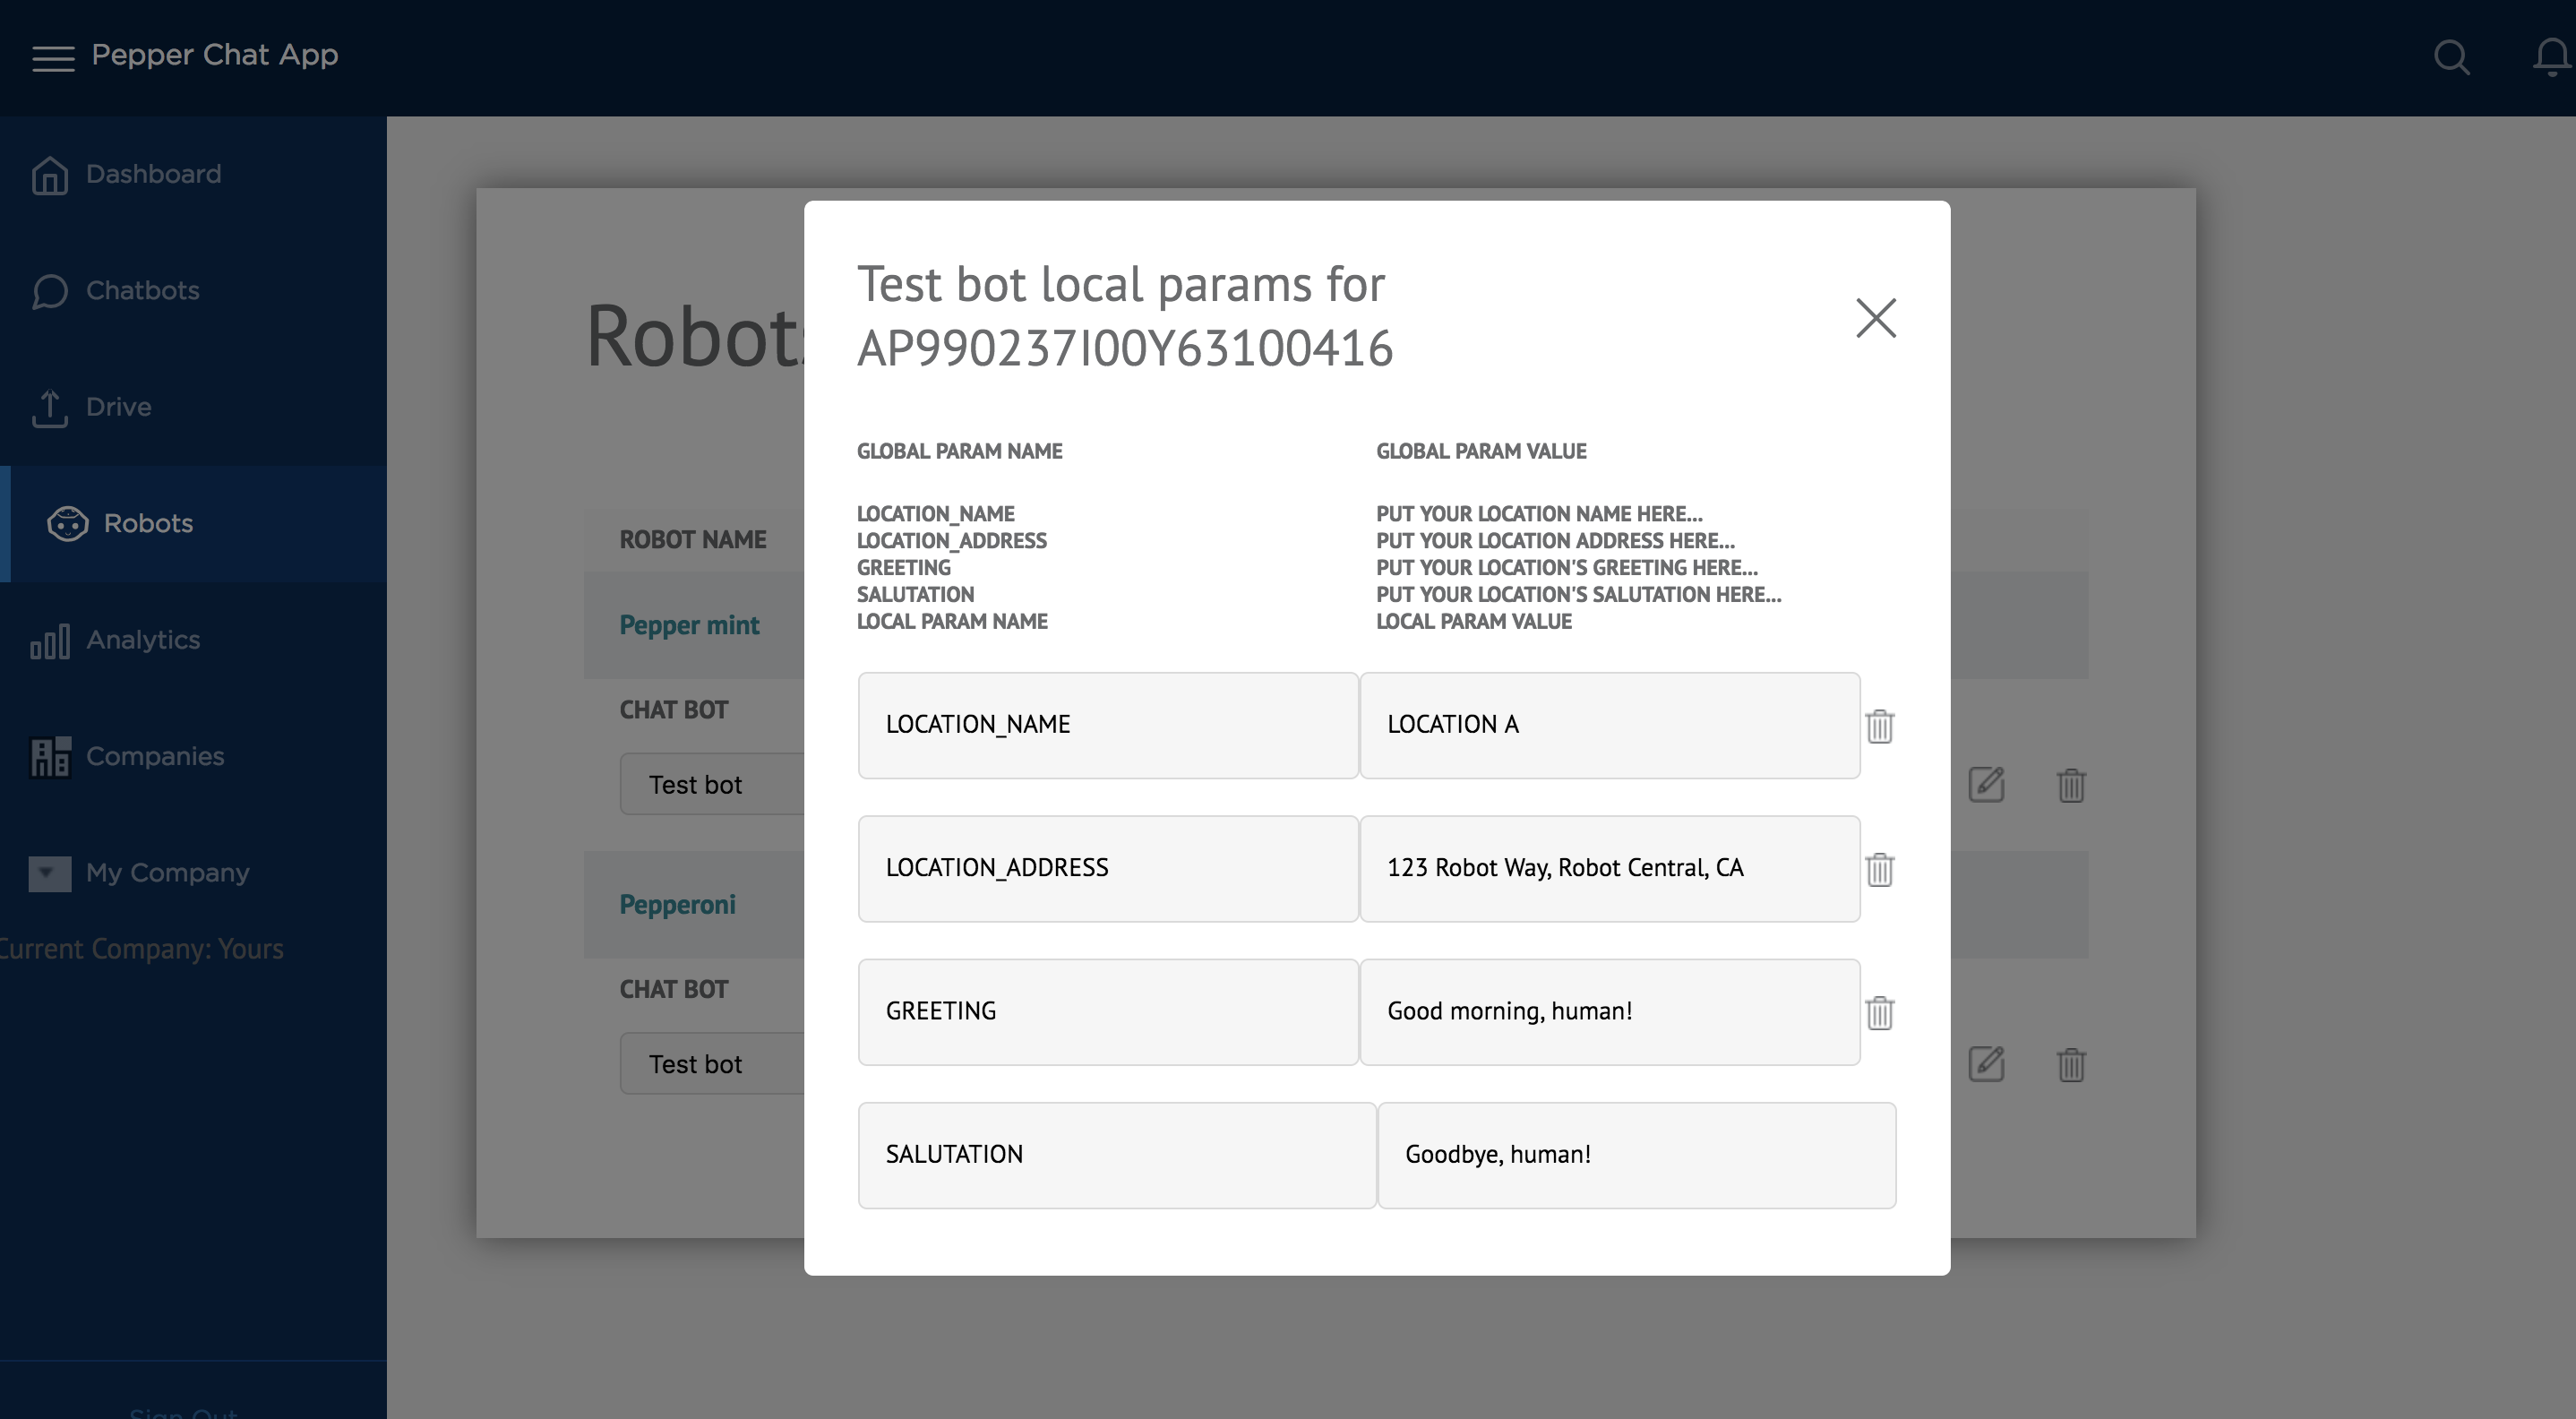
4.) Et voila! Your robot is now localized! You can also click on the hyperlink for the robot to test the localized values in the Pepper Simulator.
Ex.) The following example shows how this might look in practice:
Pepper: #local.pepper_greeting and welcome to #local.location_name!
↓ ↓ ↓ converts to ↓ ↓ ↓
Pepper: Hello, humans and welcome to our Manhattan branch!
CONFIGURE YOUR CHATBOT
→ Attracting End Users
You can use the Pepper Chat CMS to create rules for what Pepper says and when to passersby. To use this advanced feature, it requires that the chatbot's Developer Access Key be provided to the Pepper Chat CMS. Use the builder to create rules for time of day and day of year.

TEST YOUR CHATBOT
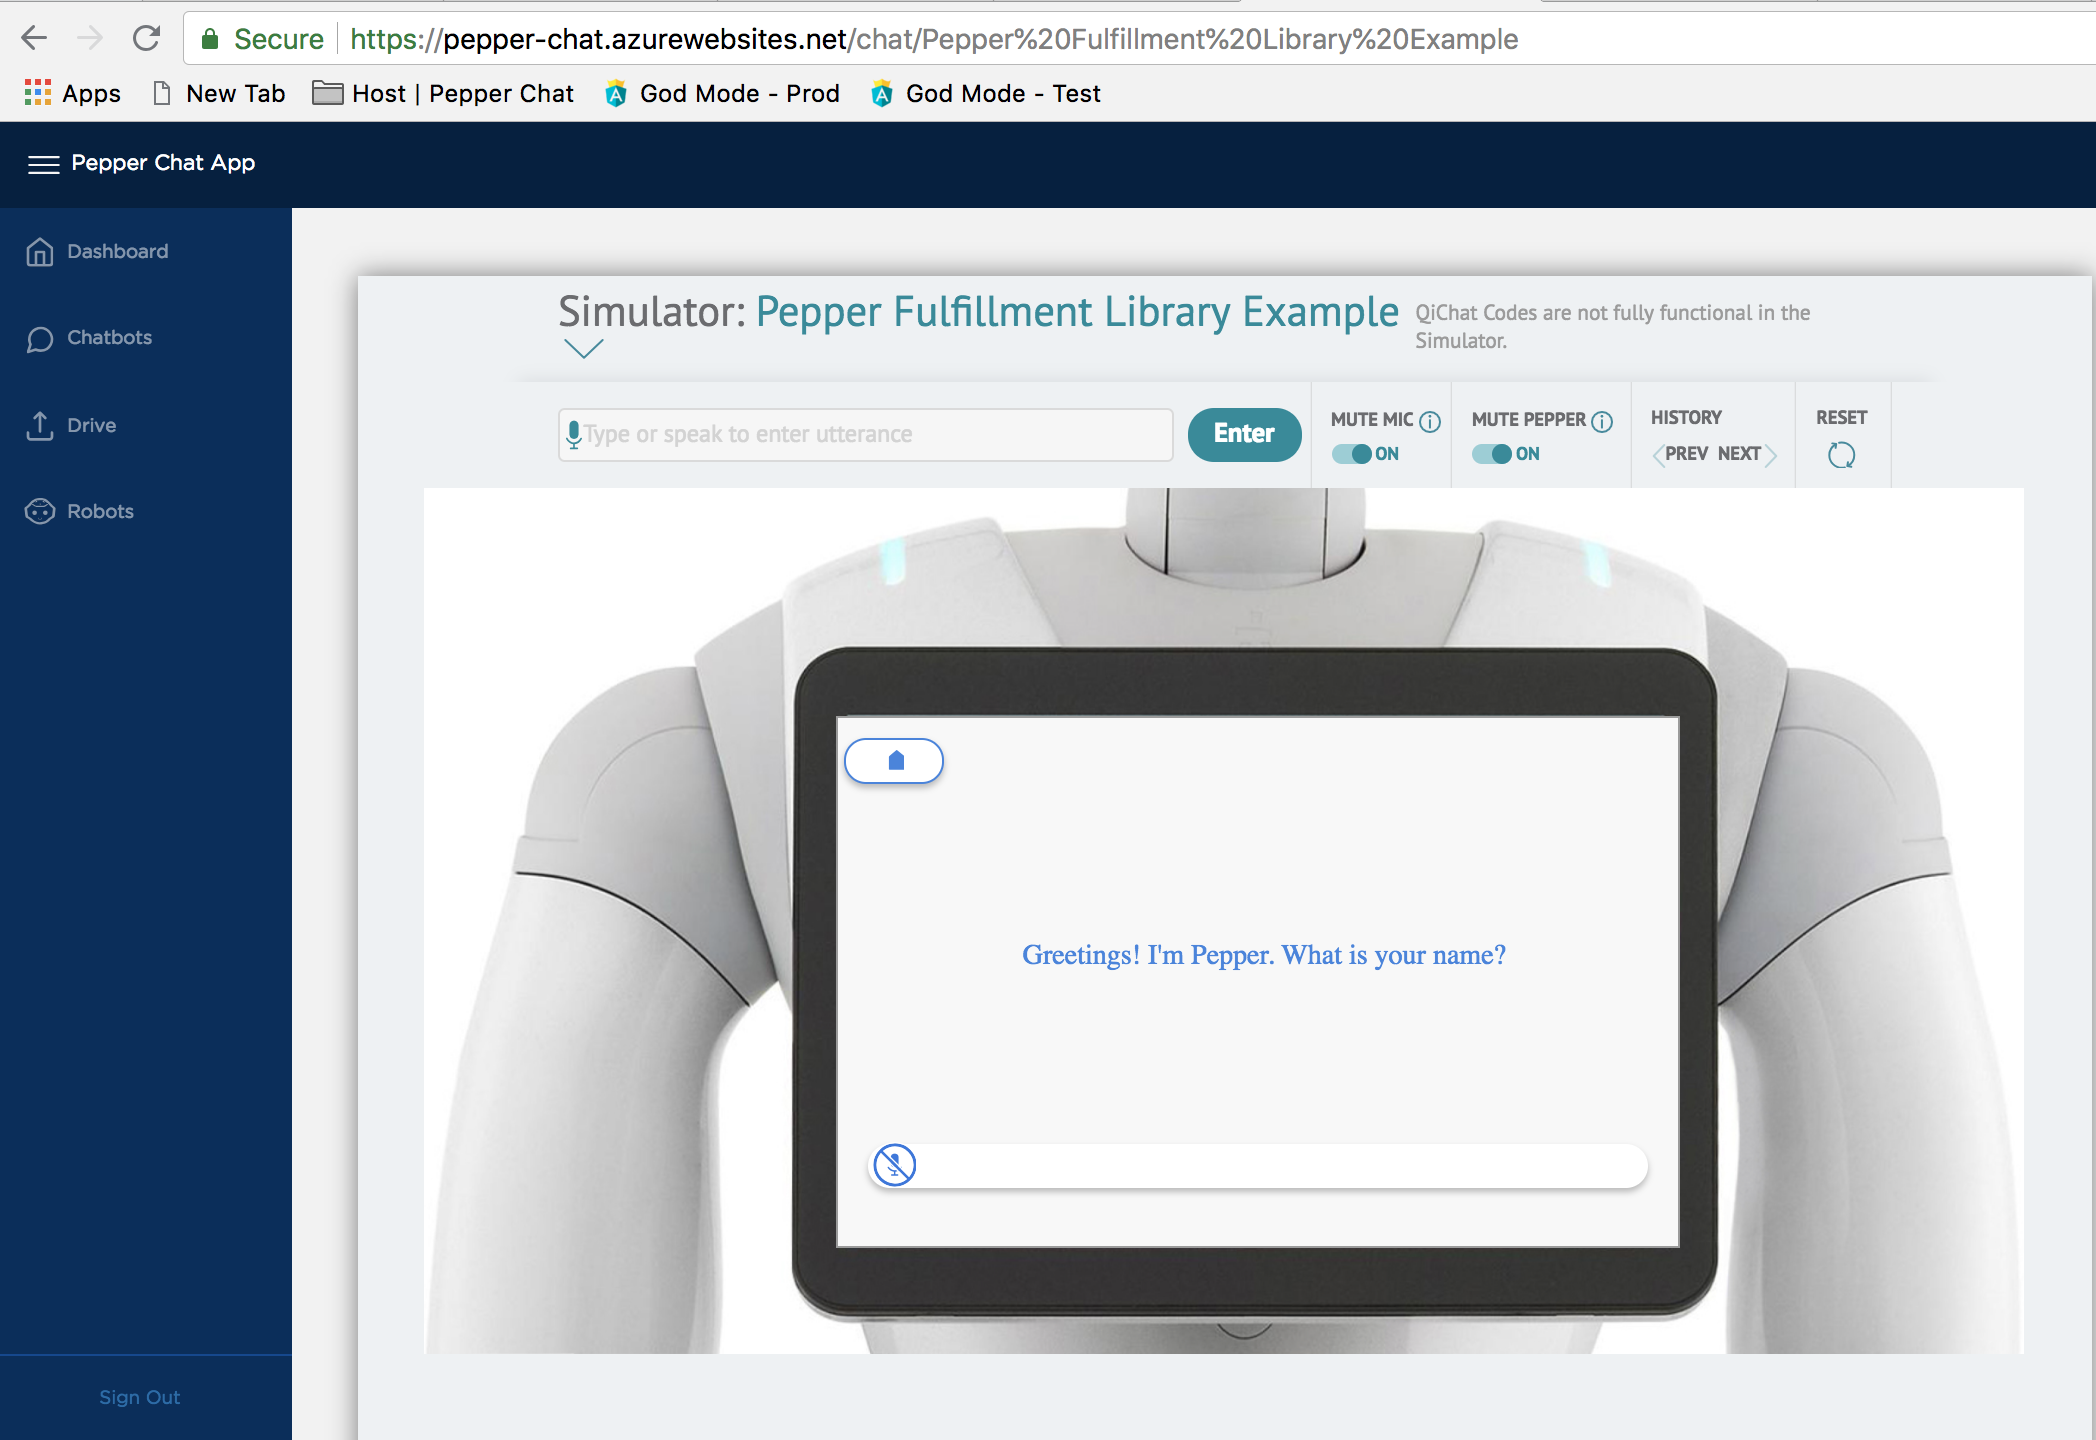
→ The Pepper Simulator
Most of your robot's functionality can be tested virtually from within the Pepper Chat CMS via the Pepper Simulator. You can access the simulator by clicking on a chatbot that you have added. Please note that at this time, you have to manually toggle the Mute buttons throughout the conversation for the simulator to work as intended.
FAQ & Limitations
Q. Can I send the different response types using fulfillment?
A. Yes. In fact, we have created an easy-to-use, Pepper Chat Dialogflow fulfillment library to form the correct JSON responses for you: https://github.com/softbank-robotics-america/pepper-dialogflow-markup-library.
--
Q. Can a ChatBot send two Pepper responses in sequence?
A. Yes. In fact, that is actually the best practice way of preventing a user from getting stuck on a non-actionable image. It is recommended to follow it up with another Pepper (Custom Payload JSON / Text) response.
--
Q. How do I upgrade an agent from V1 to V2?
A. There are 4-5 steps involved, depending on whether or not you use fulfillment.
1) UPGRADE AGENT: First, from within the Dialogflow Console, you need to make sure your bot is upgraded to Dialogflow V2 under the 'API VERSION' under the Settings tab within your agent. Simply click on the V2 API radial button.
2.) DOWNLOAD KEYPATH FILE: Now, under the 'GOOGLE PROJECT' section of Settings, click on the hyperlinked value under 'Service Account'.
Now, you should be within the Google Cloud Platform console. Navigate to Service Accounts. Click on the ellipsis for the service account called Dialogflow Integrations. Select 'Create key' and select JSON as the Key Type.
Now save that document! Pepper Chat will ask you to upload that document when pairing your Dialogflow bot.
3.) PAIR CHATBOT: Pair the chatbot in Pepper Chat using the downloaded keypath file
4.) UPDATE ANY DEPRECATED V1 SYNTAX: Update any occurences of Text Bubbles, Basic Cards, or Carousels with the new syntax specified in this documentation.
5.) UPDATE WEBHOOK: [Only necessary if your chatbot use a webhook] Update your webhook to either use SBRA's new V2 fulfillment library or else update your webhook manually per the new Dialogflow V2 syntax if you do not use the SBRA fulfillment library
--
Q. How many scrollable carousel images will Pepper show?
A. We suggest keeping the number of cards under 10.
--
Q. Can Pepper respond to an utterance with a picture or video?
A. Yes, Pepper can show either a landscape or a portrait photo. It can also respond with a fullscreen video.